Overhead environments present certain challenges but from the photographic point of view, can offer very rewarding results.
There are many kinds of overhead environments, but some of the most photogenic are caves and caverns. Rock formations such as stalactites can be very striking and light filtering from openings in the ceiling can form beautiful sunbeams. In this article I will discuss how to photograph these places, so you can come home with some great shots.
Before I start I would like to clarify the difference between cave and cavern diving. Both are overhead environments, therefore, not appropriate for inexperienced divers. However, the biggest difference has to do with ambient light. In a cavern, there is always an exit in sight.
Not having an exit in sight makes cave diving a much-more-advanced practice which should only be done if properly trained and with the right equipment. I will only refer to caverns and other overhead environments safe for recreational diving.
Where To Go
There are many destinations offering the opportunity to visit some sort of caverns.
The cenotes in Mexico's Yucatan Peninsula are probably the most famous ones but similar sites can be found all over the world – Chandelier Cave in Palau comes to my mind.
We do not have to travel long distances to enjoy beautiful caves. The Red Sea has some amazing reefs packed with caverns and swim-throughs, all very easy to explore and a dream to photograph.
Sunbeams, Caverns And Cave Openings
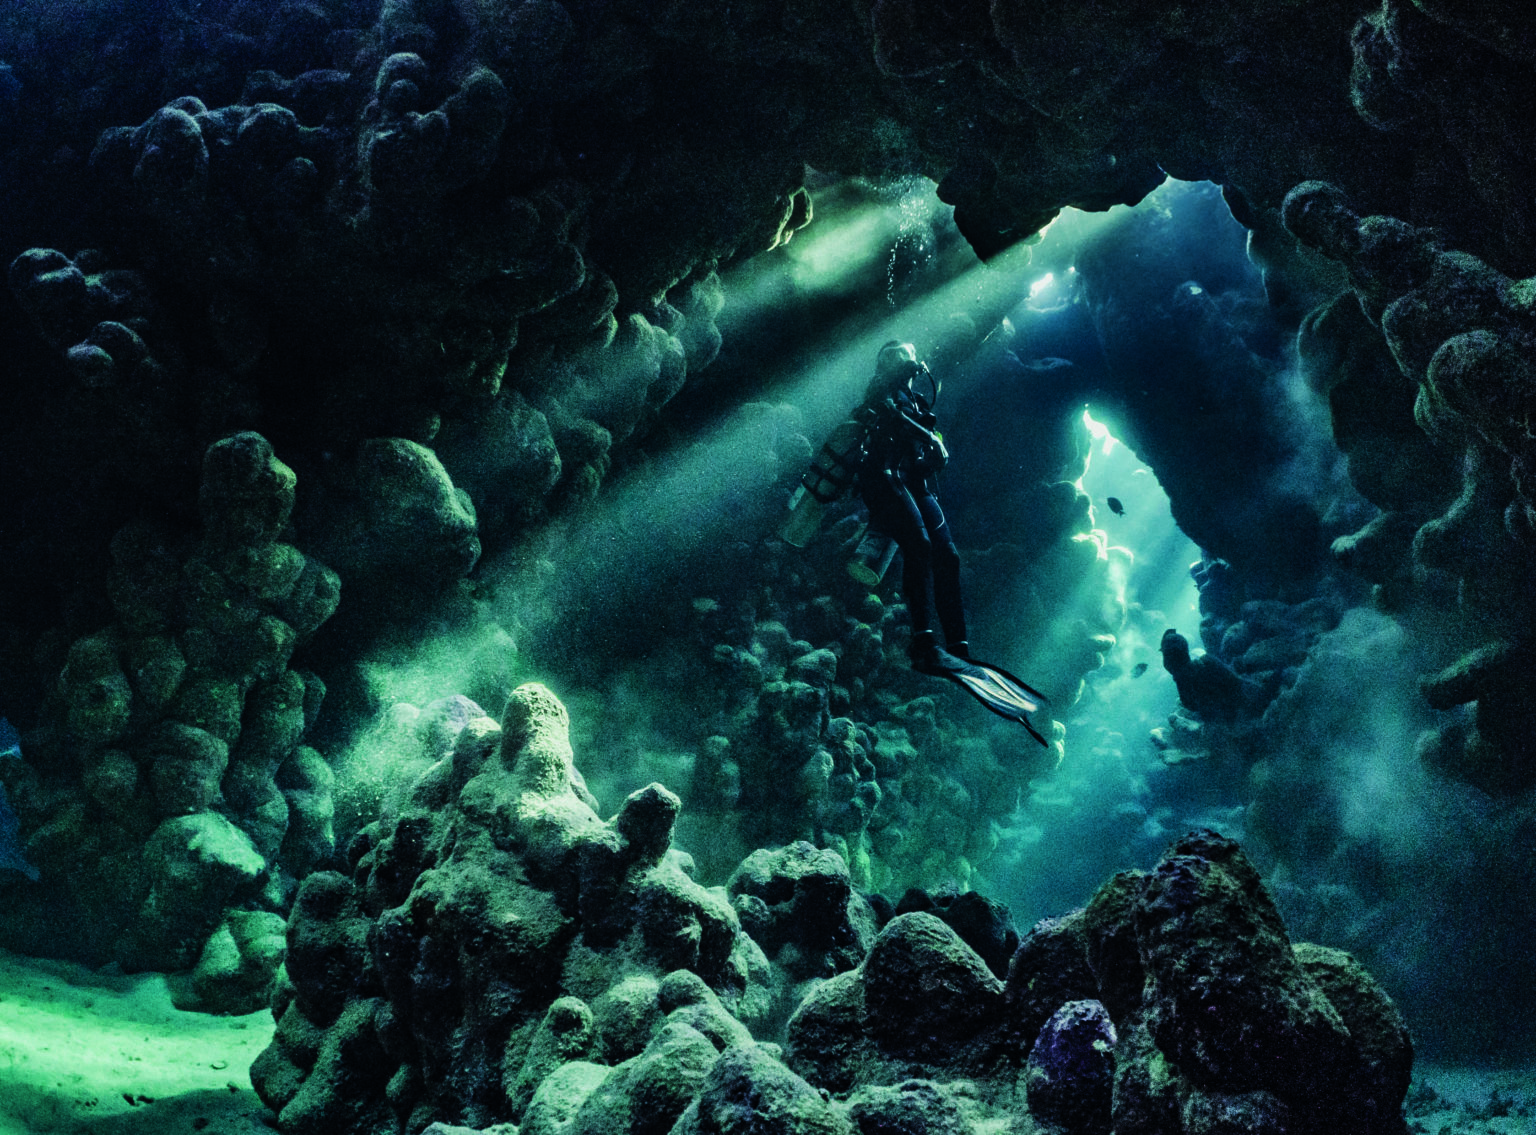
In my opinion, the most-important element when photographing caves and caverns is the light. Cracks in the ceiling can create striking sunbeams. Cave openings will show the beautiful blue light of the open water offering great chances to create amazing silhouettes.
To capture spectacular sunbeams, you have to find a good spot in the shadows, so look for a nice dark place that offers you the best possible view. Set your camera metering to spot so you can have the most-accurate readings. Make sure to find a good balance exposure between the darker cave and the light beams.
The ceiling openings tend to be too bright and exposing there will underexpose the whole picture, reducing the impact of the sunbeams. If you expose on the cave itself, because it is too dark the resulting image will be overexposed and lacking contrast.
A good practice in these situations is to increase your ISO to allow you to shoot at a fast-enough shutter speed to prevent camera shake. If you want to keep the ISO low it is a good idea to look around for a section of the cave where you can brace yourself and your housing. Be very mindful if you do this not to damage any marine life.
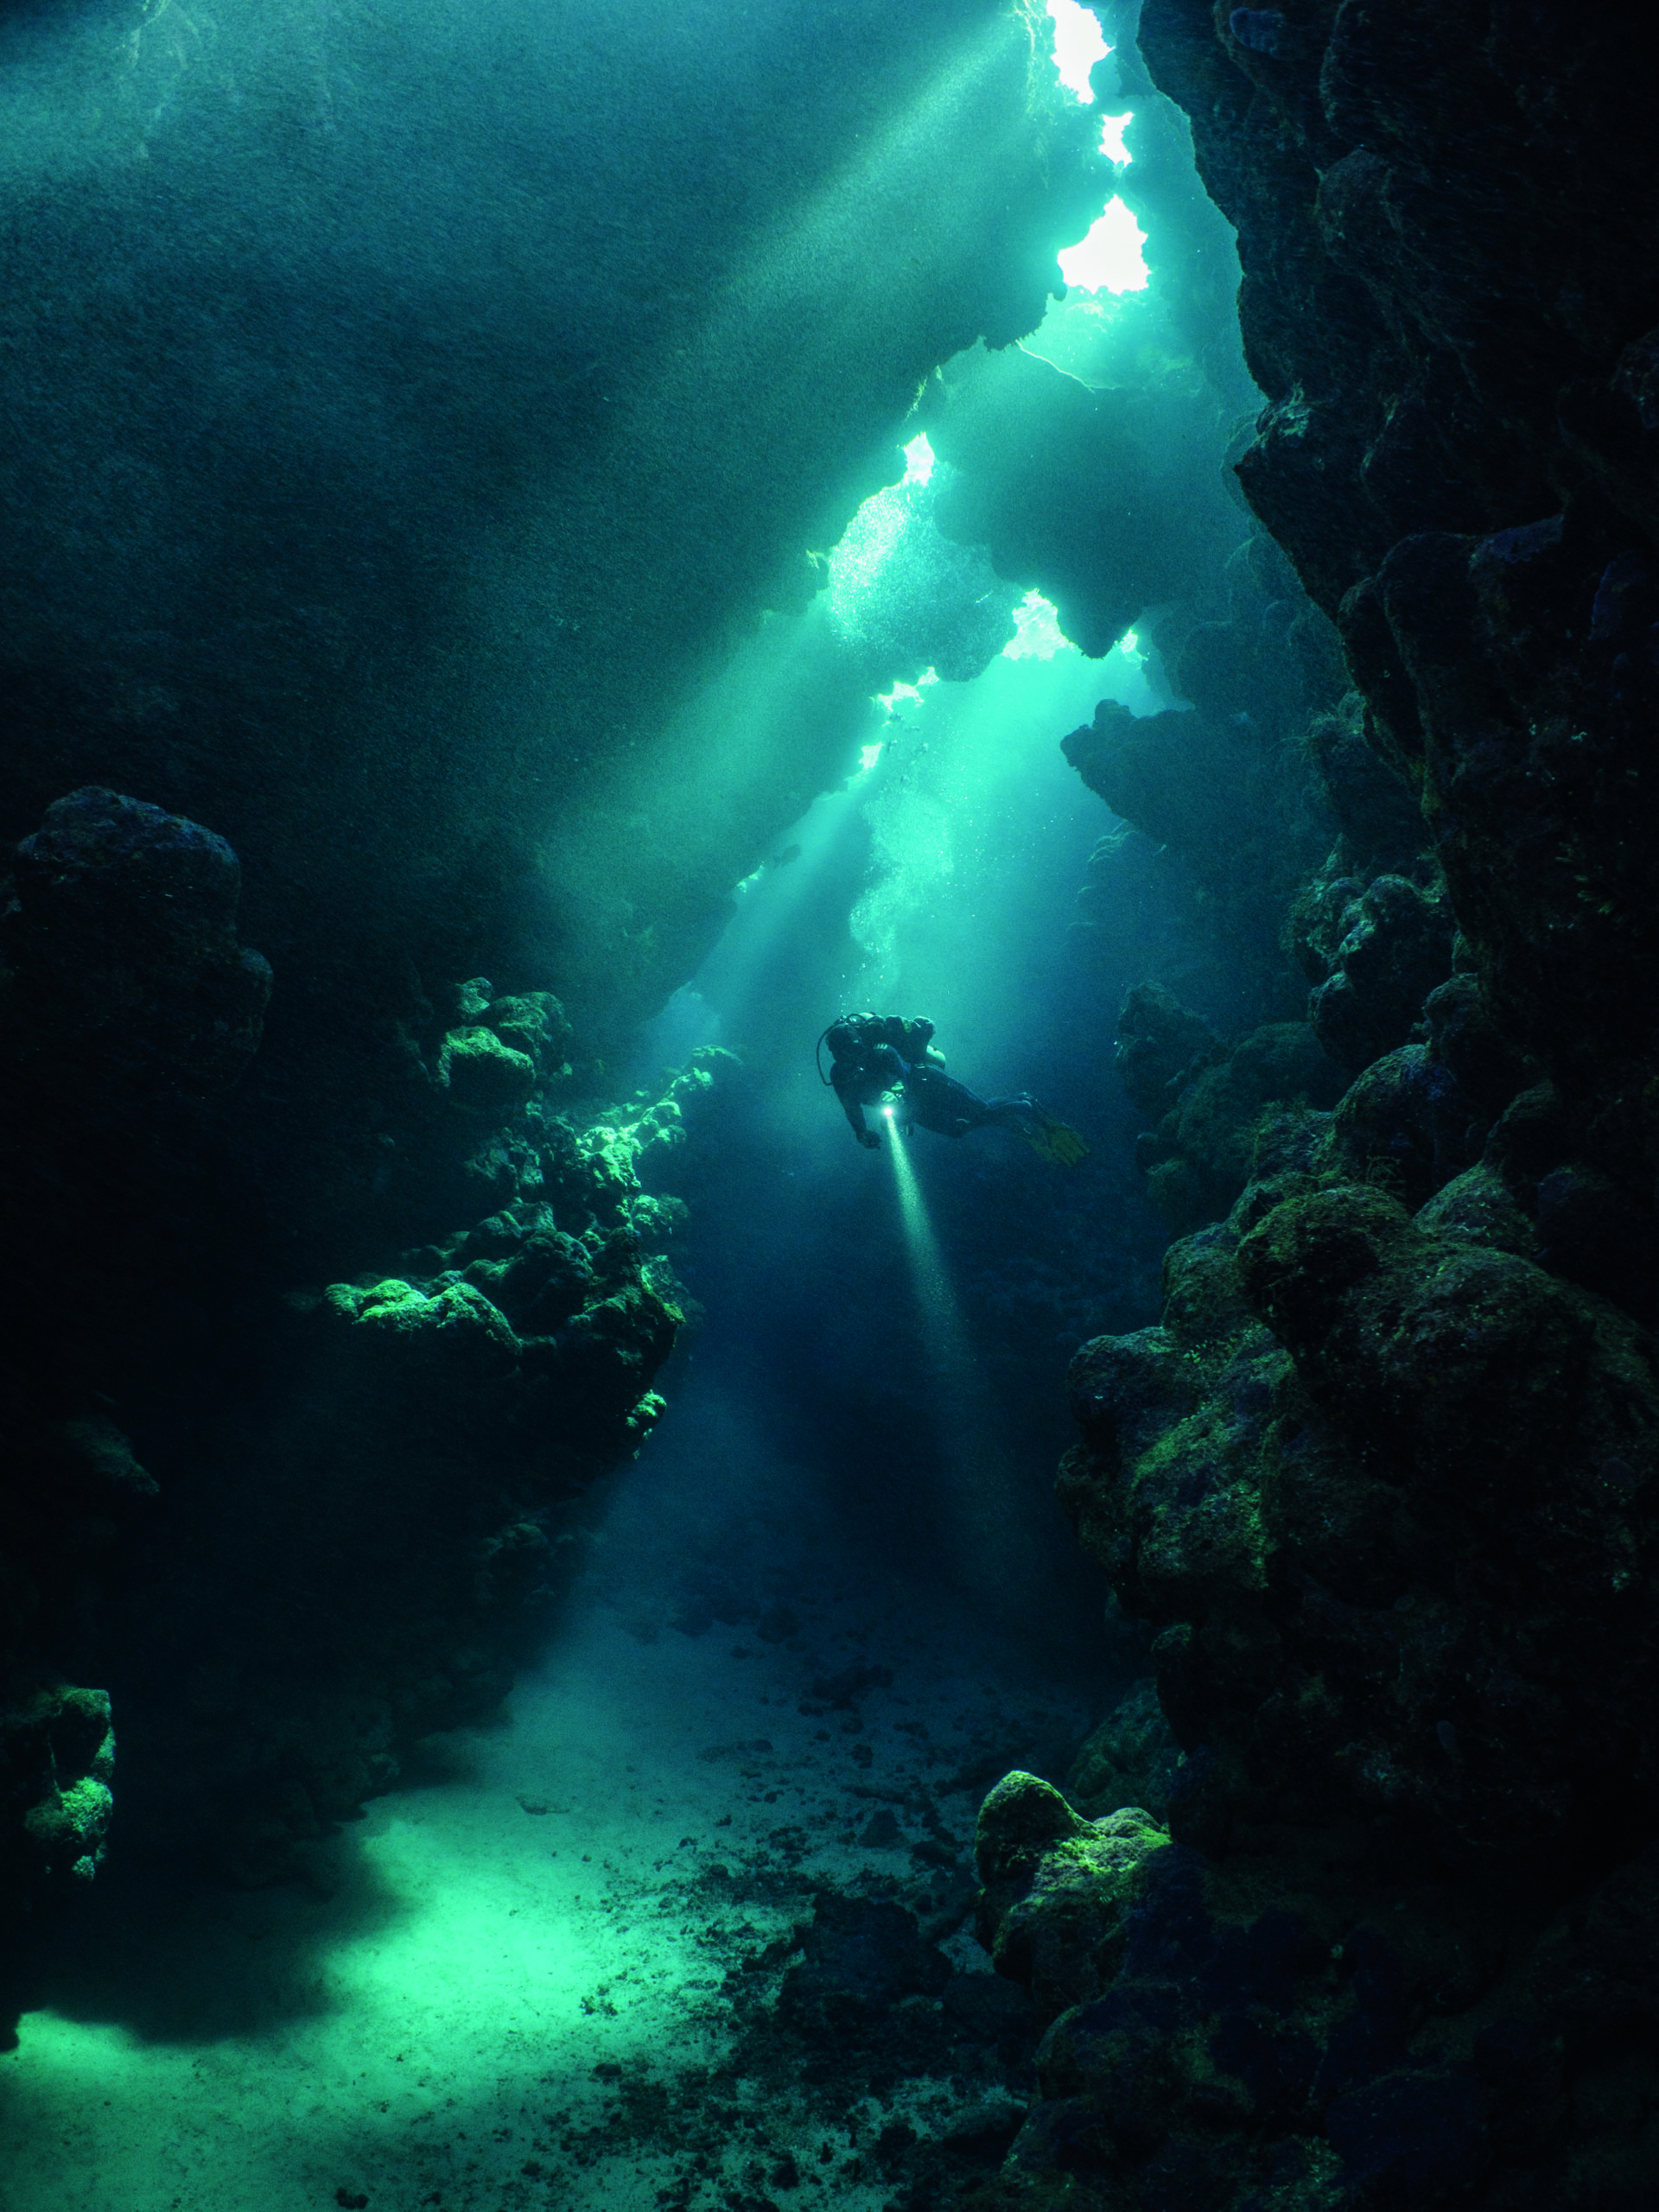
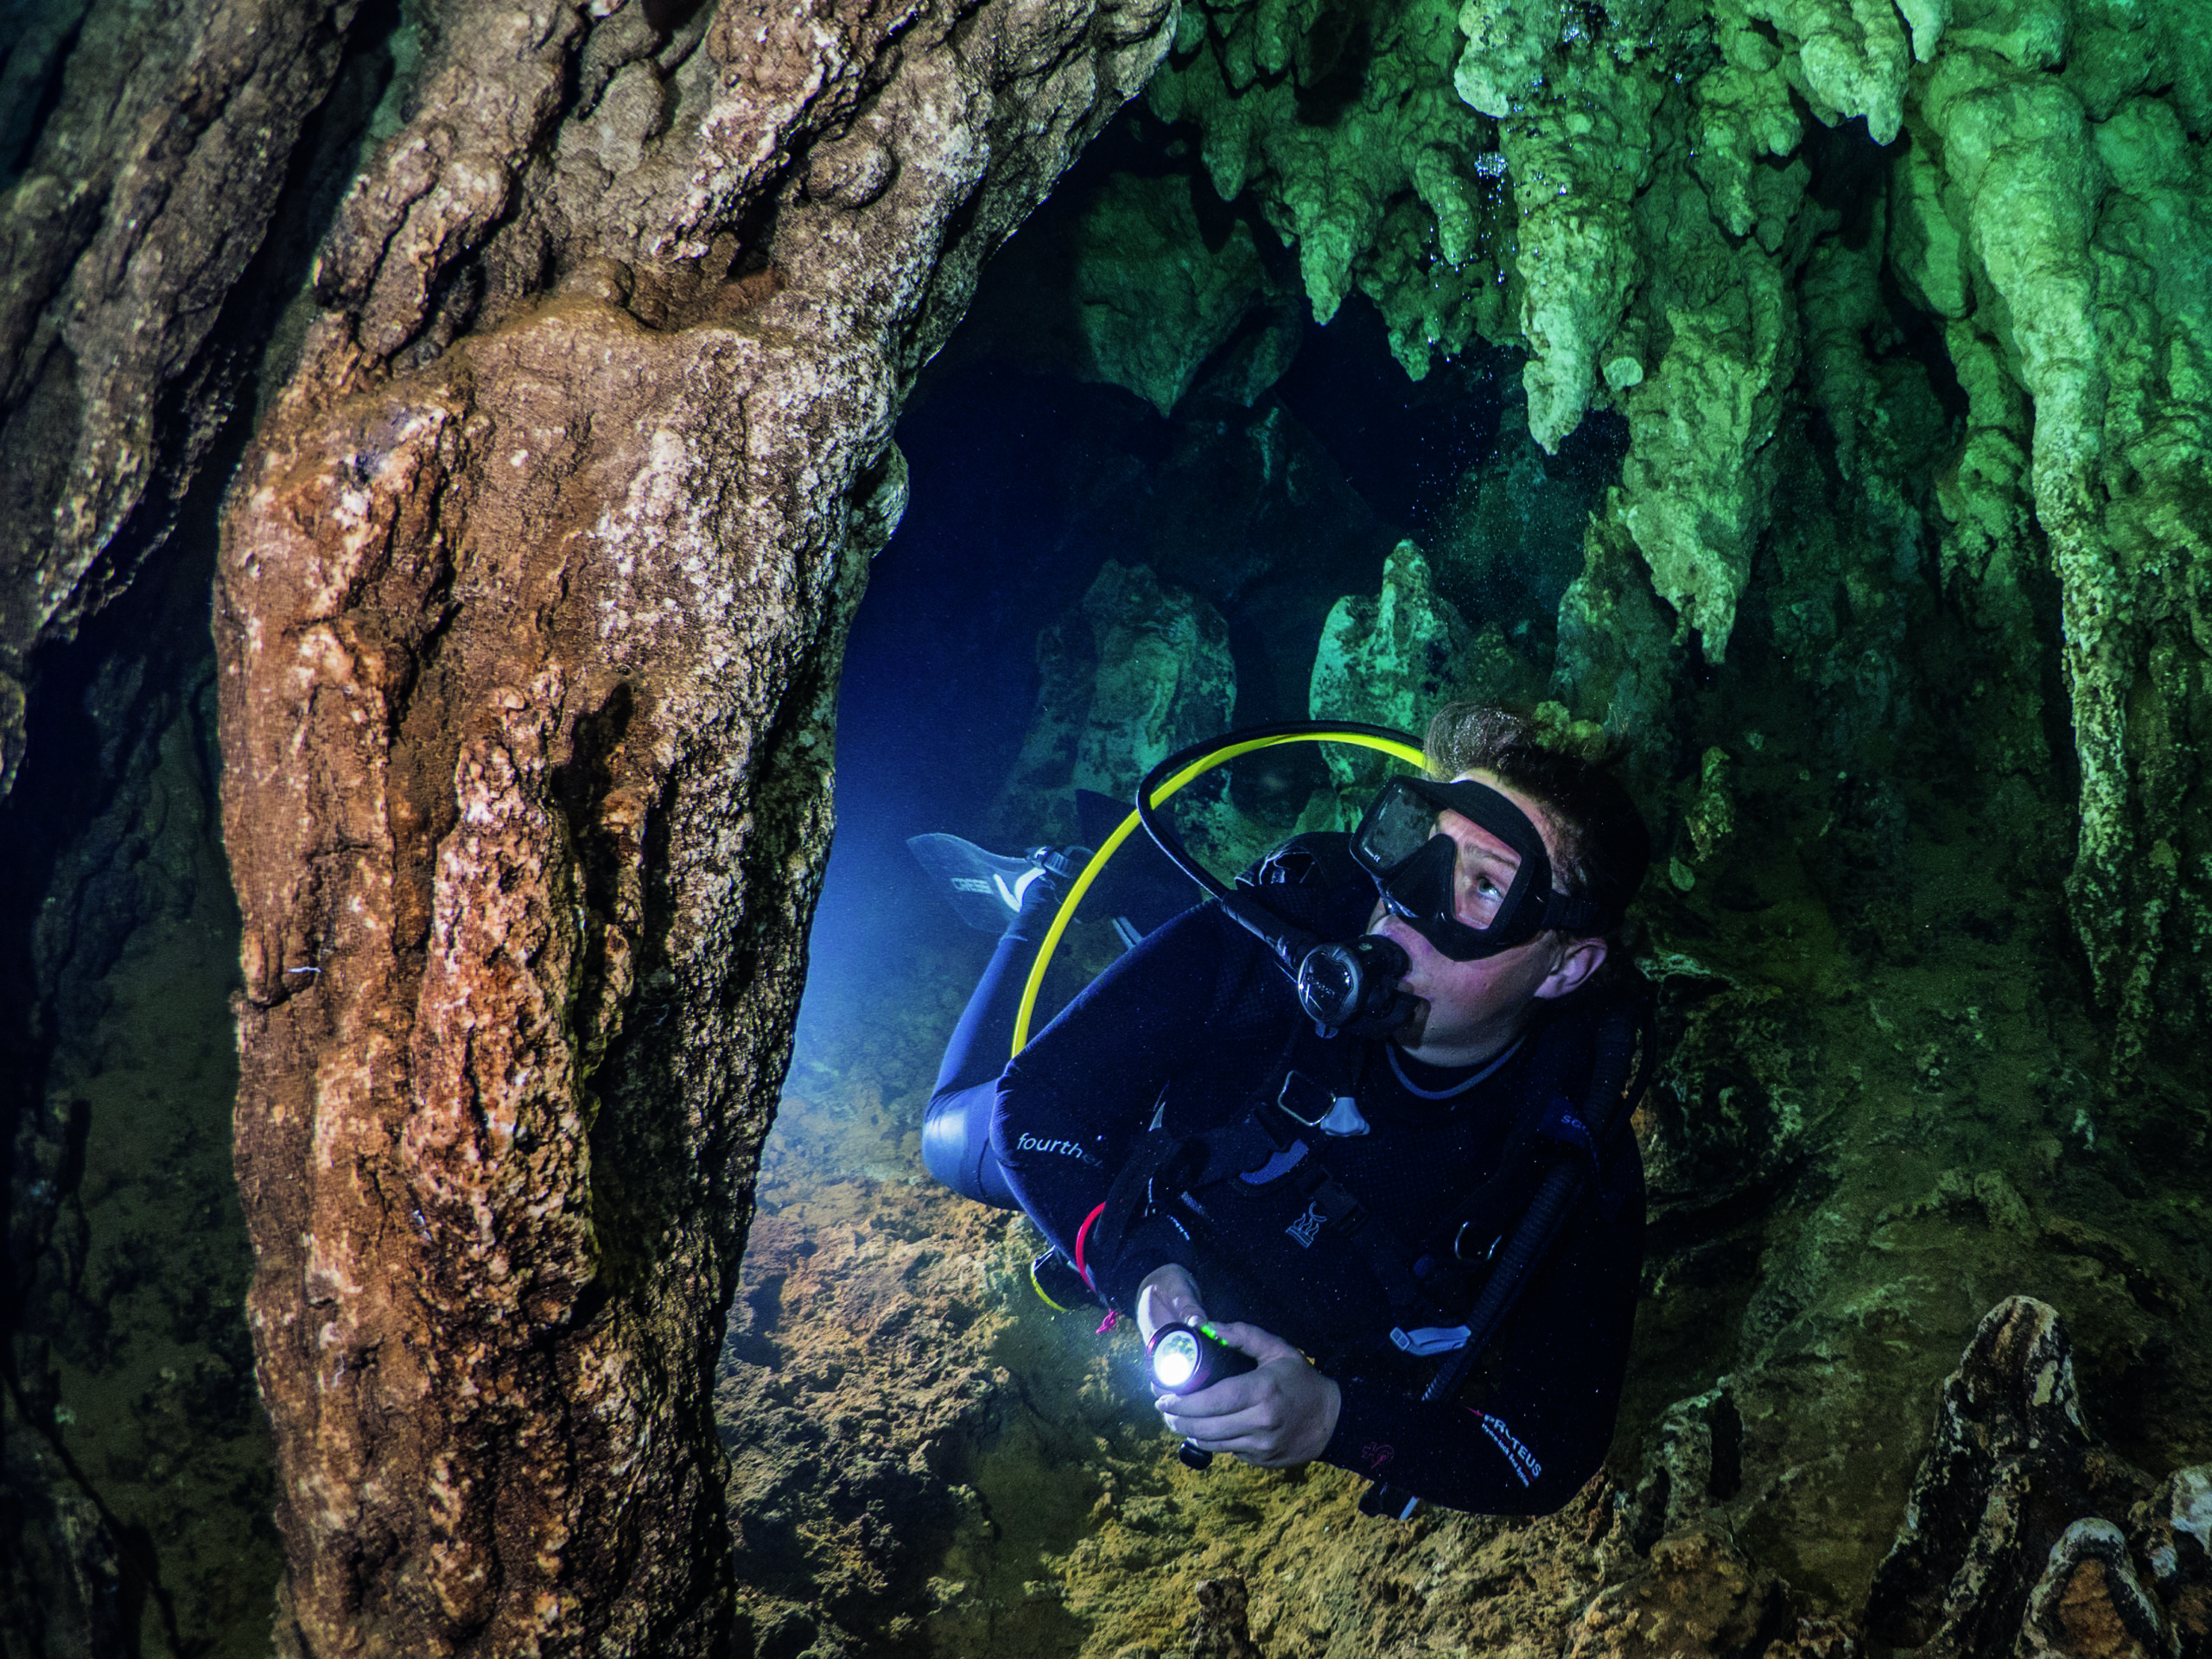
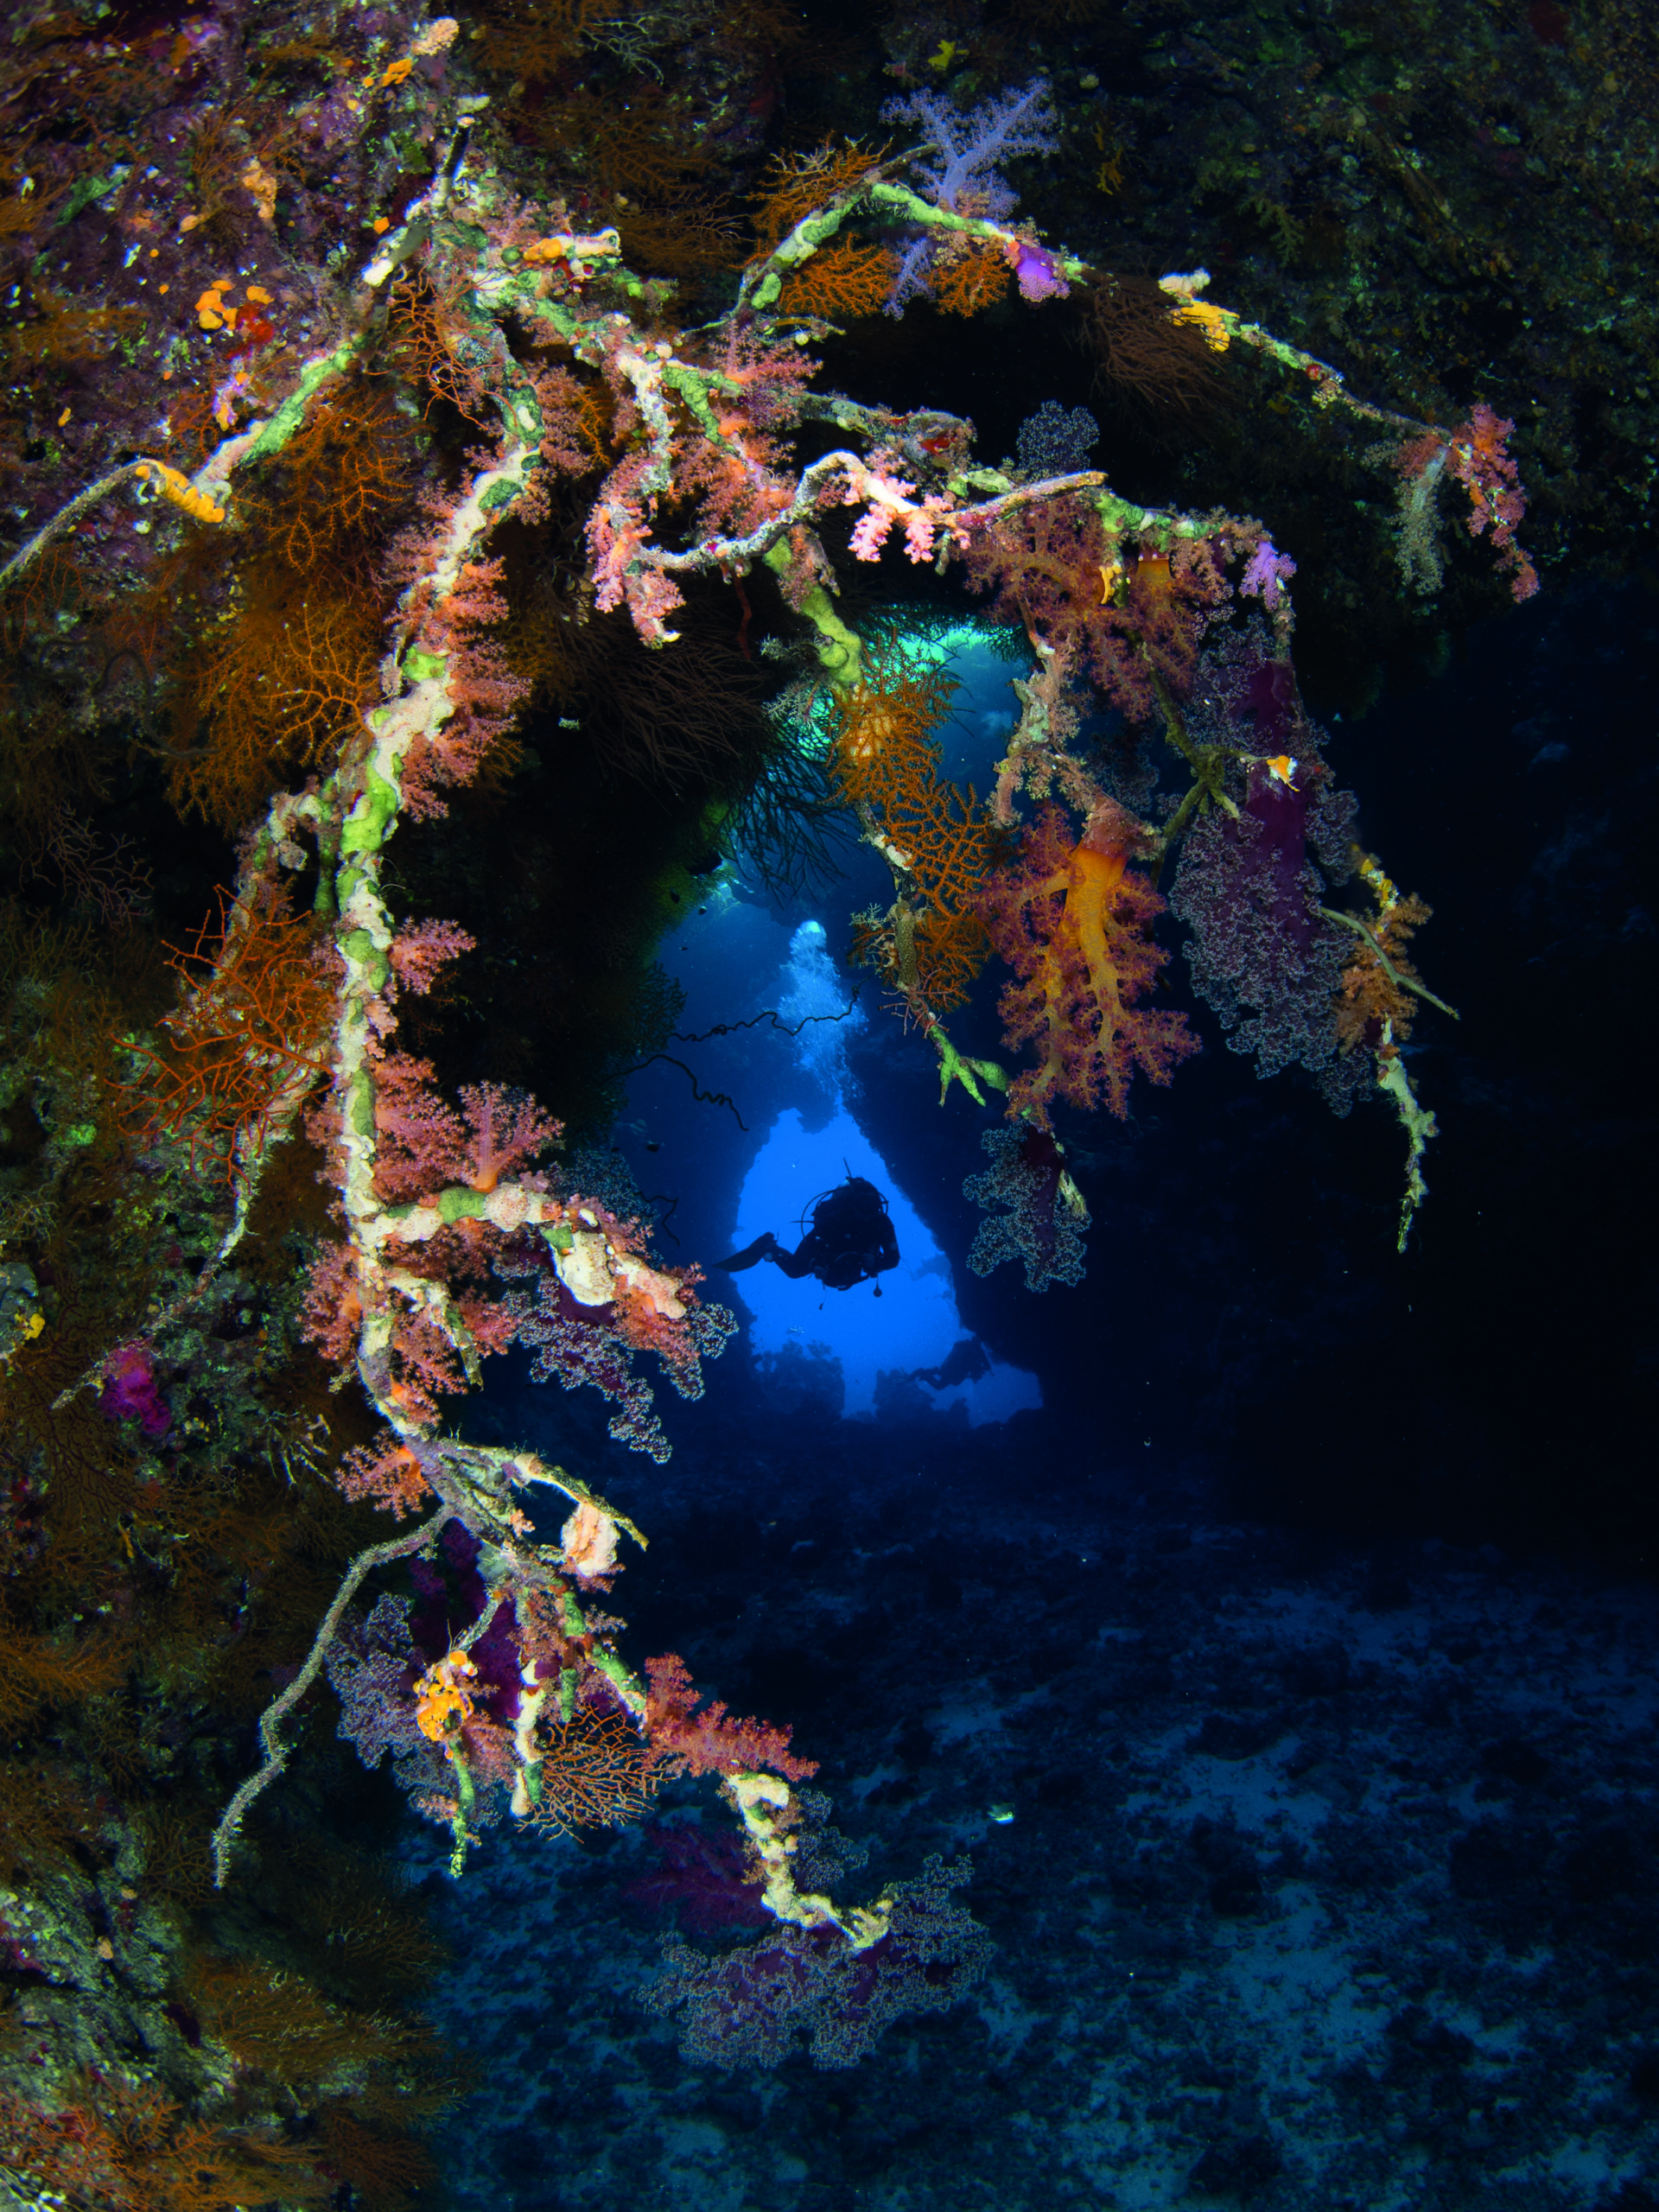
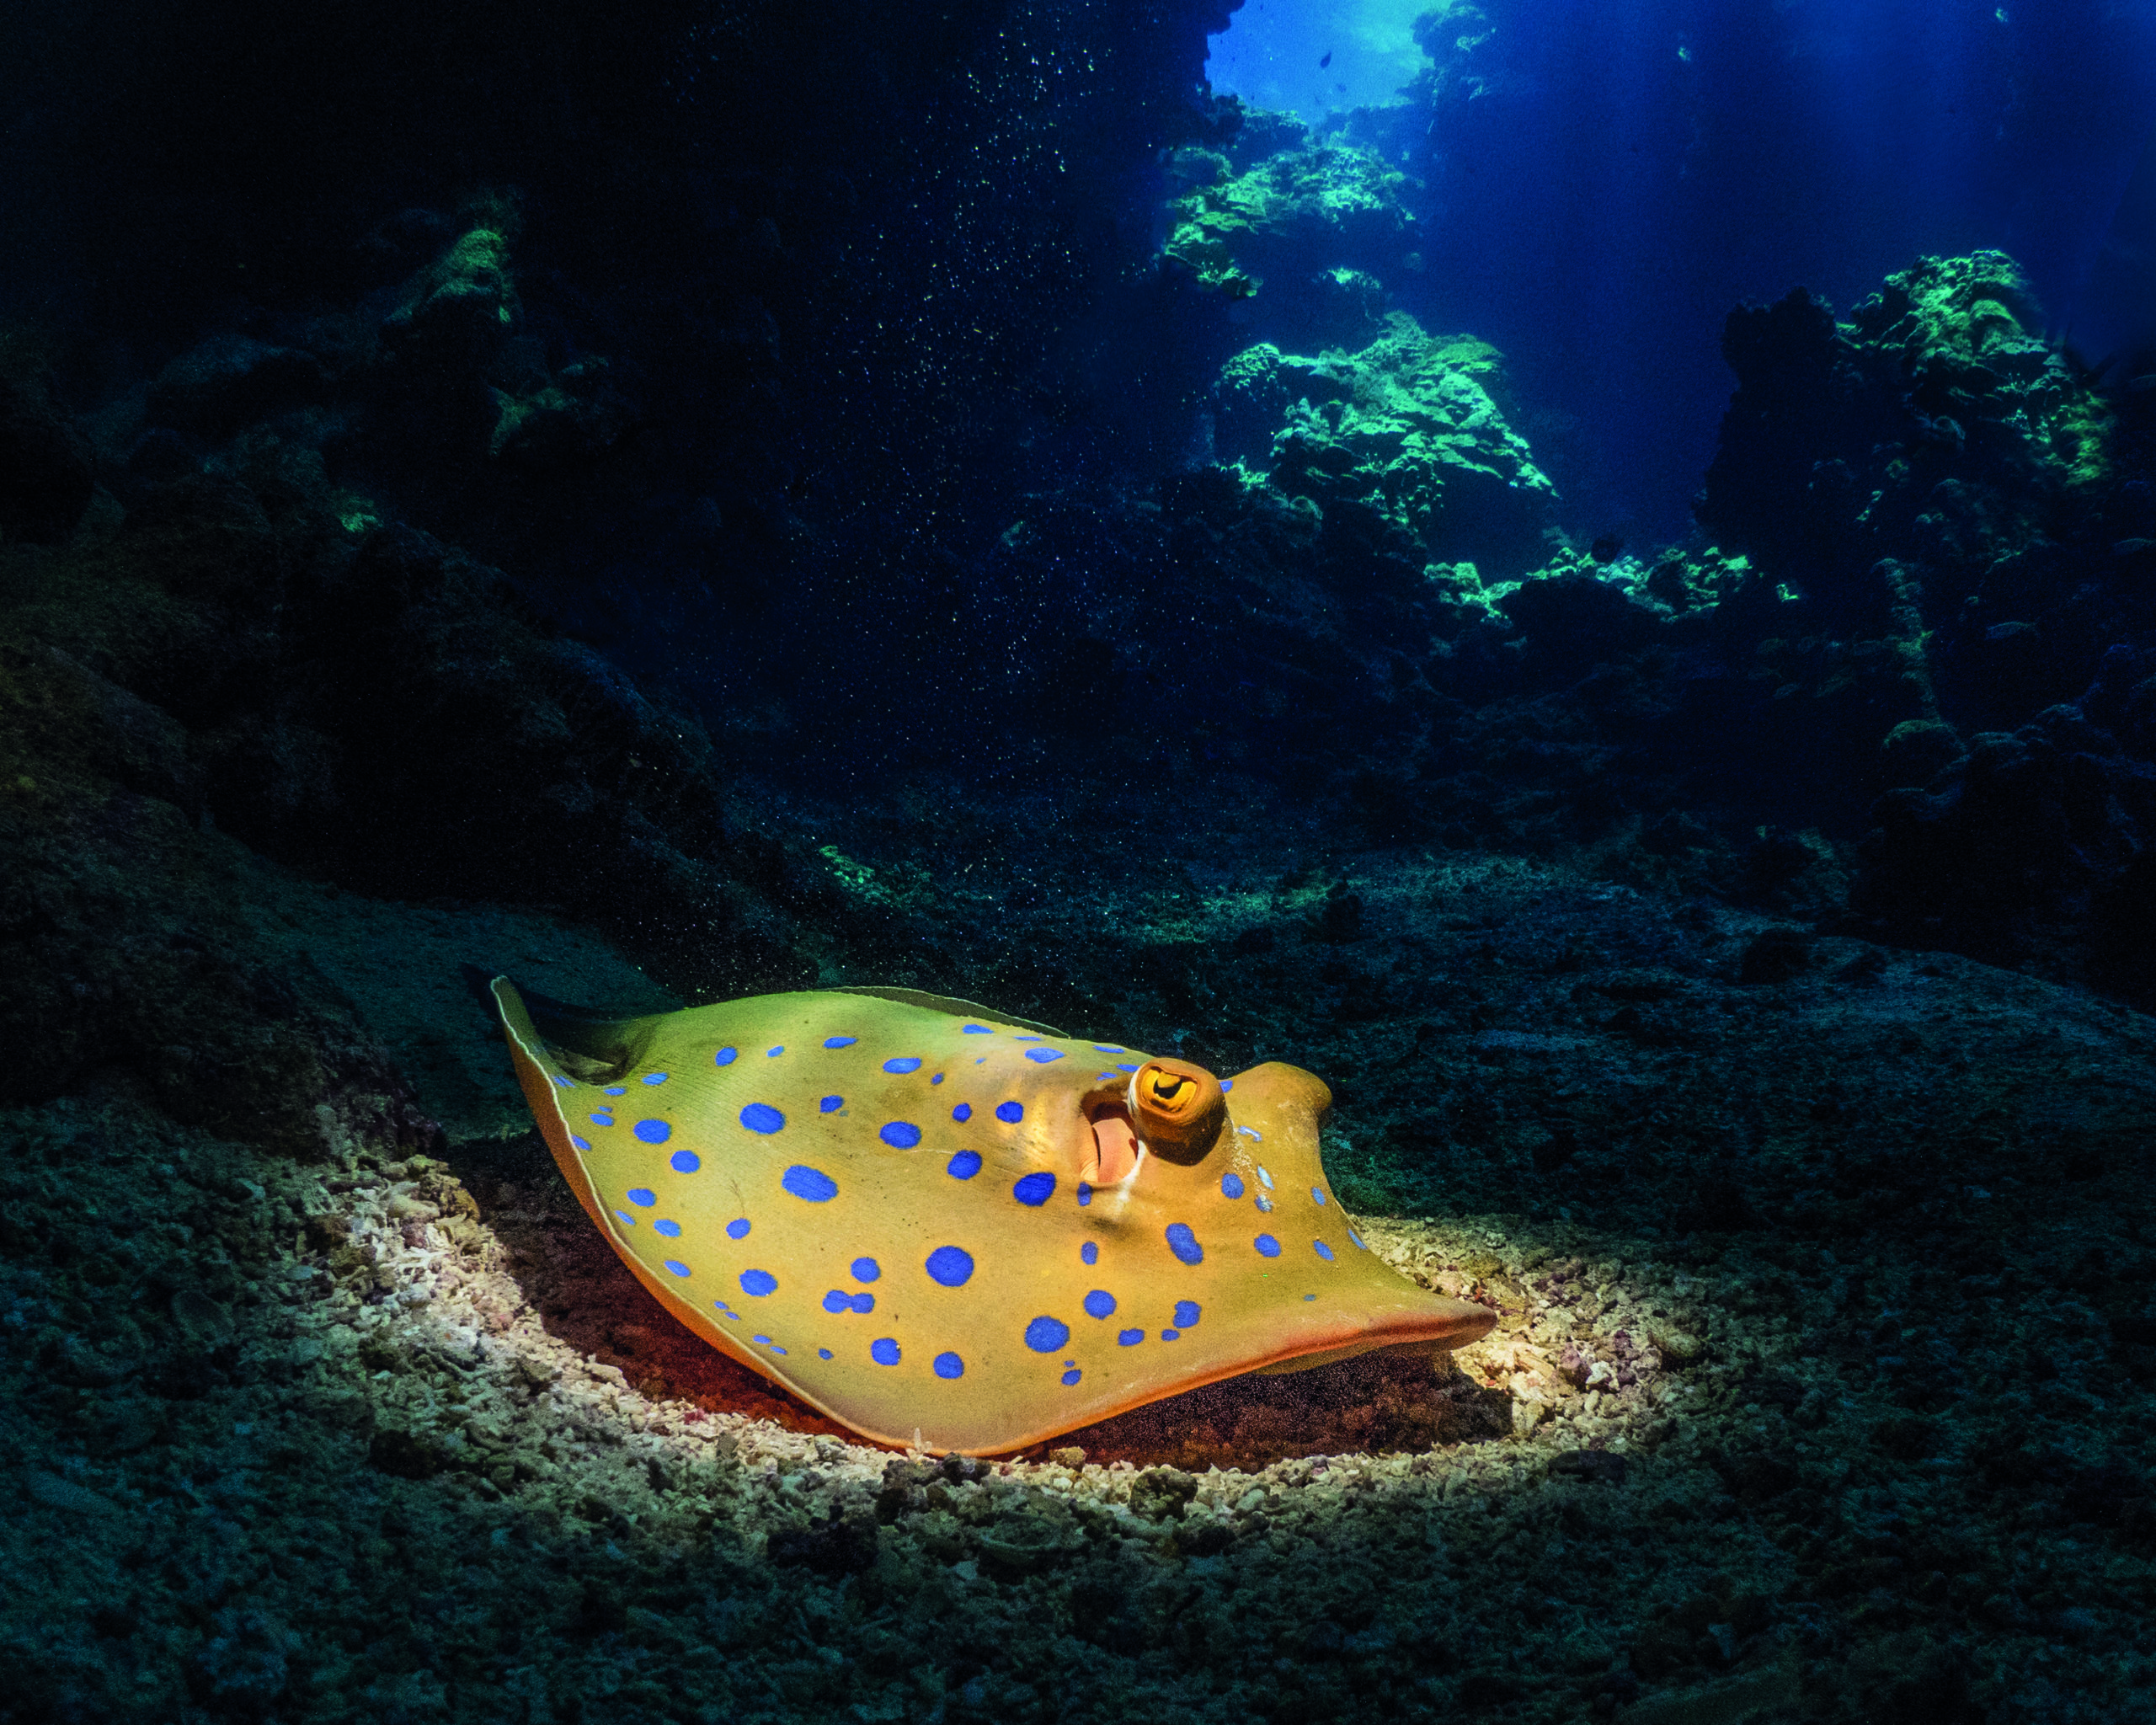
Once your exposure is sorted, look through the viewfinder or LCD screen and think about the composition. Sunbeams look better when you can see where they start and finish. A diver in the scene will act as a focal point.
Framing your shot from the inside of a cave towards the outside opens a great range of compositional options. Have a chat with your dive buddy before the dive, agree some basic communication signals and help each other by acting as a model.
From the inside, expose for the open water outside, this will usually imply using a fast shutter speed, a diver or a passing fish will be perfectly silhouetted against the blue.
Caves and cavern photography is mostly an ambient light affair. For that reason, I usually leave my flashguns on the boat so I have a bit more manoeuvrability. However, if there are some great rocks or coral formations, a strobe can help lighting it.
If that is the case, set up the exposure as on any other ambient light shot, set the strobe power relatively low and try to aim it so you are lighting only the subject and not the rest of the cave.
Over the years I have found that a strobe with a relatively narrow beam or a wide-ish snoot works perfectly in these situations. A snoot will also help to control the backscatter which inside a cave can be a serious consideration.
Caves
Some dives such as the cenotes in Mexico or Chandelier Cave in Palau will take you a bit deeper underground, but always have a faint glimpse of light in the distance marking the exit and quite probably a pocket of breathable air above you, though you will be in a much darker environment. Because the ambient light is negligible, you will depend entirely on the light from your flashguns. This means that the shutter speed is irrelevant. Use the aperture to control the power of your strobe and aim it carefully to avoid backscatter or hot spots.
A diver in the shot will help to give a sense of scale to your shot.
Final Notes
We are all used to colourful pictures of fish and corals however there is something special about caverns and caves. These atmospheric shots always give me a peaceful feeling. The purity of working with ambient light to create a moody atmosphere always takes me back to my beginning as a photographer shooting landscapes.
Bio Mario
For nearly 30 years, Mario has sailed the globe and dived the seas, working as a PADI instructor and dive guide. Today, he shares his passion for underwater photography. His students love his real-world expertise and patient approach. He has an extensive working knowledge of all underwater camera systems, having spent several years at the UK’s largest photo retailer. Mario’s images have won several awards and he has featured not once, but twice, among the top categories at the prestigious Underwater Photographer of the Year, including Most Promising British Underwater Photographer in 2015.
Photographs by Mario Vitalini / Visit FishInfocus Website
