Paul ‘Duxy' Duxfield takes a look at the art of shooting split-shots, and offers some sage hints and advice to get you on the right track to creating some stunning images
Recently I was asked by a person on my Q&A Facebook page about a specific type of underwater photograph. And as so many people find this type of image somewhat ‘problematic’, I was tempted to title this piece ‘Splitting Headaches’, but like most underwater shooting, as long as you follow some simple rules you should quickly achieve a high success rate.
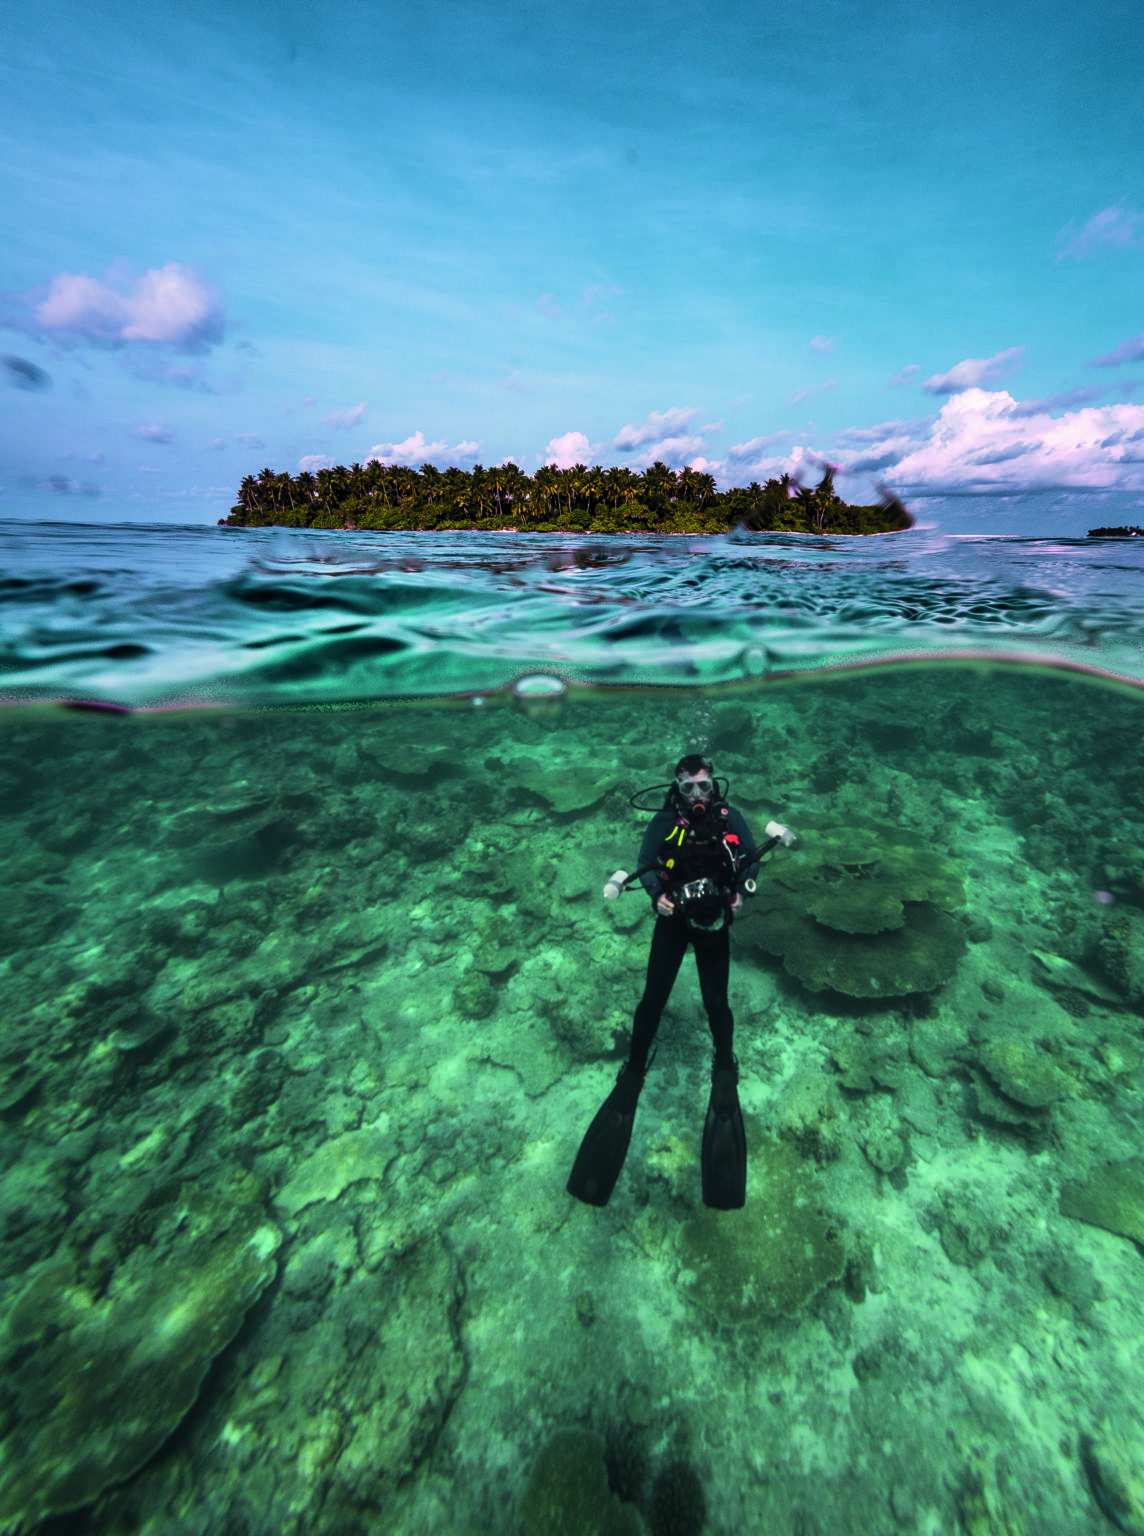
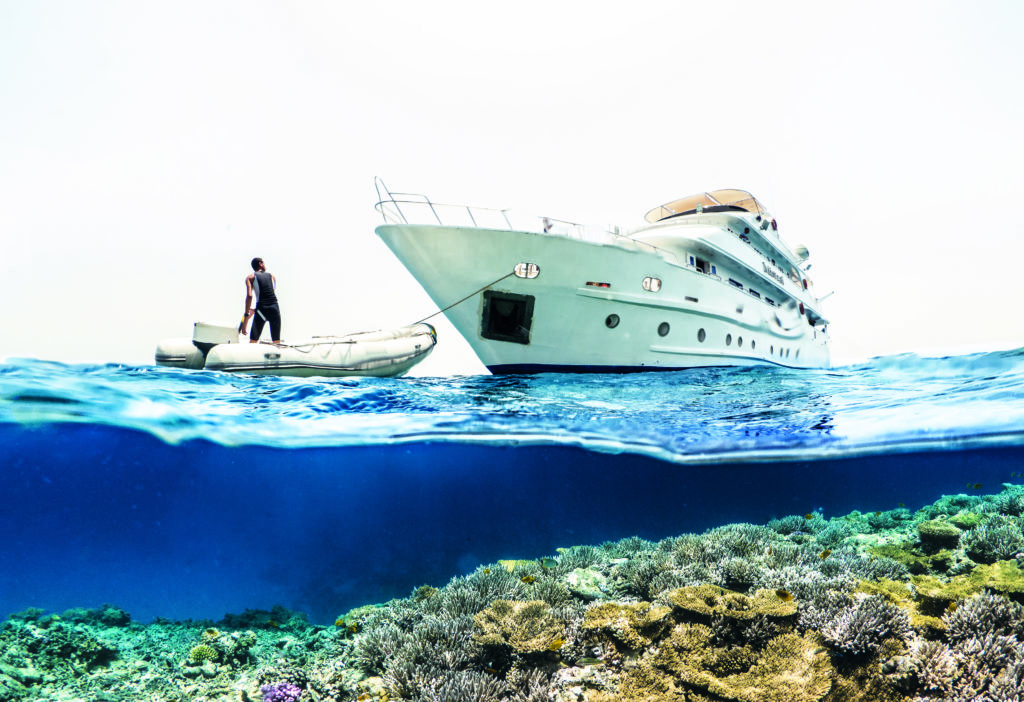
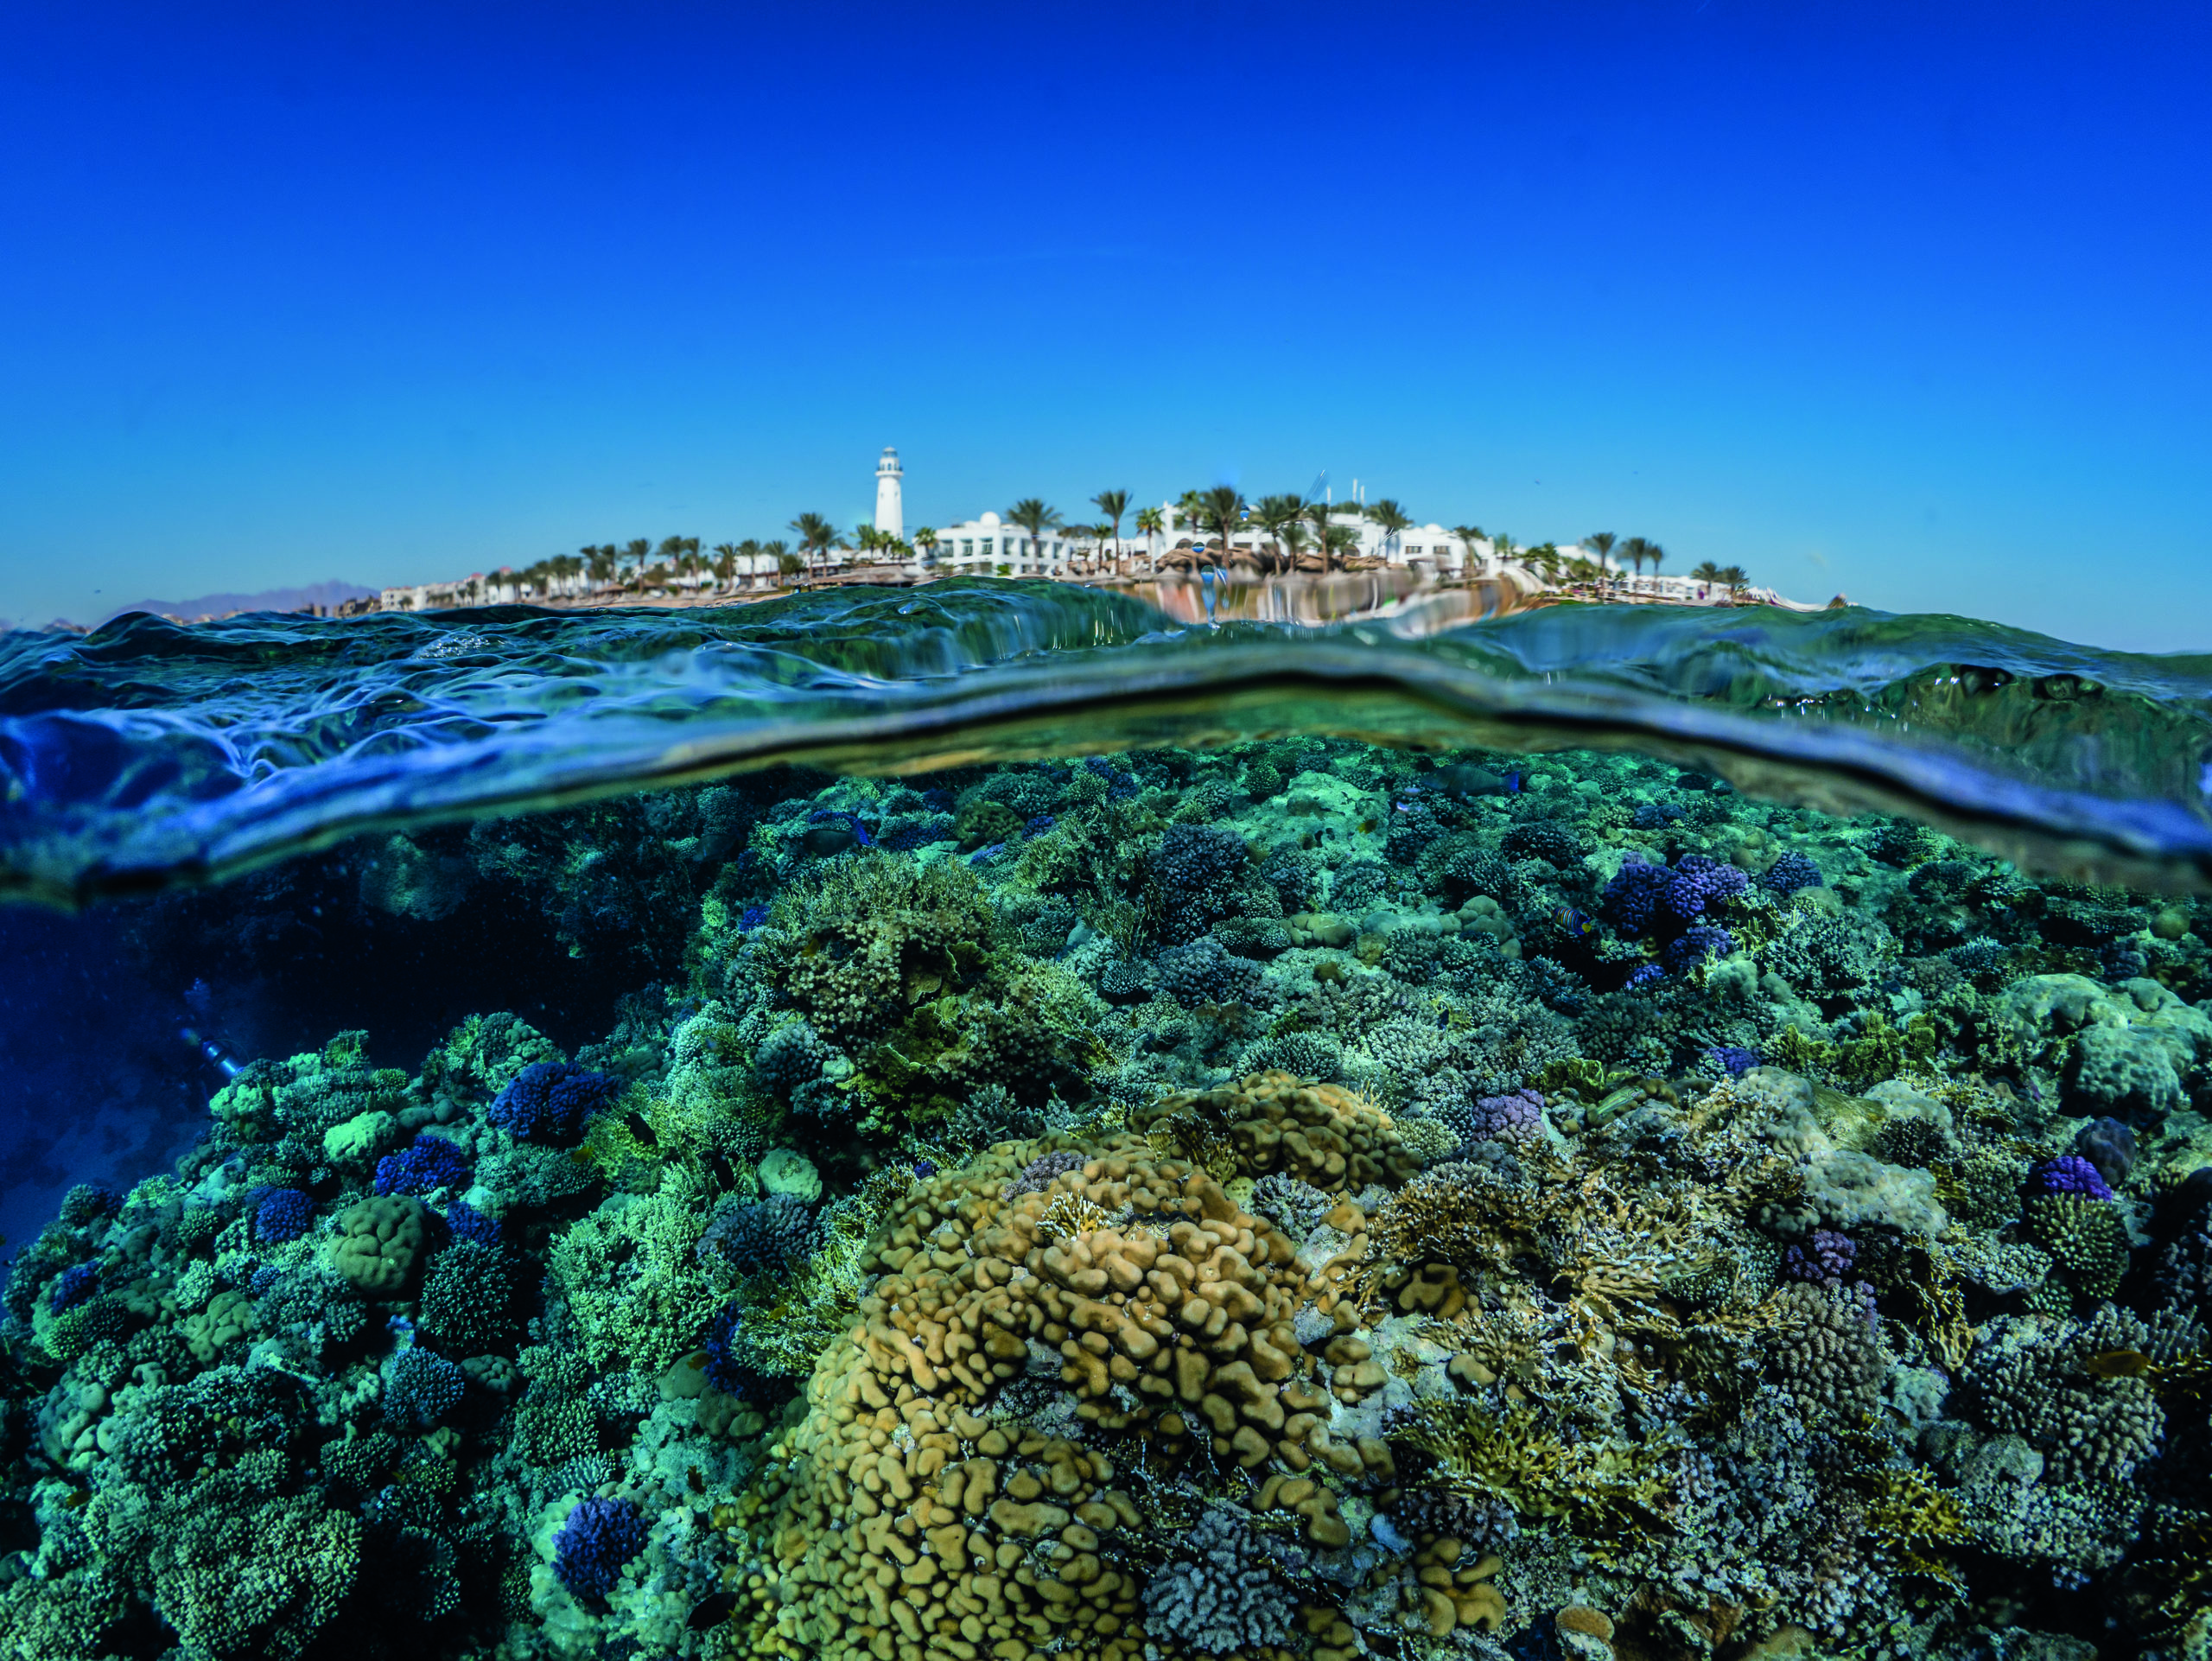
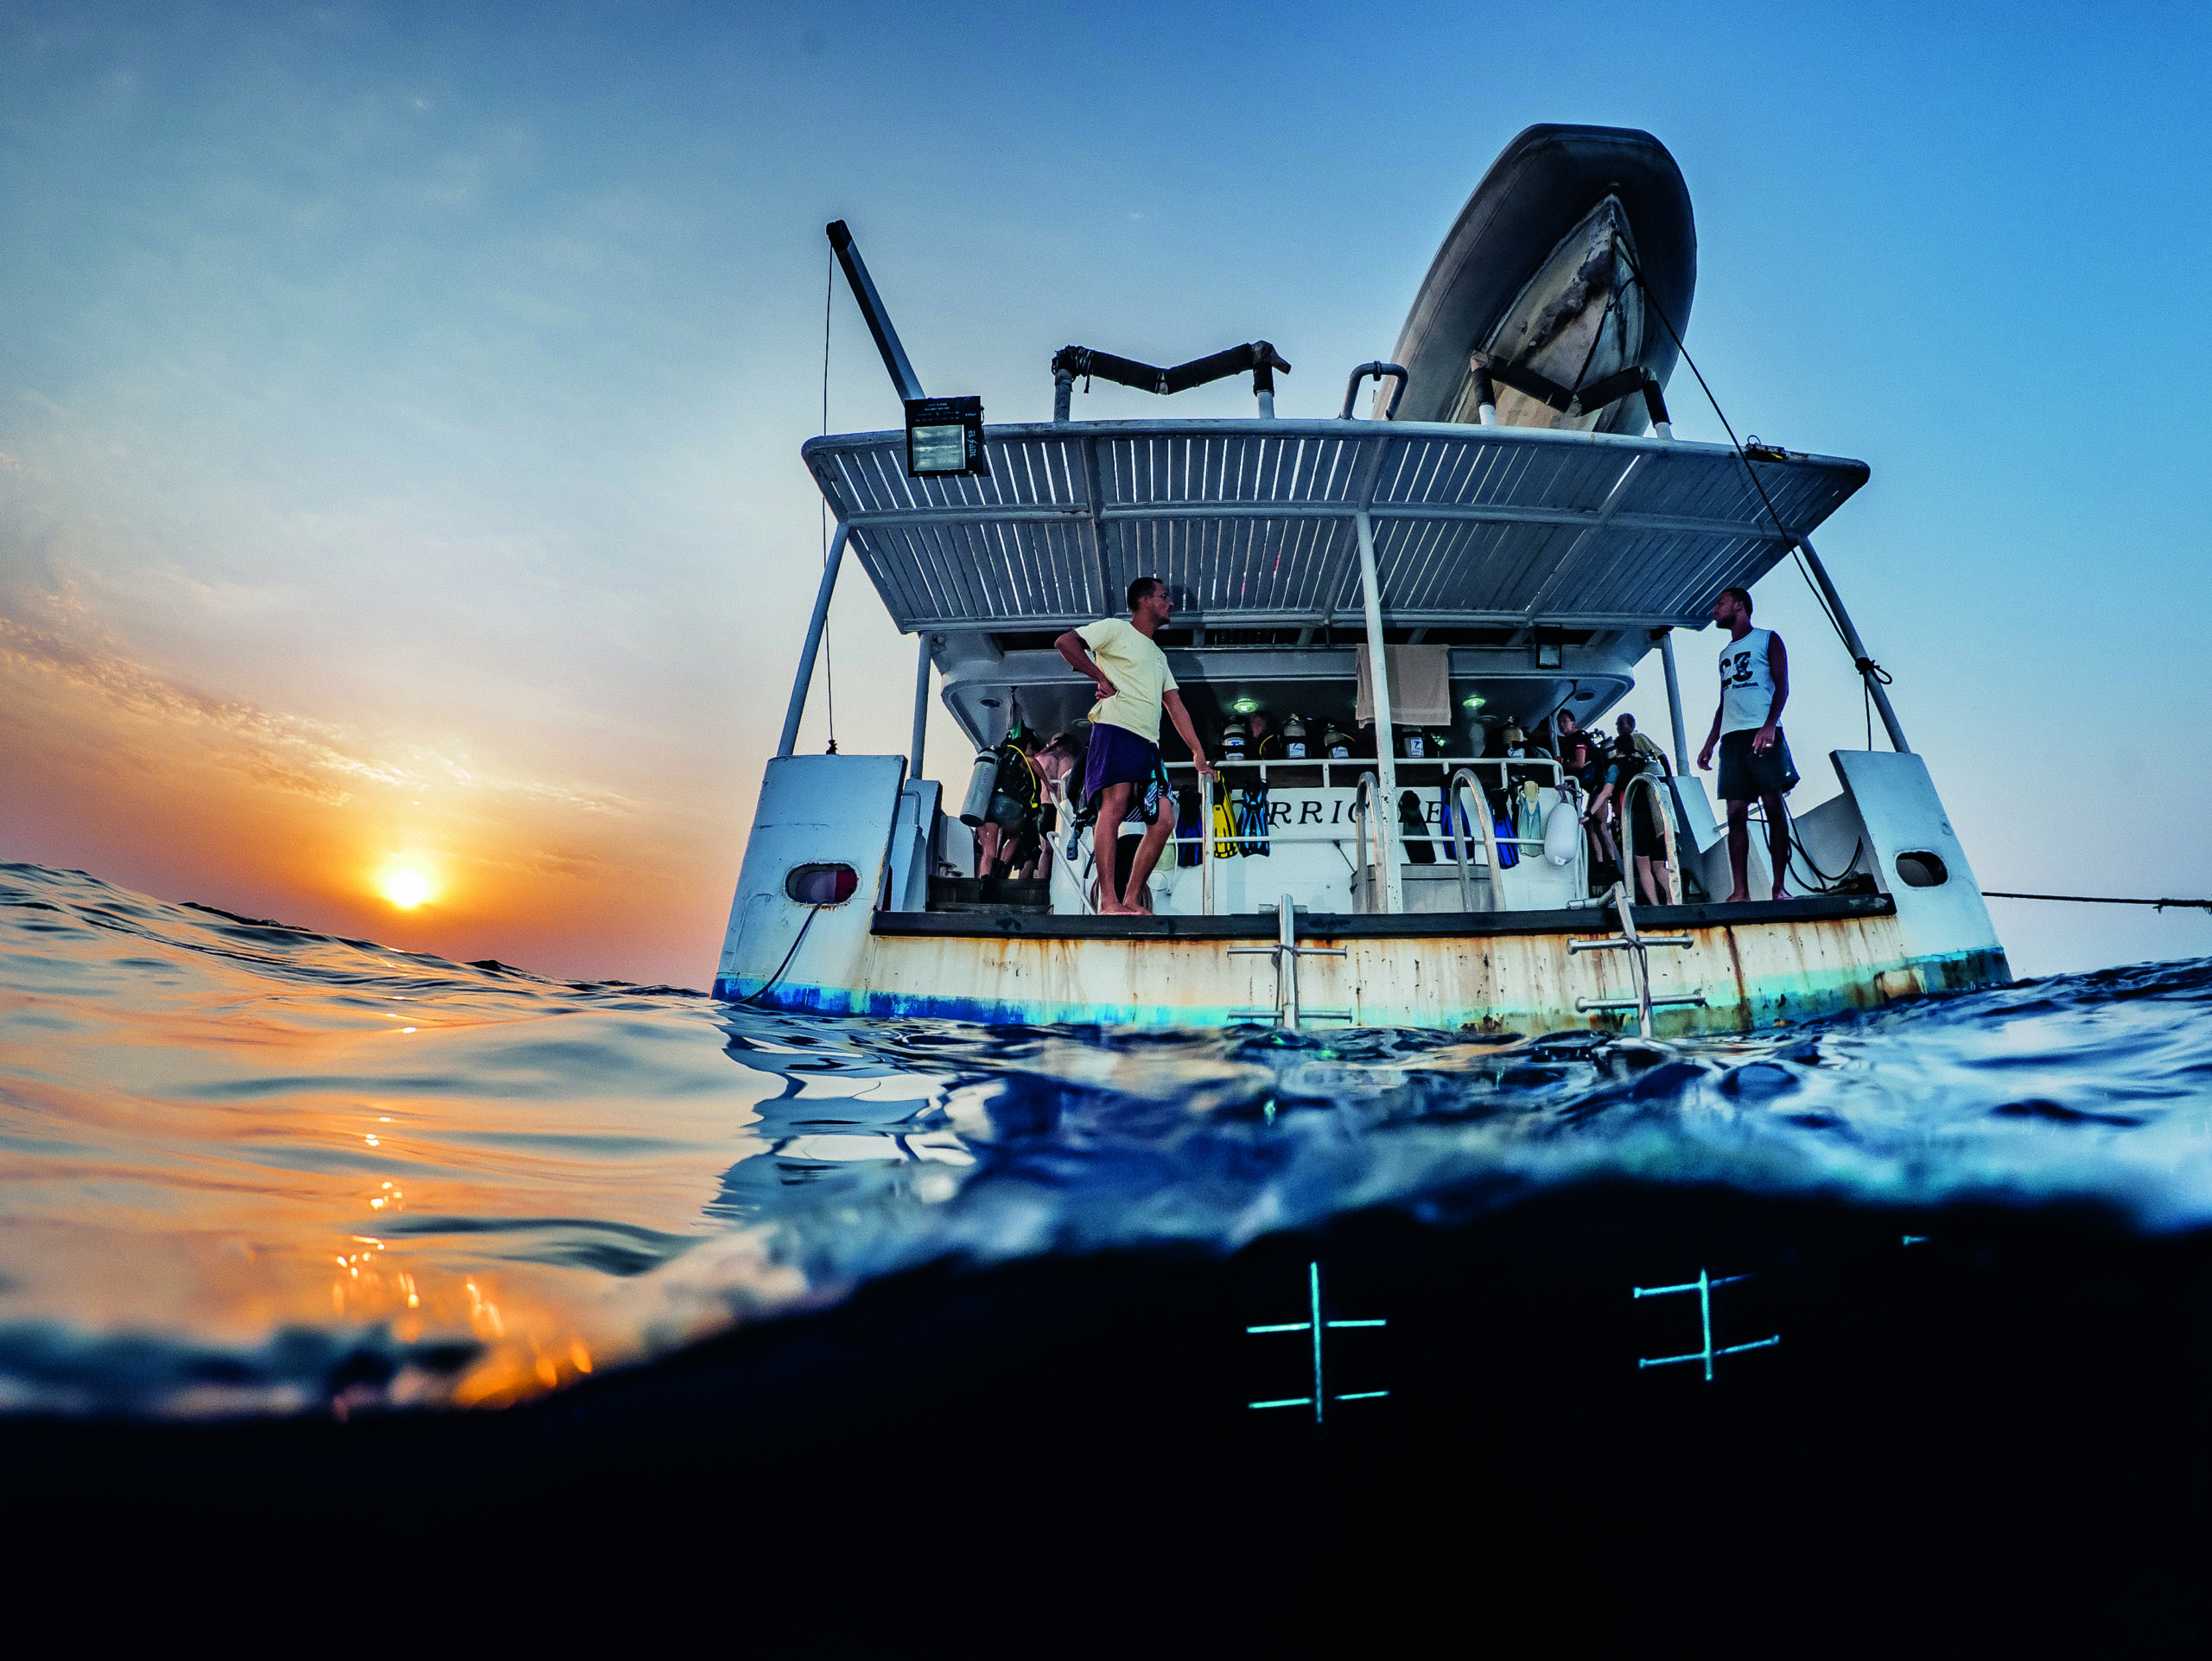
So, what sort of picture am I talking about? As if you hadn’t guessed already, it’s the sub-genre of wide-angle shooting called a split-shot or a half-half. And I’m sure you’ve seen the many examples that us underwater photographers post on our Facebook and Instagram pages.
Why we like them?
I can’t answer for everyone but I personally like a split-shot as it seems to unite the two worlds we divers exist in, and demonstrates to our non-diving brethren what lies just beneath the surface waters, and where we go when we descend out of sight. It’s also a great way to illustrate travel articles and shows that you really don’t need to go deep at all to get great shots. It also really suits travel articles as it ‘sells’ the fun and excitement of diving. And let’s face it, they look cool.
The right gear for the job
This is a wide-angle lens technique, and this sort of shot can be achieved with either a very wide-angle regular lens, or more commonly a fisheye lens attached to your DSLR or Mirrorless camera. This will be inside a dome port and they come in a variety of sizes from around 4.5” across to up to 10” in some cases.
What size dome you use will be dictated by the type of camera you’re shooting with and the size of the sensor inside that camera, and what is available for your set up. I’ll go into the finer technical details in the next section.
It’s also worth mentioning that you can still do a reasonable half-half shot with a compact camera and an additional wide-angle lens convertor.
It’s more difficult but if you work hard you’ll still be able to take this type of shot, I’ve included a shot I took with a compact camera and an add-on lens to show you that it’s all very do-able.
Gear Technicalities
I shoot mostly with a Mirrorless 4/3 sensor camera, and the smaller sensor than full frame allows me some freedoms with regard to the kit I can use for decent split-shots.
With my choice of sensor size, I can attach a fisheye lens to my camera and still get great quality with a smaller dome port than those with full-frame sensors can get away with, so the dome I use all the time is a Nauticam 4.33 dome, which is tiny by comparison to some of the 8” and 9” dome ports that are generally a necessity for those shooting with the larger sensor cameras, it’s also a lot less expensive and as it’s acrylic, any scratches can be polished out with a bit of elbow grease.

So while those with larger sensors can argue that their cameras are capable of higher quality with regards to resolution, dynamic range and noise, this is offset by the greater inconvenience, and cost of wielding a much-larger chunk of glass or acrylic in a big dome port.
However, it can also be argued that it’s easier to get a good split-shot with a larger dome, as the waterline can be more easily managed with the greater room afforded by a larger dome. Although to guarantee sharpness at the edges of the frame with a full-frame sensor and large dome you’ll need to shoot with smaller apertures, which in turn may well mean that you’ll need to increase your ISO to guarantee a fast-enough shutter speed to hold things steady, offsetting some of the gains you’ve made with the larger sensor with the extra noise penalty.
So it really is a bit of a balancing act and you’ll have to decide what your priorities are and what you can afford in the end.
Photographs by Paul Duxfield
