Following his last article on getting the basics right with macro photography, Martyn Guess provides some ideas on how to use different lighting techniques rather than just point the strobe straight at the subject
As I said in my last article, ‘good macro photography requires us to follow a few basic rules and then to apply these to our images. As well as being well composed, striking and colourful, with maybe some interesting behaviour, it is critical that the image is creatively and well lit’.
There are various lighting techniques that you can use (or put simply – putting your strobe (flash) or strobes in positions that will help you get better results) that will help you to separate the subject from a messy and distracting background, make the subject pop and help show texture and a 3D effect. If used carefully these techniques will then show off the subject in the best possible light (no pun intended!).
Most underwater photographers starting out are just happy to get enough light on a subject so that the viewer can see what it is. The strobe position at this stage is normally just pointing straight out from the housing, directly at the subject and the background behind. Everything in the frame is then illuminated and backscatter can be an issue.
Compact users with just the in-built flash have only this choice of lighting. If, however, you have graduated to an external strobe or strobes then the position of the strobe can be adjusted so that the angle of light hitting the subject is directed in the best way to suit the subject and its position.
CROSS LIGHTING
Helps you separate the subject from the background and add texture. The picture shows the strobe positions for this technique, which are basically pointing straight at each other or the side of the port. Strobes have a remarkably wide angle of coverage so don’t be afraid to turn them away from the critter you are shooting.


If only using one strobe, the position is the same and the lighting will be more directional, with strong shadows on the side of the subject without any light, which can be very effective.
I regularly turn one strobe off when using this technique. Cross lighting limits the light hitting the background and it is this directional light which adds texture to your subject and can give a 3D effect (see the moray image which was lit using this technique).
For smaller subjects the strobes are pushed closer together and to the port and pulled further apart for larger subjects and for softer lighting. Try and shoot upwards into the water column by getting low to the subject. as this will help darken the background. Backscatter is not an issue.
Use longer strobe arms to enable you to push the strobes forward. If you move closer to the subject, you can introduce some back lighting where the rear of the subject is starting to get light.
Great for subjects like hairy frogfish. One of the strobes if using two can be turned down slightly to help create a softer and more natural light effect. Like anything in photography practice, practice and practice this technique and you will soon see the difference in your images.
INWARD LIGHTING
I use this when the subject is very close to a messy background. The strobes are set pointing back towards my head (see picture). Push the strobe or strobes forward. The diffusers can be removed as you are only trying to use the edge of the beam to light the subject and the edge will be harder without them. The harder light will help lift the texture of the subject too.


Inward lighting is therefore a background problem-solver and is an extreme version of crossed strobes. Push the strobes forward and wide enough so they are out of the field of view. If necessary, use longer strobe arms.
While adjusting the angle of the light I use back button focus, and if yours does, I recommend you use this (see my last article). Compose the shot and focus and then leave the button alone.
As I move the strobes around I can then go back to the same shot by moving the camera in and out – when it achieves focus I know it is in the same position and the light angle changes can take effect.
With practice you will be able to isolate the subject. Try also using a small aperture and fast shutter speed to help darken the background. The porcelain crab was shot using inward lighting and I was able to hide the rest of the anemone, which was distracting.
BACK LIGHTING
You can use a strobe with a piece of old wetsuit arm attached to reduce the light beam and a long strobe arm or arms linked together. This will enable you to position the strobe behind the subject.


Clearly this method of lighting can only be used where the critter is in a position which enables you to get a light behind without disturbing it or the reef! I prefer to use a narrow beam torch, which is far easier to position, or to get the guide or a buddy to hold. I always carry such a torch in my pocket on macro dives.
Back lighting will transform anything hairy or see-through or something with an interesting shape or edge, such as a seahorse or Rhinopias. This technique will elevate the image to something very memorable if done well. It is also great for hiding backgrounds.
It is an easy method of lighting to achieve good results without too much practice. You can just rely on the back light which will create a slightly mystical image, or you can also introduce a blip of light from your strobe position to light the front of the subject and allow the viewer to see the subject more clearly, but still maintain an edge light from the back around the subject to give it considerable impact.
The image of the purple weedy Rhinopias is an example of back lighting with a little front light allowing you to see the wonderful pattern of the fish’s skin. The back lighting gives the subject great impact.
The camera should be positioned so that it is in the shade of the back light, so move your position so you cannot actually see the light beam in the viewfinder. A strobe will give a bigger back light than a torch, so has to be positioned well out of the frame.
Conclusion
All three techniques will help you get better images. As a photographer you can choose which to apply to suit the subject and its position. As a rule, I nearly always use one of these methods but in addition, also tend to take a diffuser off when shooting frogfish, and turn one strobe off when shooting a subject sitting on the sand so that I can create a shadow to set it off against.
A lot of information to take on board, but concentrate on these basics and I am confident your images will start to take a quantum leap forward. Next time – dealing with black sand or muck, and introducing Snoot lighting…
MY ESCORTED TRIPS
Want to learn how to take or improve your underwater images? Why not come on a photo-specific trip? These trips are meticulously planned to the best destinations at the best time of year where the conditions should be perfect for building a portfolio of great images.
The workshops, which are for all levels of experience but mainly aimed at people with a few trips under their belts, include classroom sessions and presentations as well as in-water help and guidance, all done in a relaxed and non-competitive friendly environment.
I am leading a trip for Scuba Travel to Lembeh Resort in Indonesia in Oct/Nov 2022.
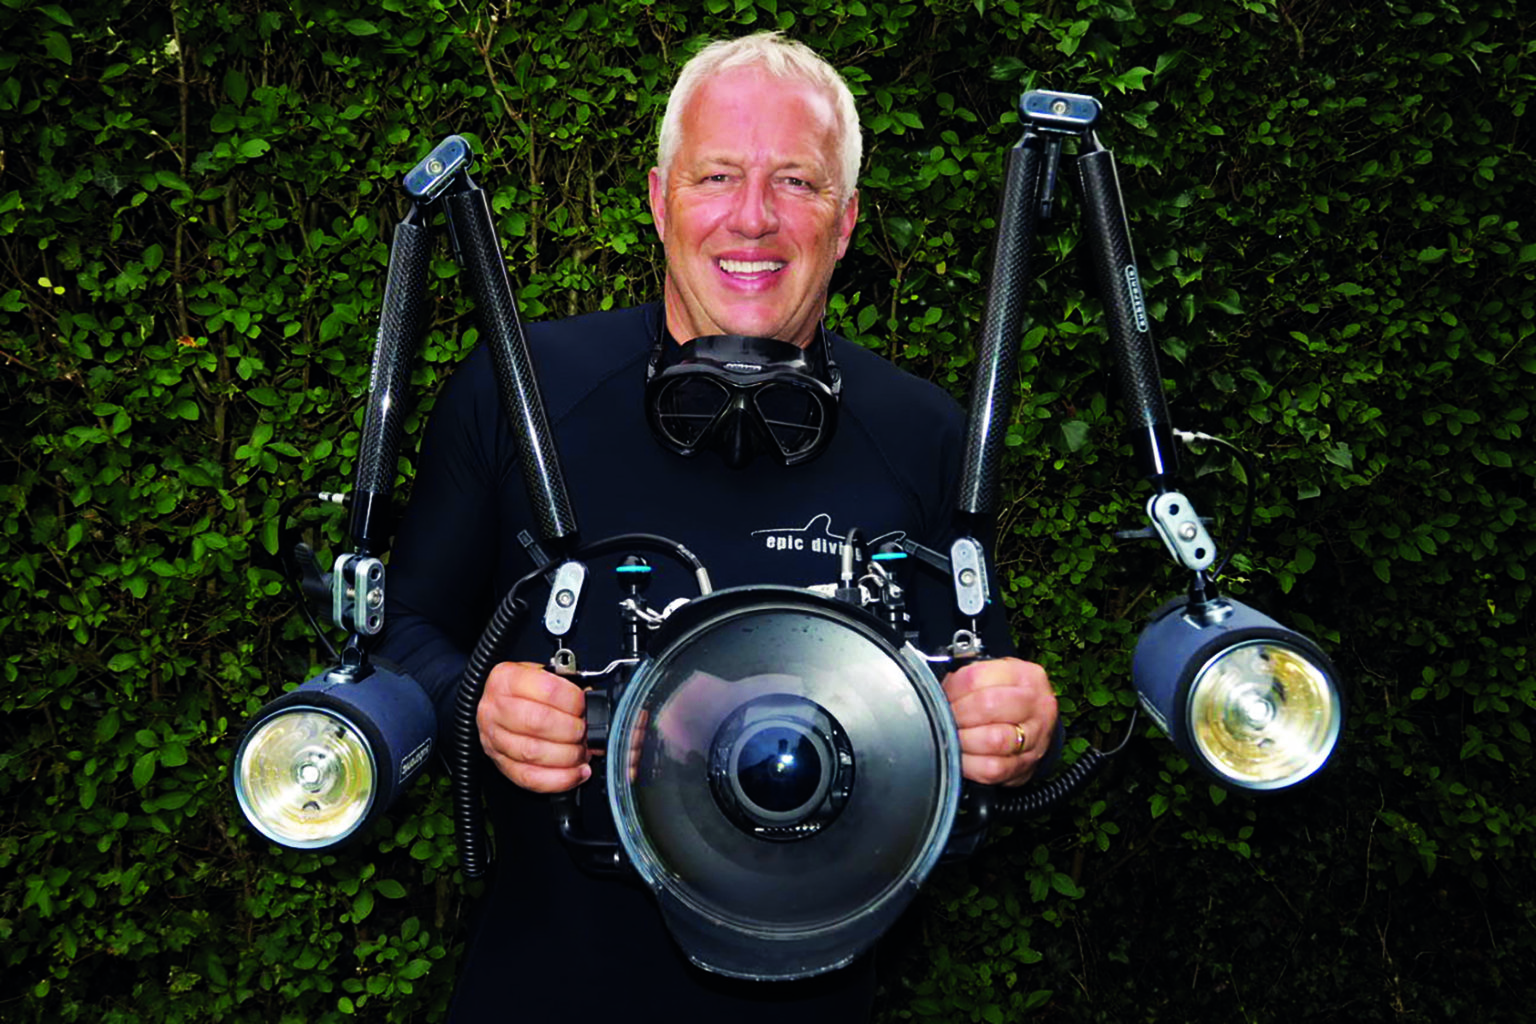
BIOGRAPHY – MARTYN GUESS
Martyn has been diving for over 30 years and taking underwater images for nearly 25 years. He has been very successful in National and International competitions and regularly makes presentations to Camera and Photography clubs as well as BSOUP (The British Society of Underwater Photographers) Today he shares his passion and knowledge, and as well as teaching underwater photography courses he leads overseas workshop trips for Scuba Travel.
Photographs by Martyn Guess