Phil Medcalf discusses the importance of a ‘good’ background, be that blue water or a vibrant piece of coral or sponge, and how it can add a new dimension to your photographs
When learning most skills, there are stages when something clicks into place and it feels like you’ve made a sudden jump upwards in your ability to achieve what you wanted.
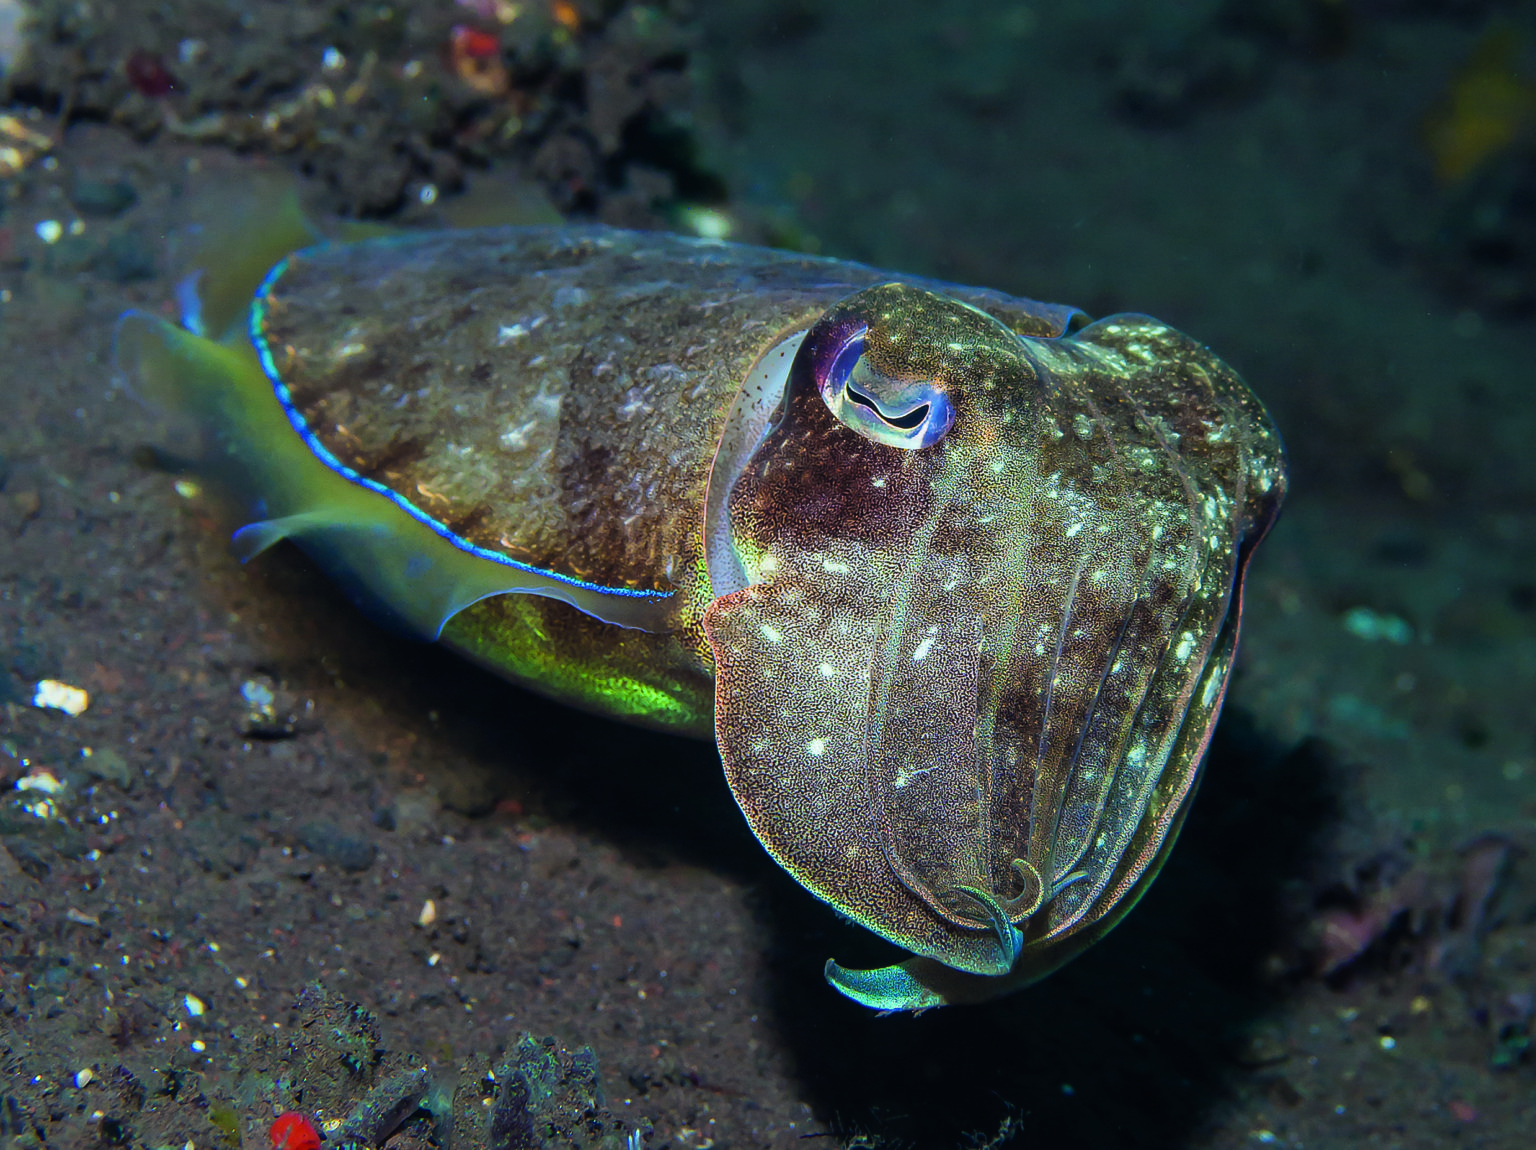
For me, one of these epiphanies happened in my underwater photography on a trip to Bali some years ago. Much of the diving was over a seabed made up of unpleasant-looking silt and volcanic sand. This is the case in many of the world's top macro photography destinations, such as the famous Lembeh Straits in North Sulawesi, where the term ‘muck diving’ was coined.
After a day or so of taking pictures of the extraordinary macro life that could be seen on every dive, it became clear to me that what was letting my pictures down was the surroundings, not the subjects or my camera settings.
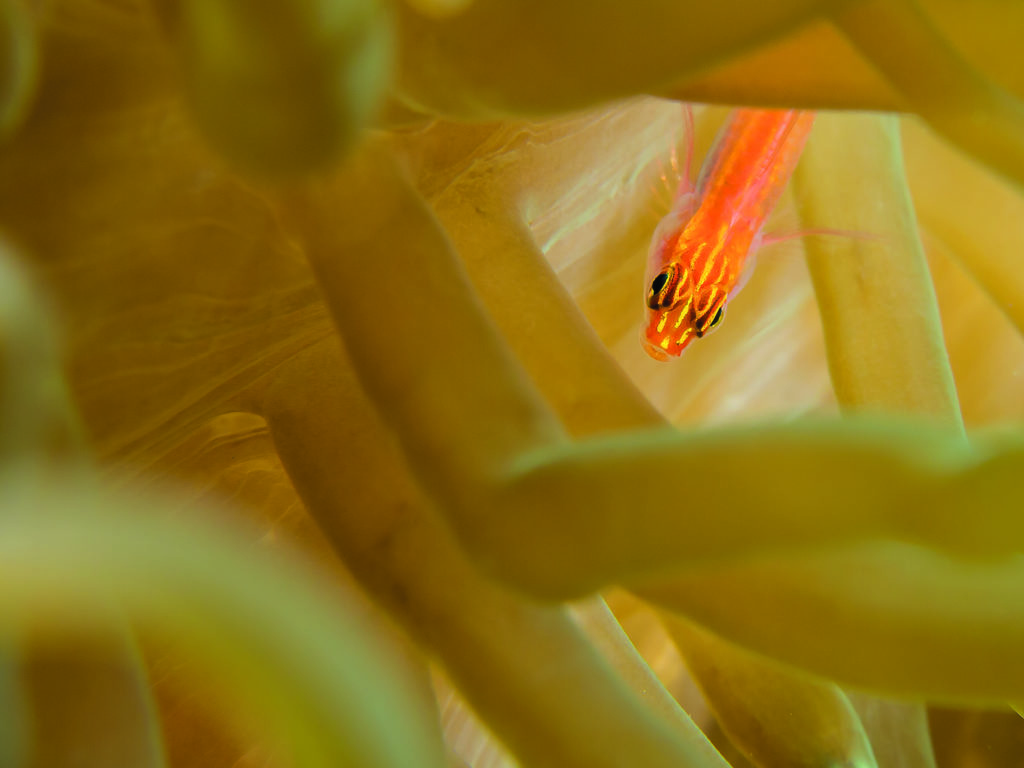
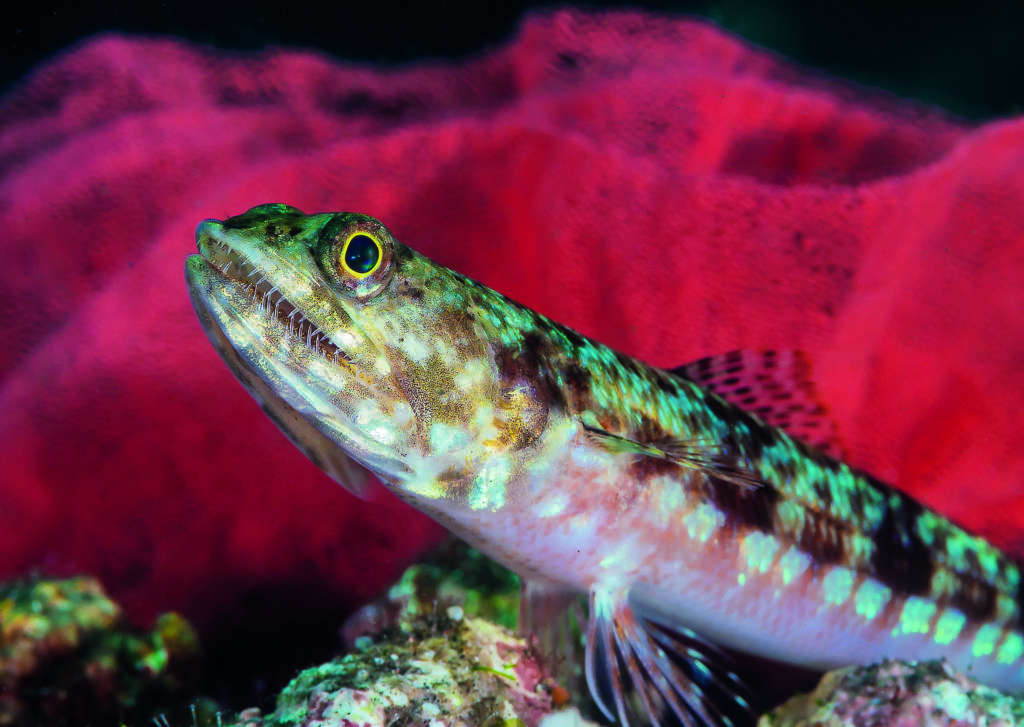
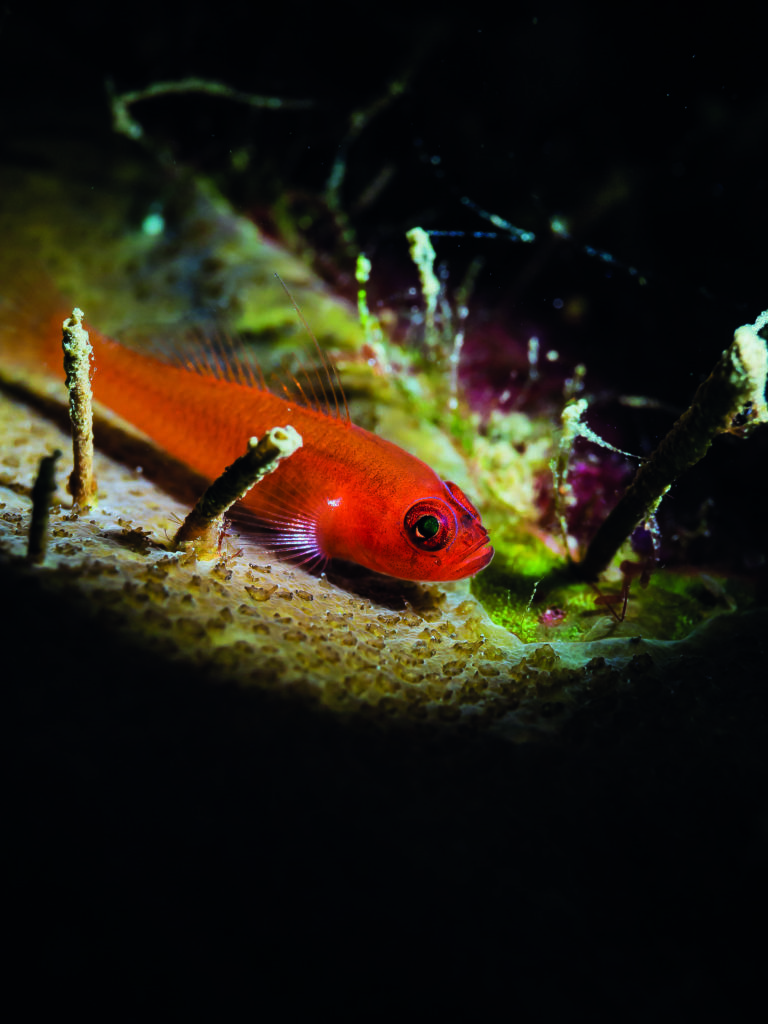
So I started looking for what I thought might make a good background in a picture and then tried to find something on that background to act as a subject. The result was mainly a lot of pictures of gobies against sponges and soft corals.
Don’t get me wrong, I’m a big fan of gobies, but I do need a bit of variety to keep me interested. Most creatures that live on sponges, crinoids and similar, tend to have colouration which matches their host extremely well – this makes it difficult to get pictures of them where the critter stands out from its background.
After a few days of closely examining any interestingly coloured and patterned marine growth on the Balinese seabed in search of something to take a picture of, I started to come to a conclusion that most marine creatures are inherently unco-operative and will instinctively turn away from a photographer.
The last few days I chose to adapt my original ‘Find a background, hope for a critter’ method to the more complex but much more satisfying ‘Find a co-operative subject, hope it is against a good background, if not move on’.
What I found after all this was that the images I produced once I started putting effort into the background were often considerably better than the shots where I just located the creature and tried to get a picture of it. How one handles the background of an image is in many cases what separates it from a mundane fish ID shot and turns it into something really eye-catching.
There are numerous techniques in underwater photography to use the background in your shot to improve the composition. Many of these just require some thought and a bit of underwater manoeuvring. They can often be applied to using any camera from a simple point-and-shoot to a full-frame DSLR.
A good starting point is to think about how the subject appears against its background. Does it blend in or stand out? Will the background add to the appearance of the picture or will it be less pleasant to look at? Also think about what context you want to your picture. Do you want to show the environment a creature lives in, or isolate it from the surroundings to concentrate the viewers’ interest on the subject itself.
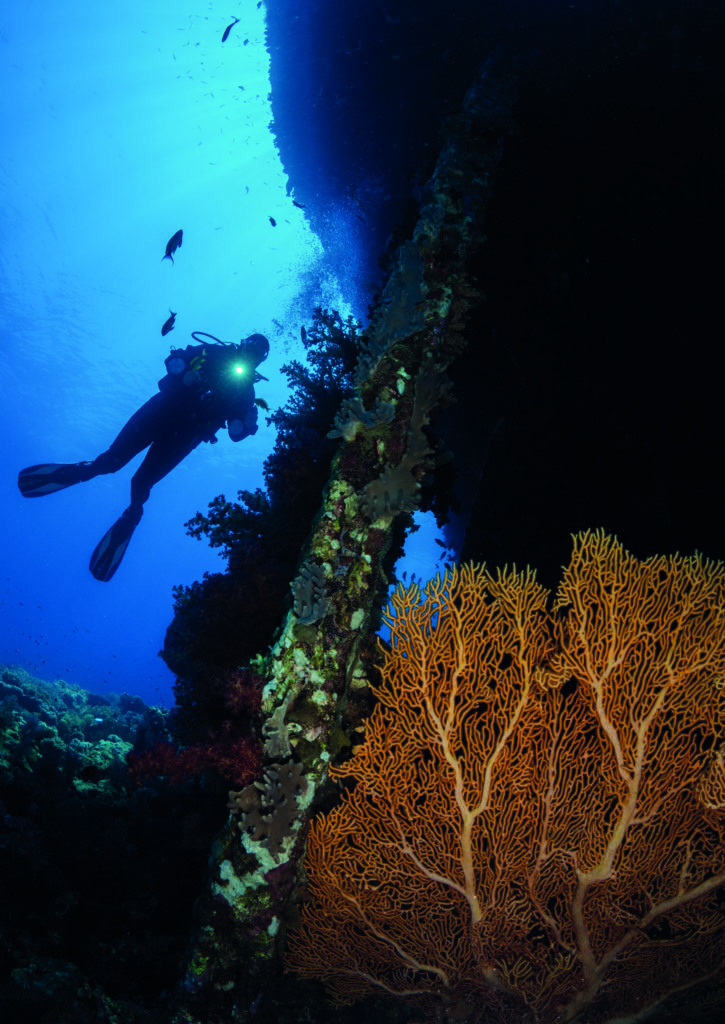
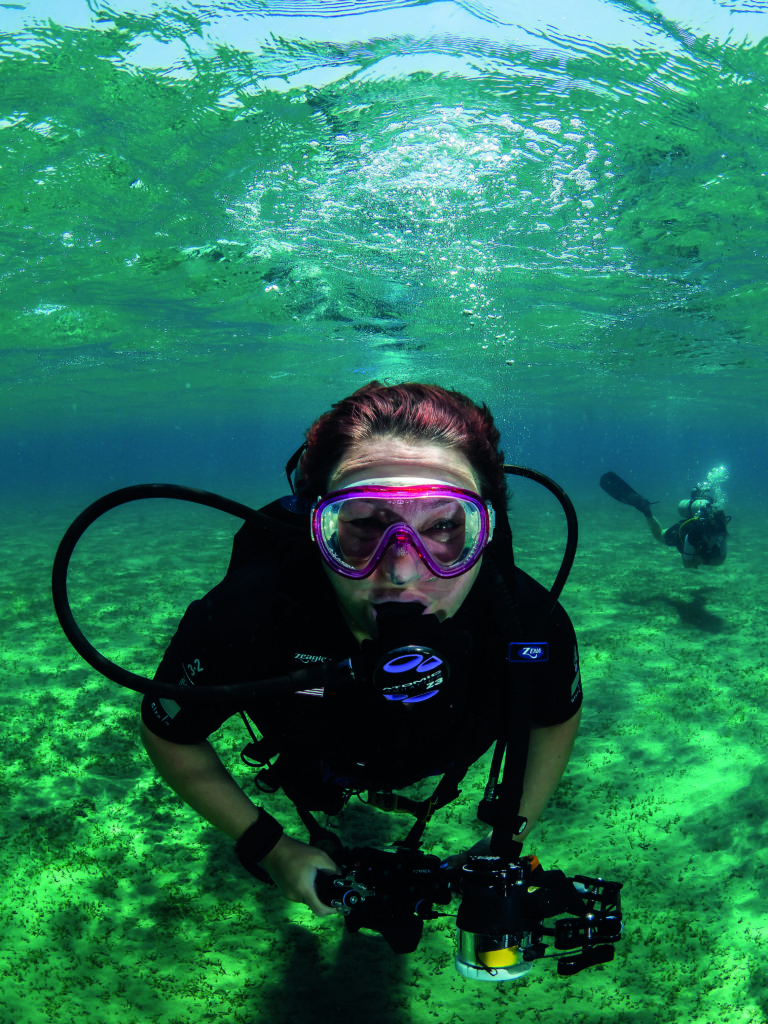
Having a good background applies to all genres of underwater picture, not just macro marine life. In wide angle, whether marine life, reef scenes or wrecks putting effort into the background elements of the picture will pay dividends. A classic example for wide-angle shooting is to try and get a diver in the shot. Not necessarily as the principle element, but to add scale and heighten the impression of the image being taken underwater. A couple of years ago, Anne and I were involved in helping to run an underwater photography print competition.
One point that was very clear from the public response to the images was that there was a real preference among those who voted for images where a diver appeared in the picture, adding a sense of scale and giving the viewer a feeling that they could be doing the dive themselves.
Where a background detracts from a shot, the simplest solution is to try and position oneself so that what is behind the subject is different. Never move a creature or allow someone else to move it to a position that makes your shot better. In my view, this isn’t appropriate, it creates a false impression of where creatures live and can be harmful to the animal.
Get your camera low. This shouldn’t involve you digging into the bottom, but if you can’t get in a position to see the camera screen or look through a viewfinder safely, think about taking a shot ‘from the hip’ by putting the camera in a position you think will work and taking a picture and reviewing it, then adjusting camera position again based on what you see from each result.
The other option if you can’t safely get into position without disturbing the bottom or the creature is to move on to another subject. Much time can be wasted pursuing a picture of something when it just isn’t well positioned. Remember there will always be something else to take a picture of, don’t waste your dive time flogging a dead horse.
Using empty water behind a subject can make it stand out and this is all about positioning. A blue background around wreck or a creature will usually be preferable than it blending into the reef behind it. Having this negative space around something works well for camouflaged marine life such as scorpionfish. A moray often looks better rearing its head above the line of the reef with a blue background behind.
Again with positioning a very effective strategy is to position your camera so that the surface can be seen in shot. This is a great way of giving the feeling of being underwater to the viewer and is ideal for wide-angle and close-focus wide-angle.
Think about layering your image with multiple elements at different distances throughout your composition. For example, a fan coral, wreck, diver and the surface.
Going beyond the blue or green of the water around a subject, coloured backgrounds can be generated simply by placing yourself so that your subject is between you and something coloured. This can be anything from an anemone or a sponge, to a larger fish or perhaps some nudibranch eggs.
Placing a white diving slate behind a creature is a fairly popular way of giving a different look to a macro shot. Coloured lighting or objects added in the background are also quite popular. Again, if you are employing this type of adjunct to your pictures, take care not to disturb the creature or its surroundings.
Moving on from physical techniques that can be applied when using any camera, there are methods using camera settings and/or lighting that can change the appearance of an underwater pictures background.
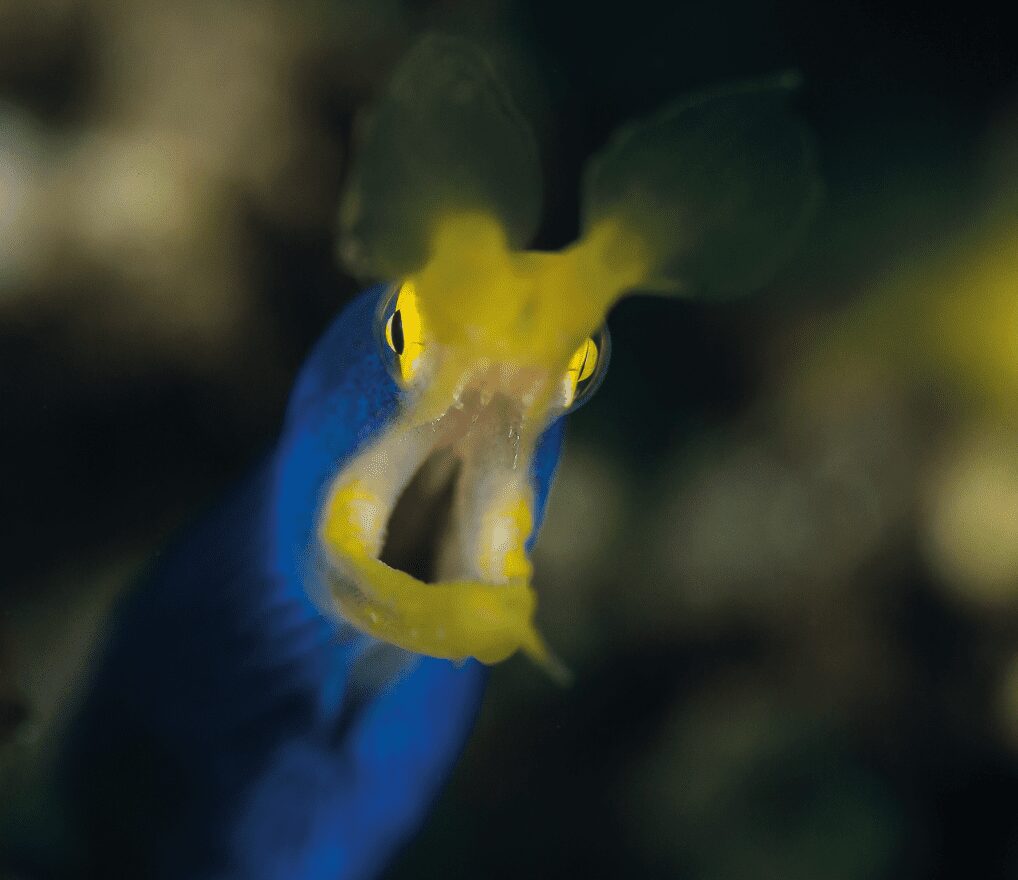
Using the blurred effect from shooting with a shallow depth of field can be a great way to reduce the distracting impact of a busy-looking background or make a camouflaged animal stand out more. Simply put, depth of field is the amount of an image that appears in focus. This lessens the closer you are to the subject, the longer the focal length of your lens and the larger the aperture you have set (smaller f number).
Using shallow depth of field can cause bokeh, where brighter parts of an image will appear as circles or geometric shapes, which can give a pleasing look to the background. Whether a camera lens produces good bokeh is often mentioned in reviews.
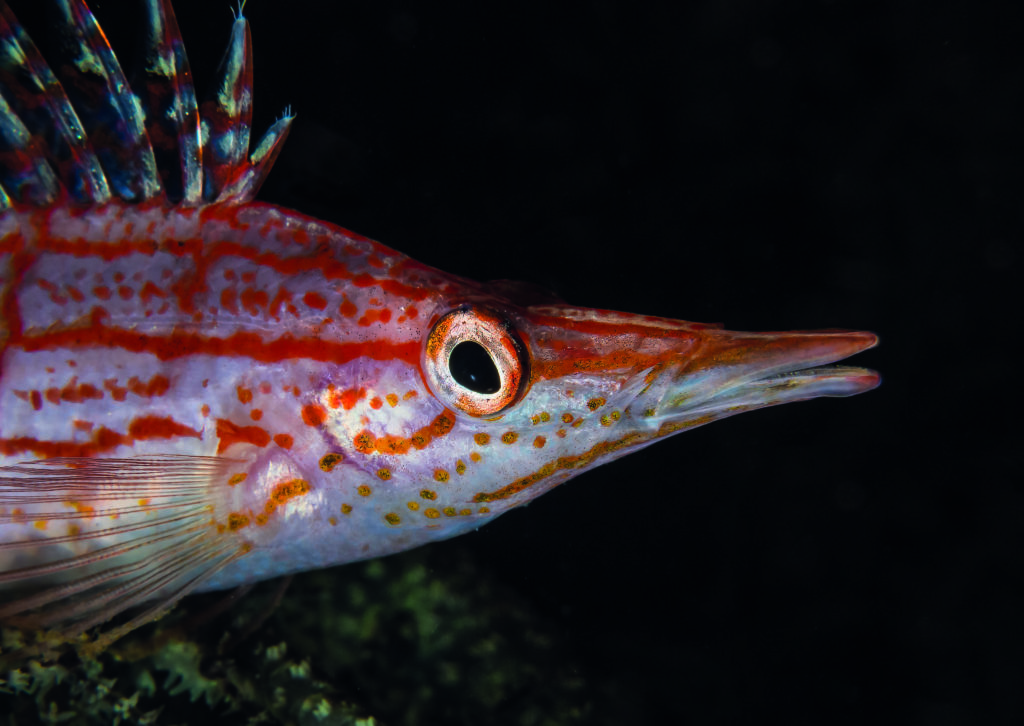
A black background is a popular option for macro photography where using a flash combined with a fast shutter speed on your camera will make the background appear dark. This is simple to do when there is plenty of empty water behind the subject, even in daylight. Where there are objects behind the subject this requires control of the strobe output and position to just paint the subject with light while not lighting up the background.
An extension of this is to use a snoot to light your subject. A snoot is a device that focuses the light into a small area so that it does not spread to light a macro subject’s surroundings.
Finally, when using a digital camera there is always the option of changing the appearance of an image using editing software. Making the subject sharper and the background out of focus or increasing contrast will improve how the subject stands out from the background.
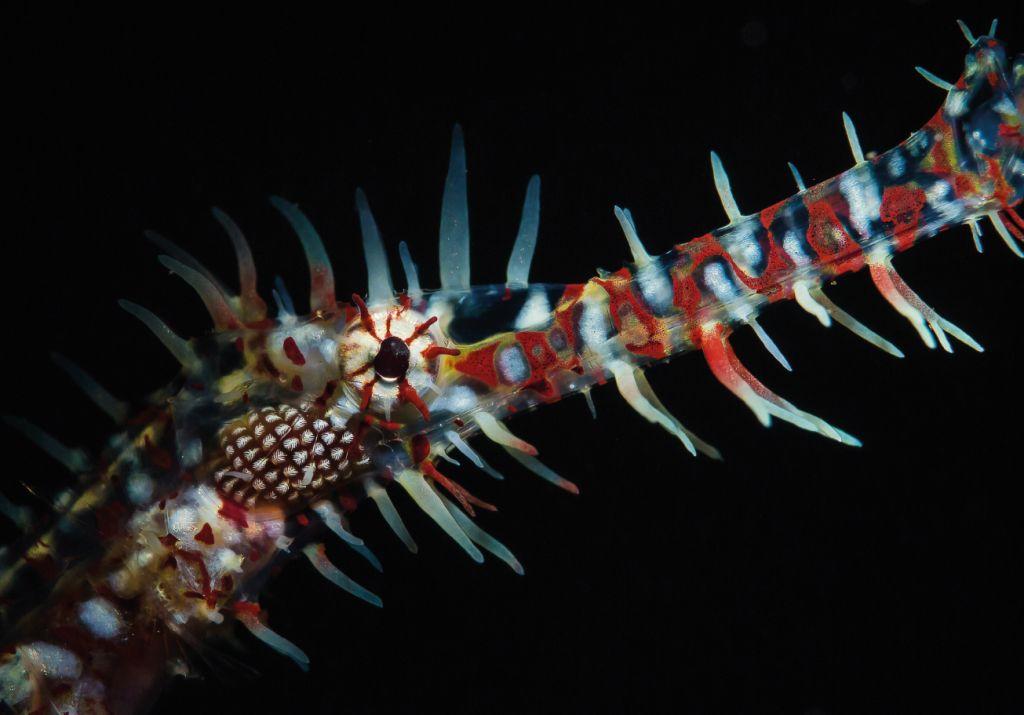
You can remove particularly distracting elements from the background using cloning or spot removal. Or you can use filters or brushes to darken backgrounds. The possibilities are almost endless and while some folk will probably feel this is cheating, I’m a firm believer that editing is part of the creative process, just as using different techniques in developing prints to change their appearance was since pretty much the invention of photography.
I suggest you try as many different techniques as you can to create new looks for your pictures Whether it be putting more thought to your positioning, playing with props, fiddling with your camera settings or enhancing things in editing. The most-important thing is enjoy yourself.
Biography: Phil Medcalf
Phil learnt to dive in 1991 while studying at the University of Sunderland and began taking pictures underwater a few years later with a budget 35mm camera and housing. He moved to digital photography in 2006 and began to get serious about shooting underwater images soon after this. He and his wife Anne have been regulars on photography workshops run by Paul ‘Duxy’ Duxfield since his first trip in 2010. Over the years, they’ve developed from keen amateurs to semi-professional photographers who run Alphamarine Photo.
Throughout his life, Phil has had a passion for the sea and marine life, and he tries to show this in his photography, talks that he does for dive clubs, and his blogging.
Alphamarine Photo
Alphamarine Photo run workshops and courses in underwater photography, photo-editing and videography hosted by dive centres and clubs, as well as organised by themselves. Beside training they are a retailer selling a range of underwater photography equipment based on a strong principle of giving the best advice and providing the customer with the equipment that meets their needs and budget.
Photographs by Phil Medcalf
