Mario Vitalini explains how using a slow shutter speed, combined with a range of different techniques, can add a whole new dimension to your underwater image portfolio.
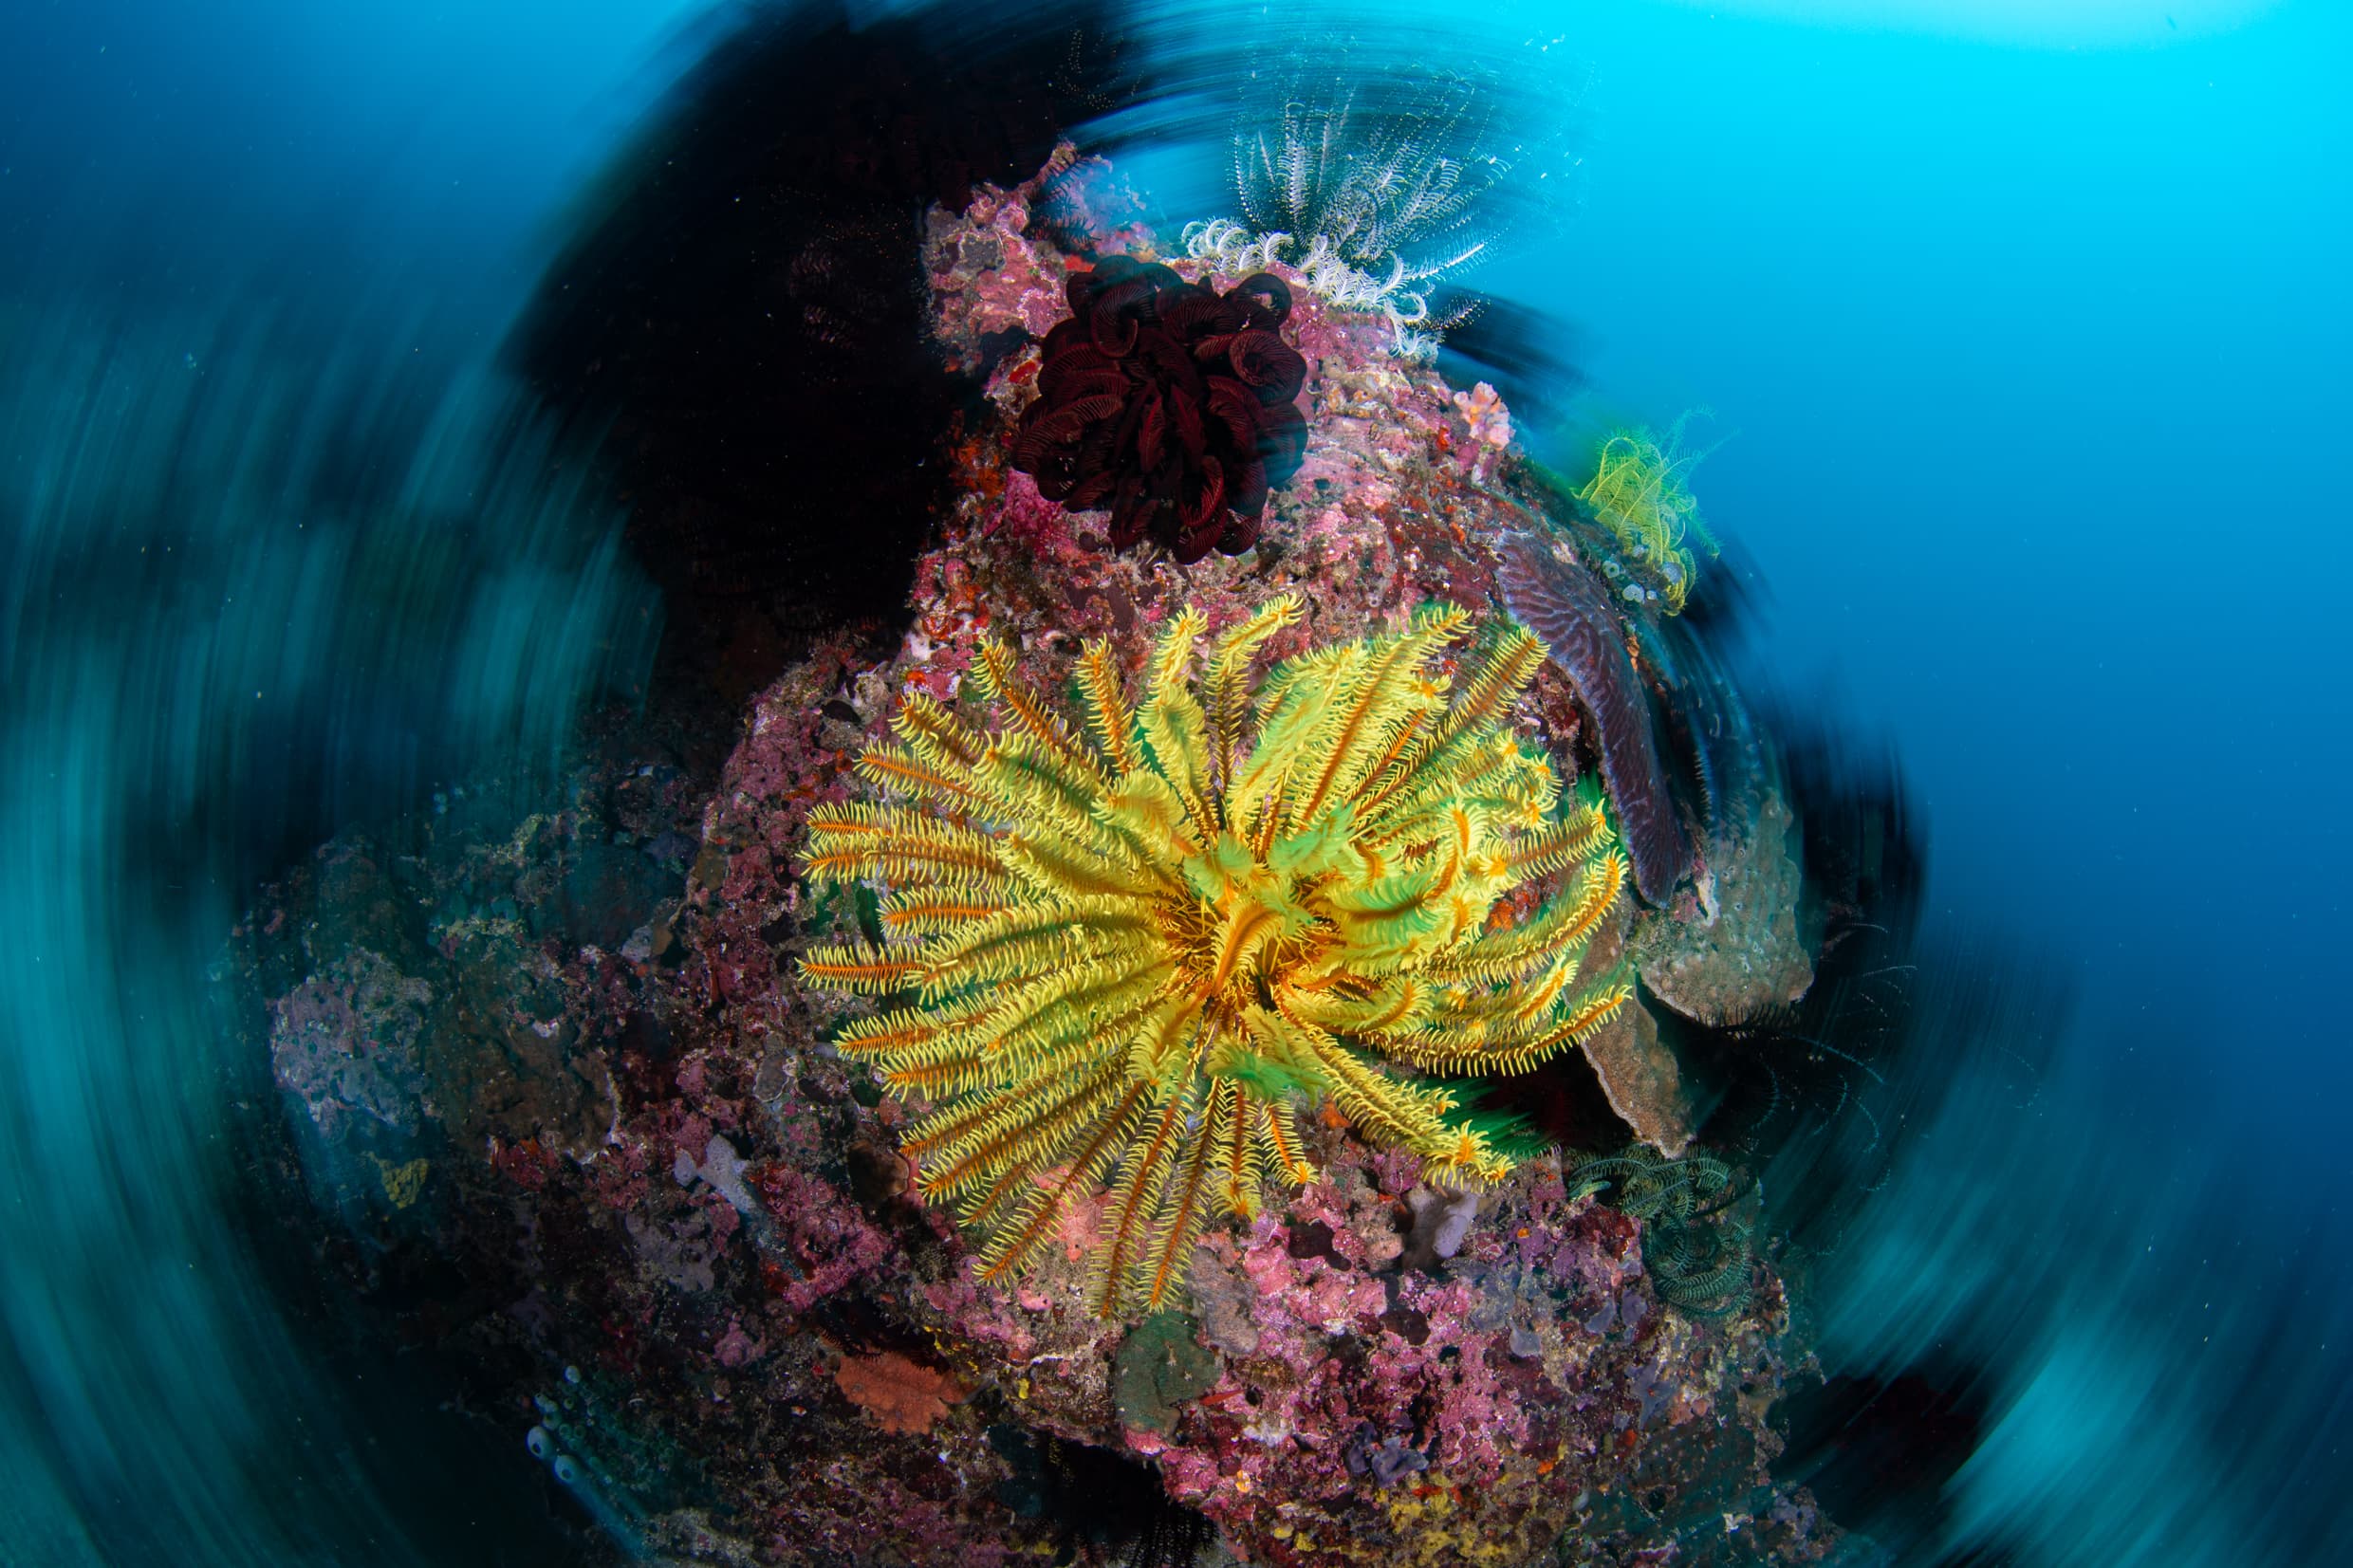
Photography is about capturing an instant to allows you to tell a story in a single frame. The challenge for underwater photographers is how to do this when your subjects are constantly moving, from corals gently wafting on a reef to fast-moving pelagics, such as sharks or dolphins. To do so we rely on selecting a shutter speed that is fast enough to freeze the moment. The result is a perfectly still subject, but your photo may not convey this dynamic environment. After all, life is rarely still underwater.
To try to inject dynamism, drama or a sense of action, you can use lighting as a compositional element. This can help a traditional image ‘pop’ and I have previously talked about the different ways we can use strobes to create more interesting three-dimensional pictures. However, you can also create different effects using your camera settings and, in this article, I want to look at shutter speed in particular.
What happen to your images when you slow the shutter speed down?
You should be familiar with the role shutter speed plays in achieving an even exposure. We already use shutter speed to control the ambient light. The slower it is, the brighter the picture will be, while a fast shutter speed will yield images with a dark or even black background. However, there are some techniques that use shutter speed differently for purely compositional and creative effect.
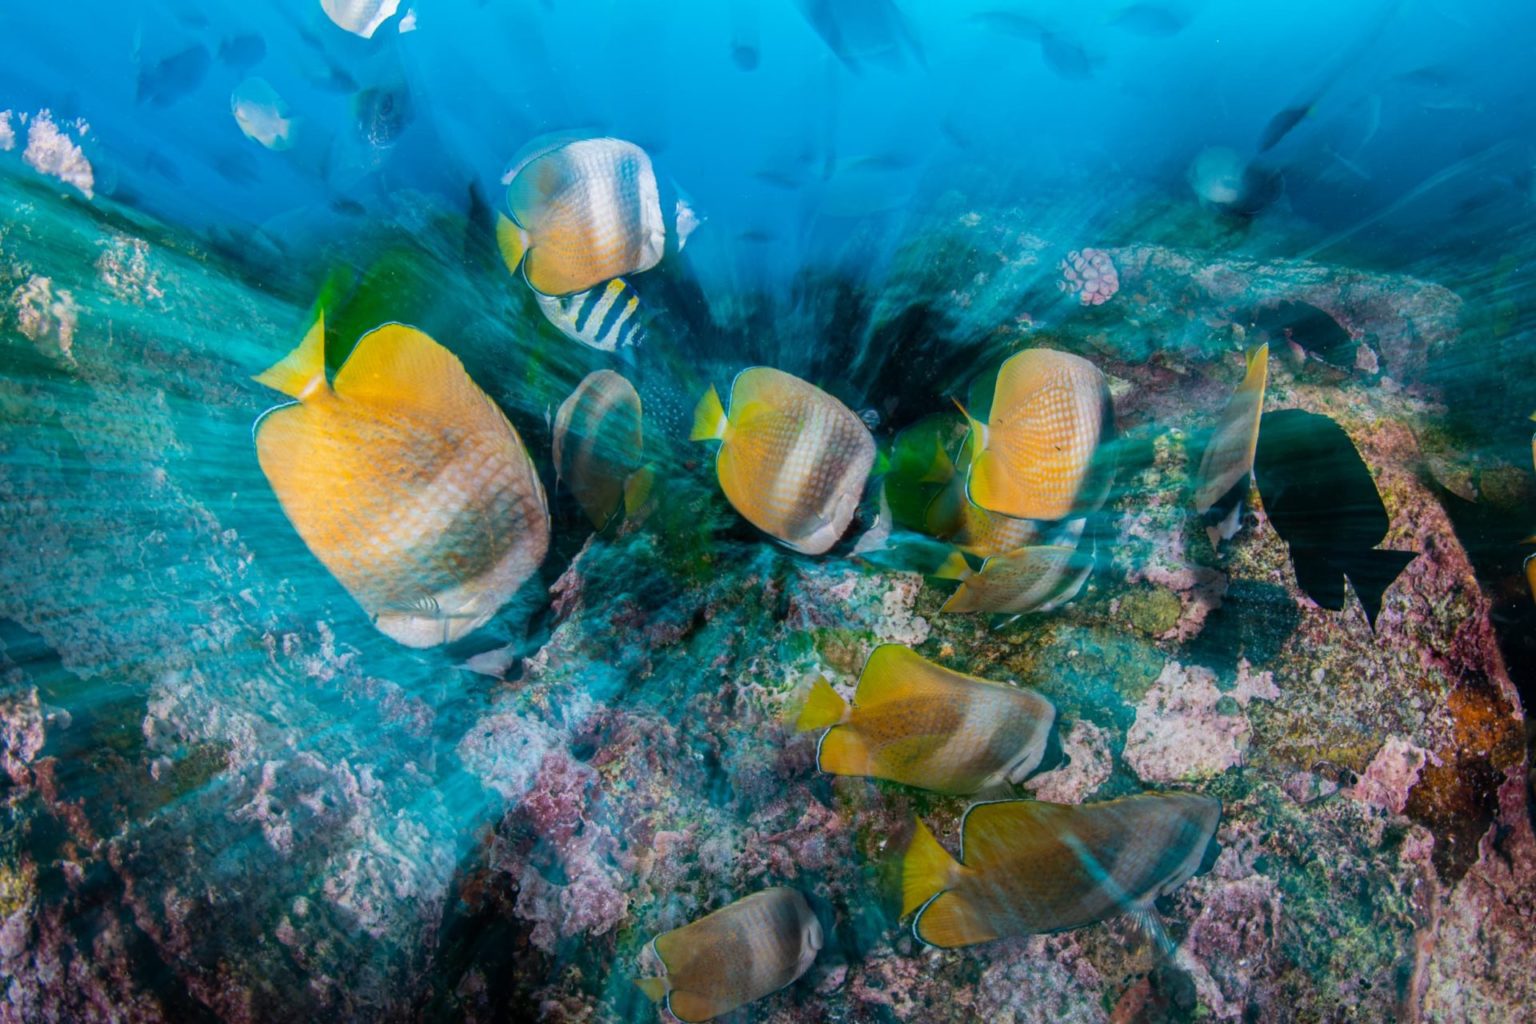
All of these techniques seek to convey the idea of movement by slowing down the exposure time and creating the sensation of motion by blurring the background elements. How the end result looks will depend of the specific technique used.
Slow Shutter Speed Examples and Settings
Spins
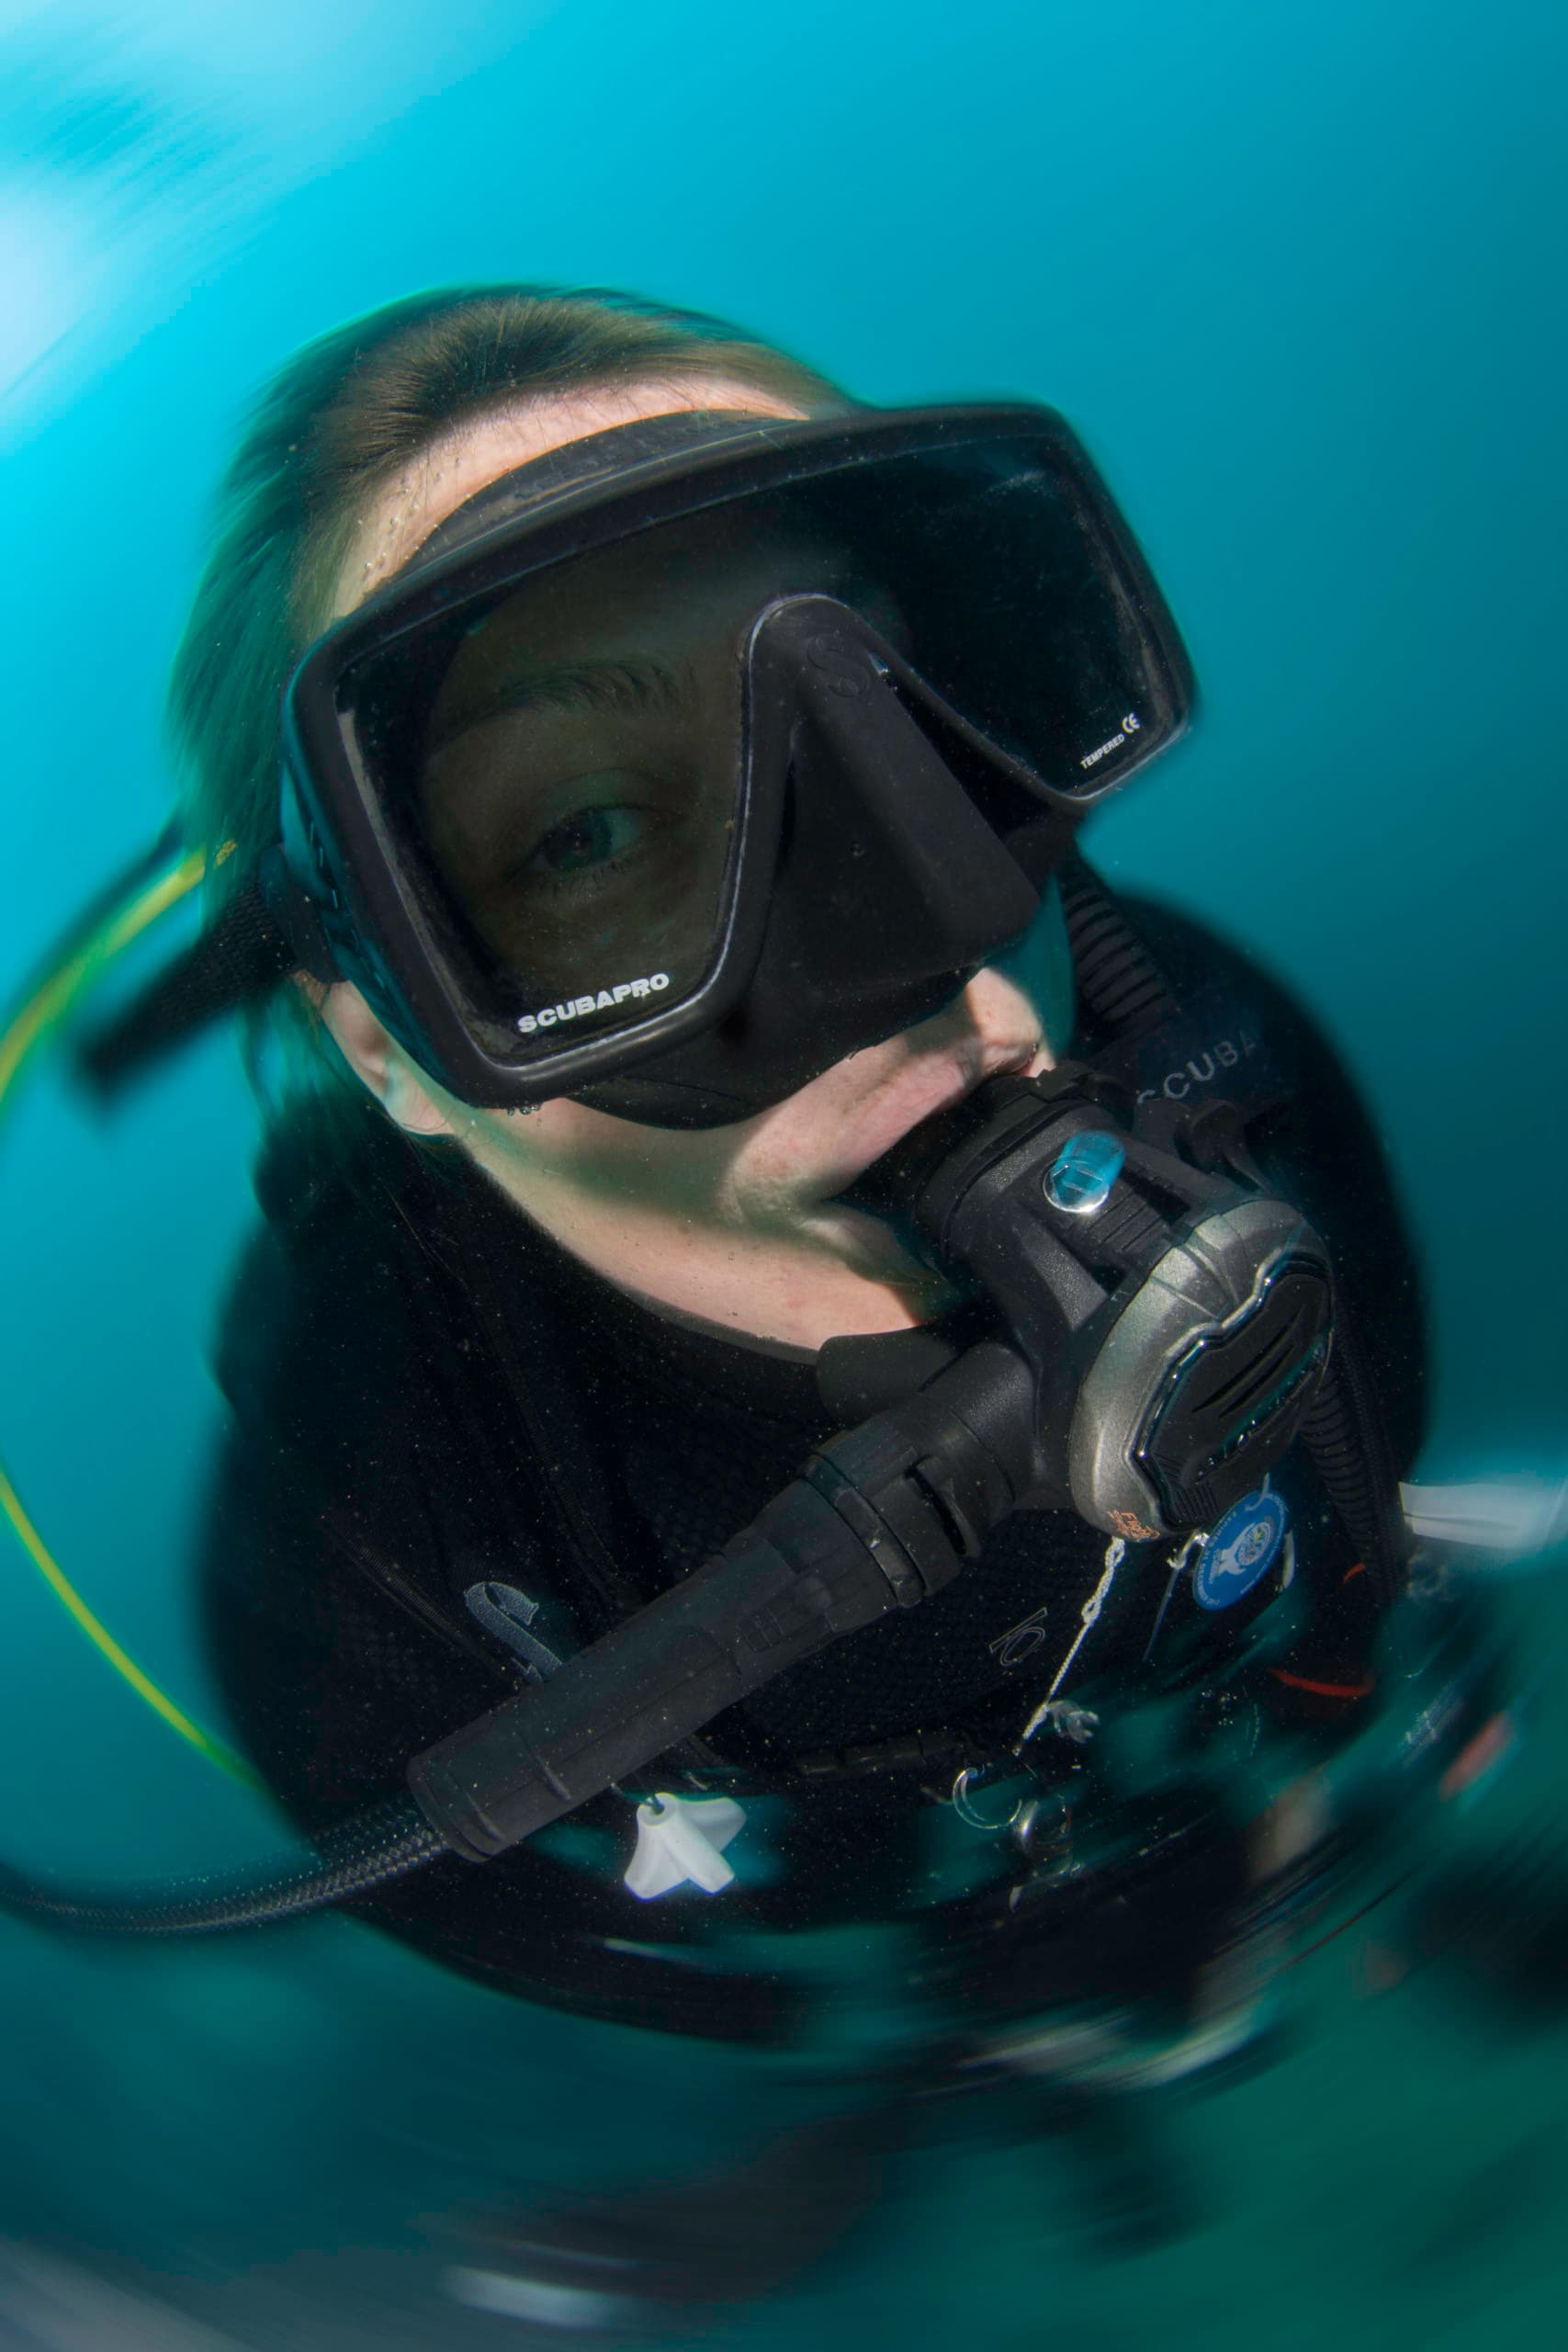
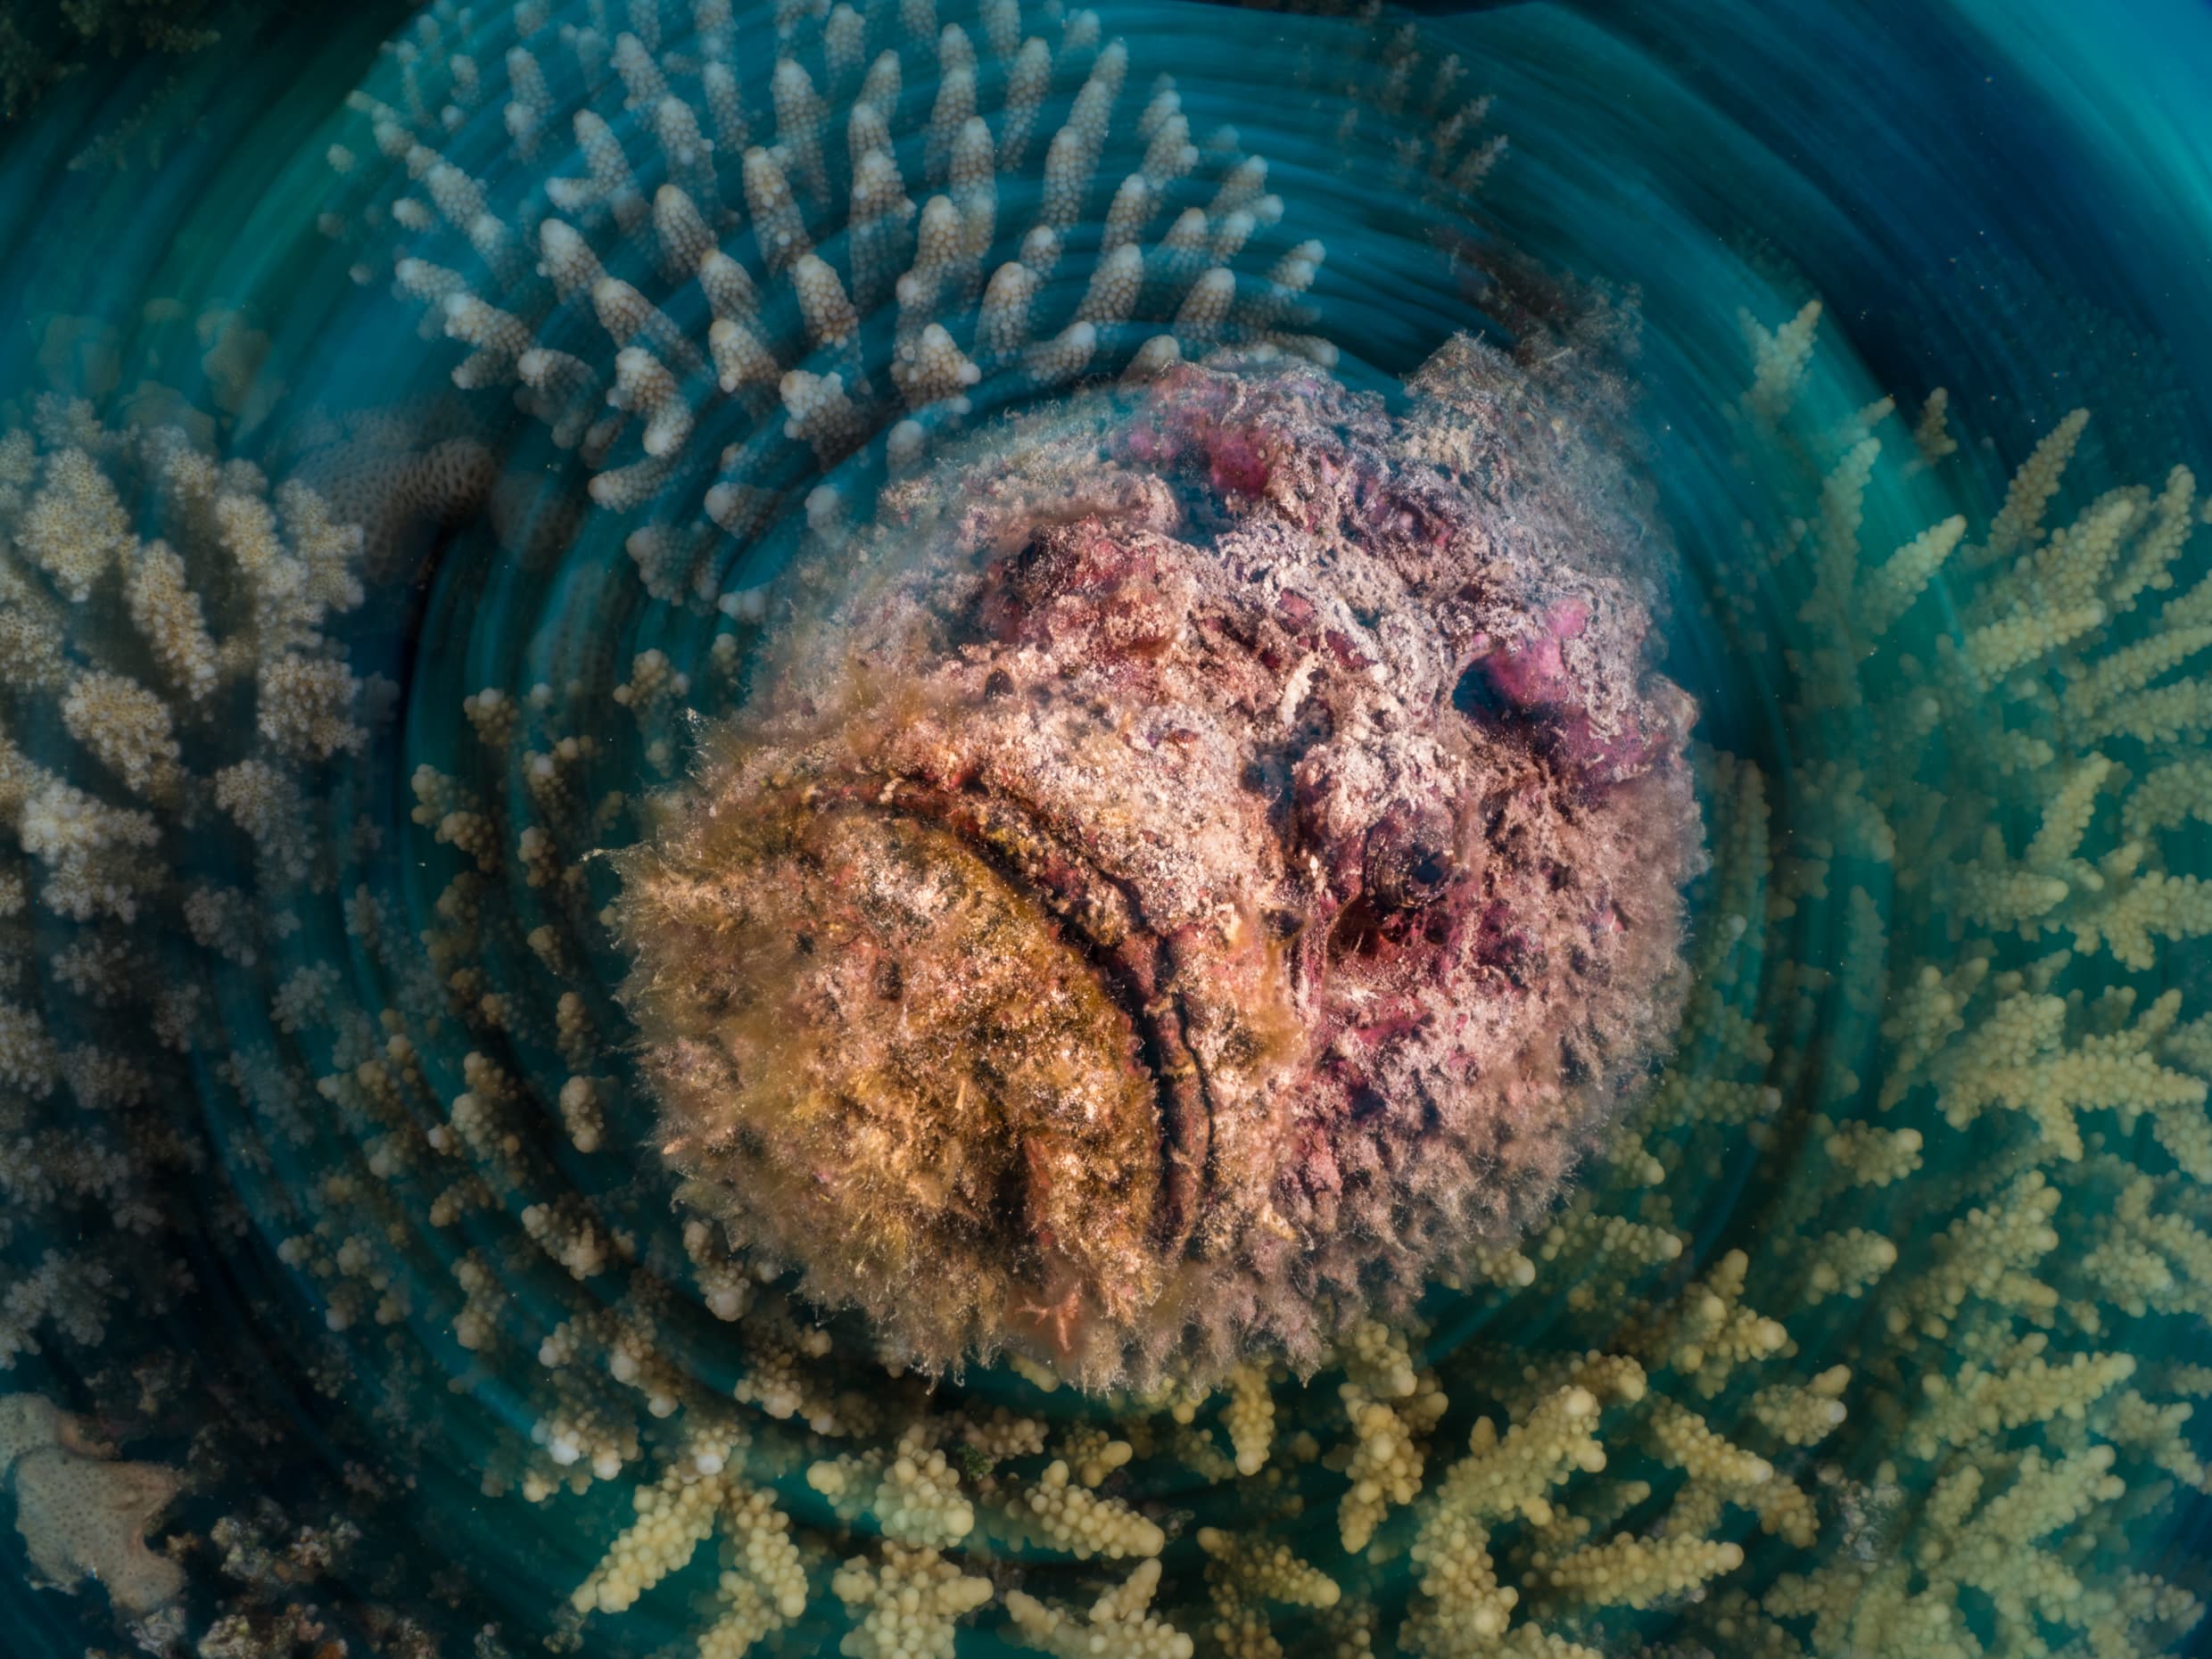
A good place to start is the spin, as this is a great technique to introduce movement to relatively static subjects and probably one of my favourite techniques. It works very well on subjects that stand out from the reef, like tube sponges, but it can be used to photograph subjects such as stonefish or a willing dive buddy.
Use a shutter speed of around 1/10 to start with and change the settings if needed.
Try to direct the light to the subject but not to the surrounding area. Inward lighting (point the strobes to yourself instead of aiming them forwards) using only the outer edge of the cone of light to illuminate the subject is a lighting technique perfectly suited for spins.
Turning the camera during the exposure will produce a circular motion-blur effect to the background while the light from your strobes will freeze the subject. To better accomplish this, you need to avoiding lighting the background, otherwise the light of the strobes will freeze the hole image.
You do not need to spin the camera too fast to get the best results, but the speed you need to rotate your kit depends on the ambient light conditions. Do a few tests to get the perfect settings. Start the movement before you press the shutter button and carry on after the curtain has closed.
Pans
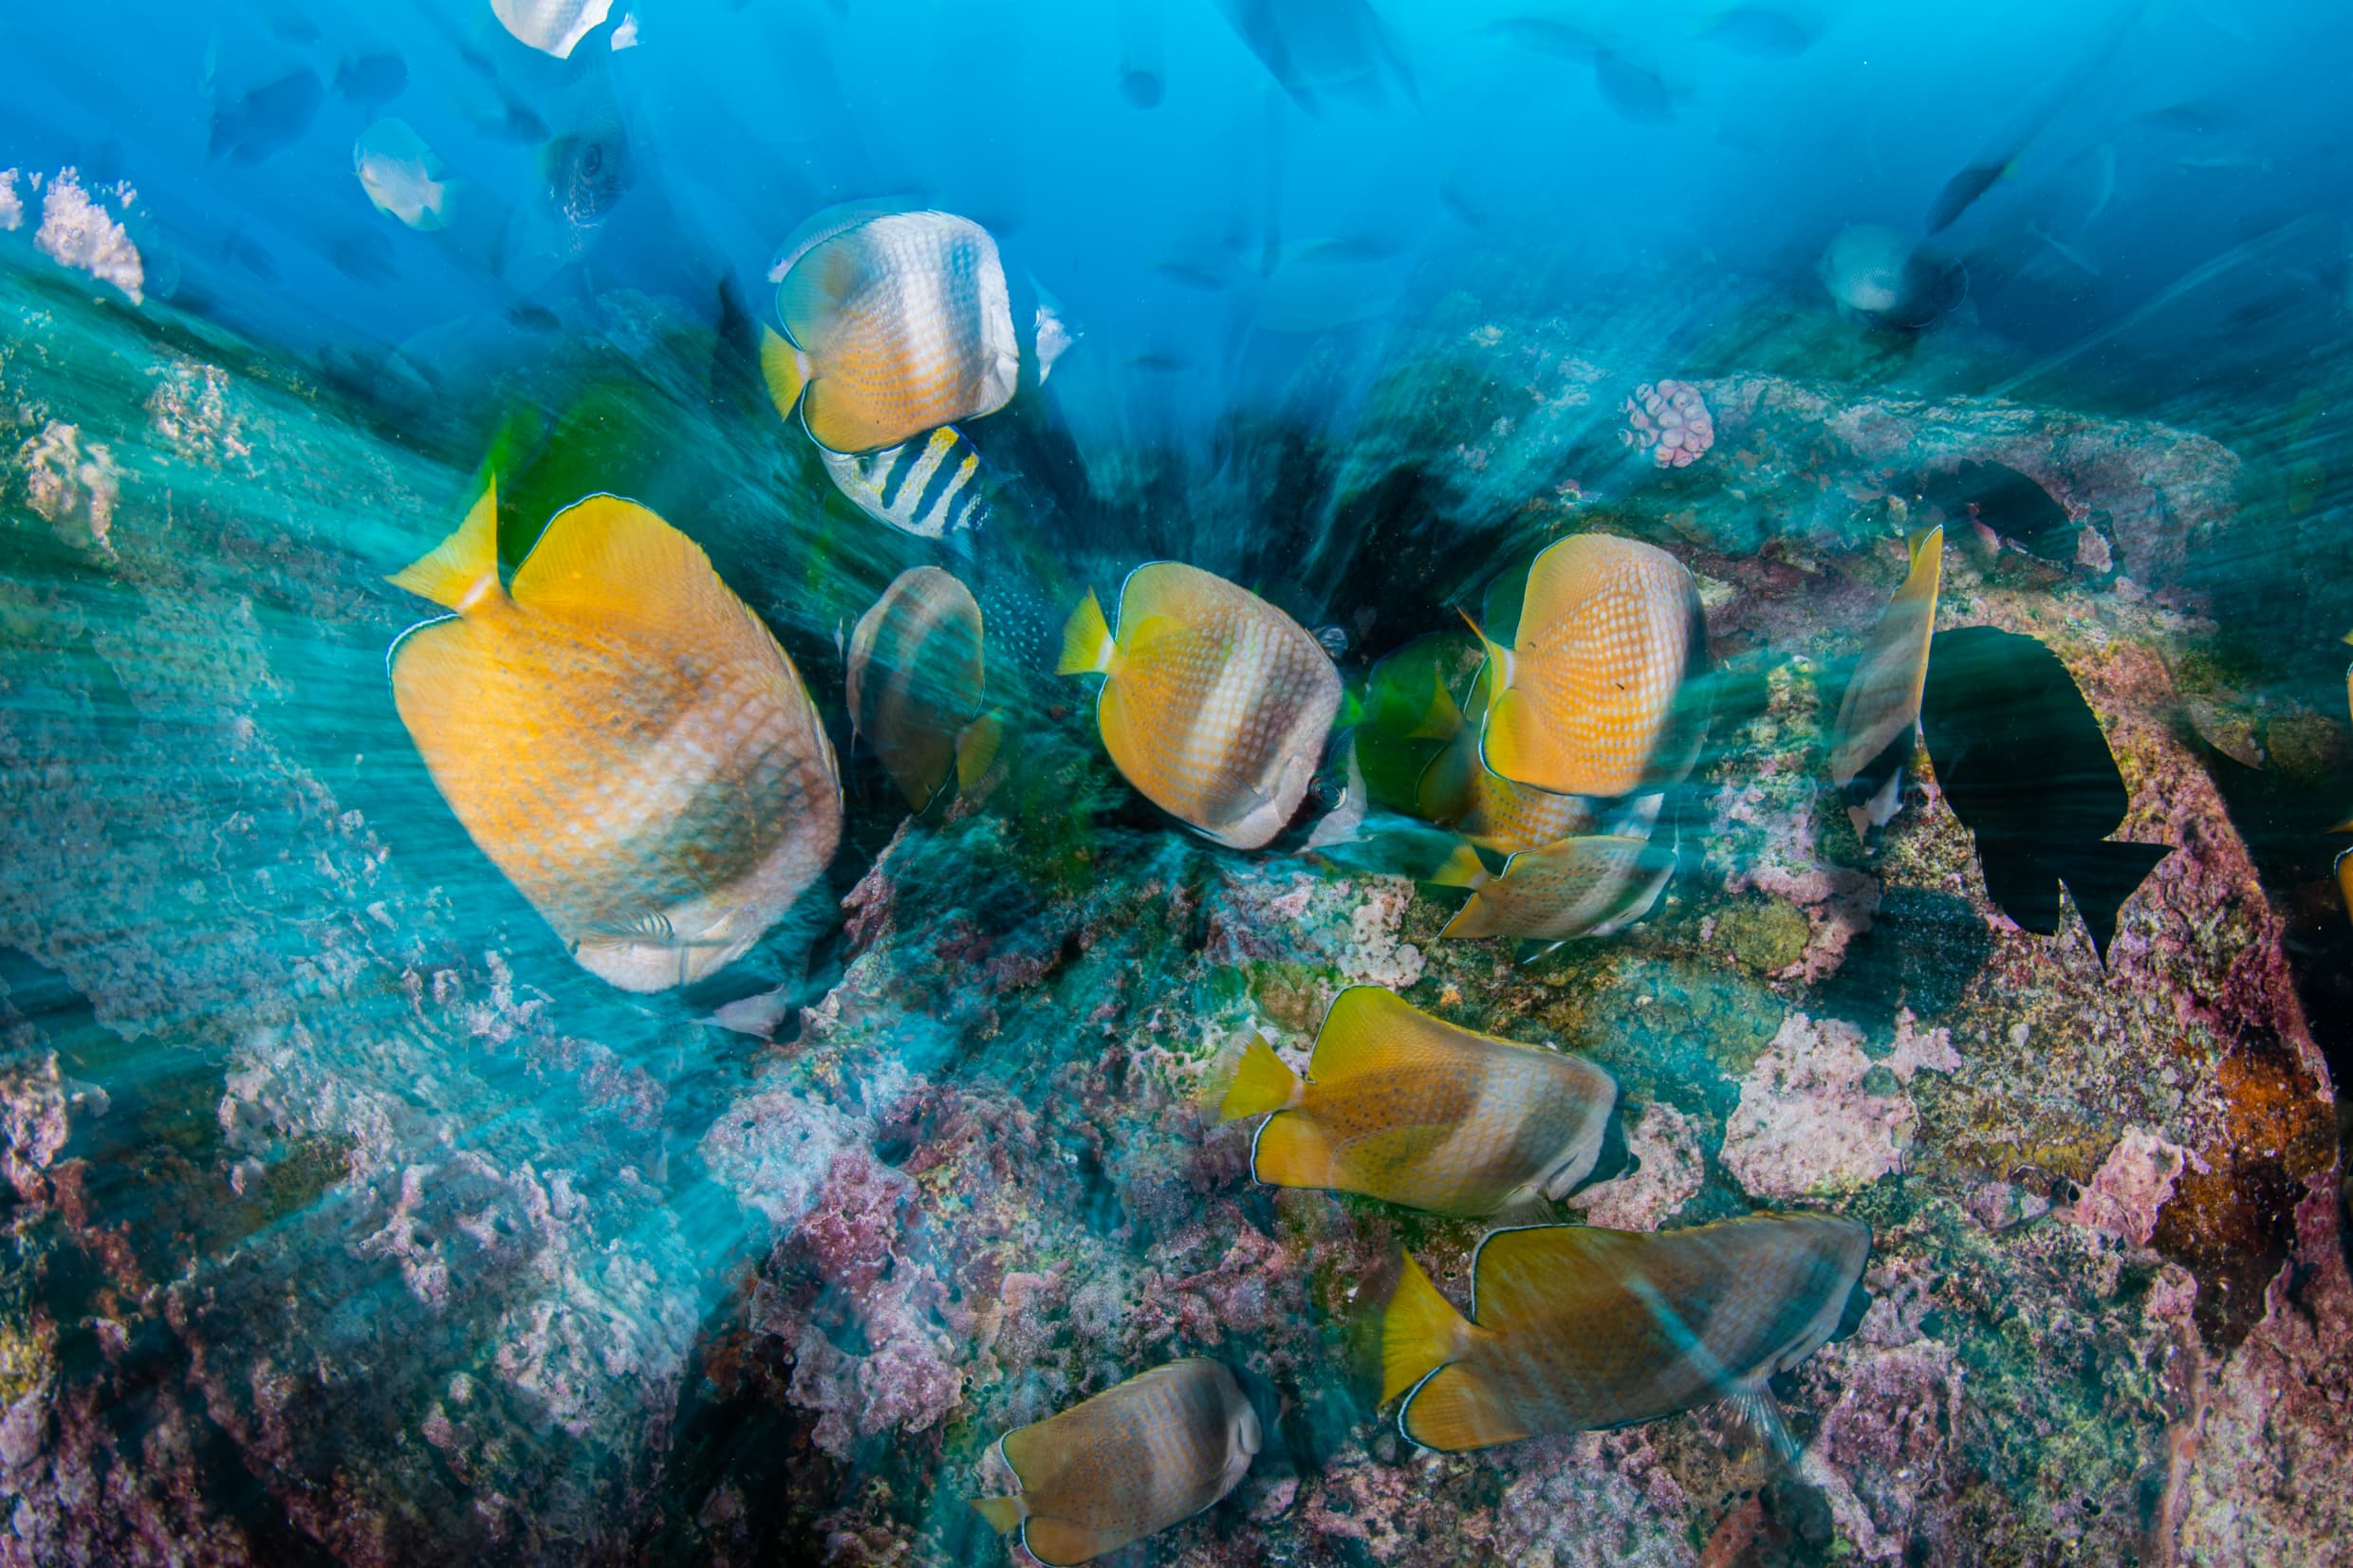
Pans are similar to spins but instead of rotating the camera, you will either move the camera horizontally or let the subject swim across the frame.
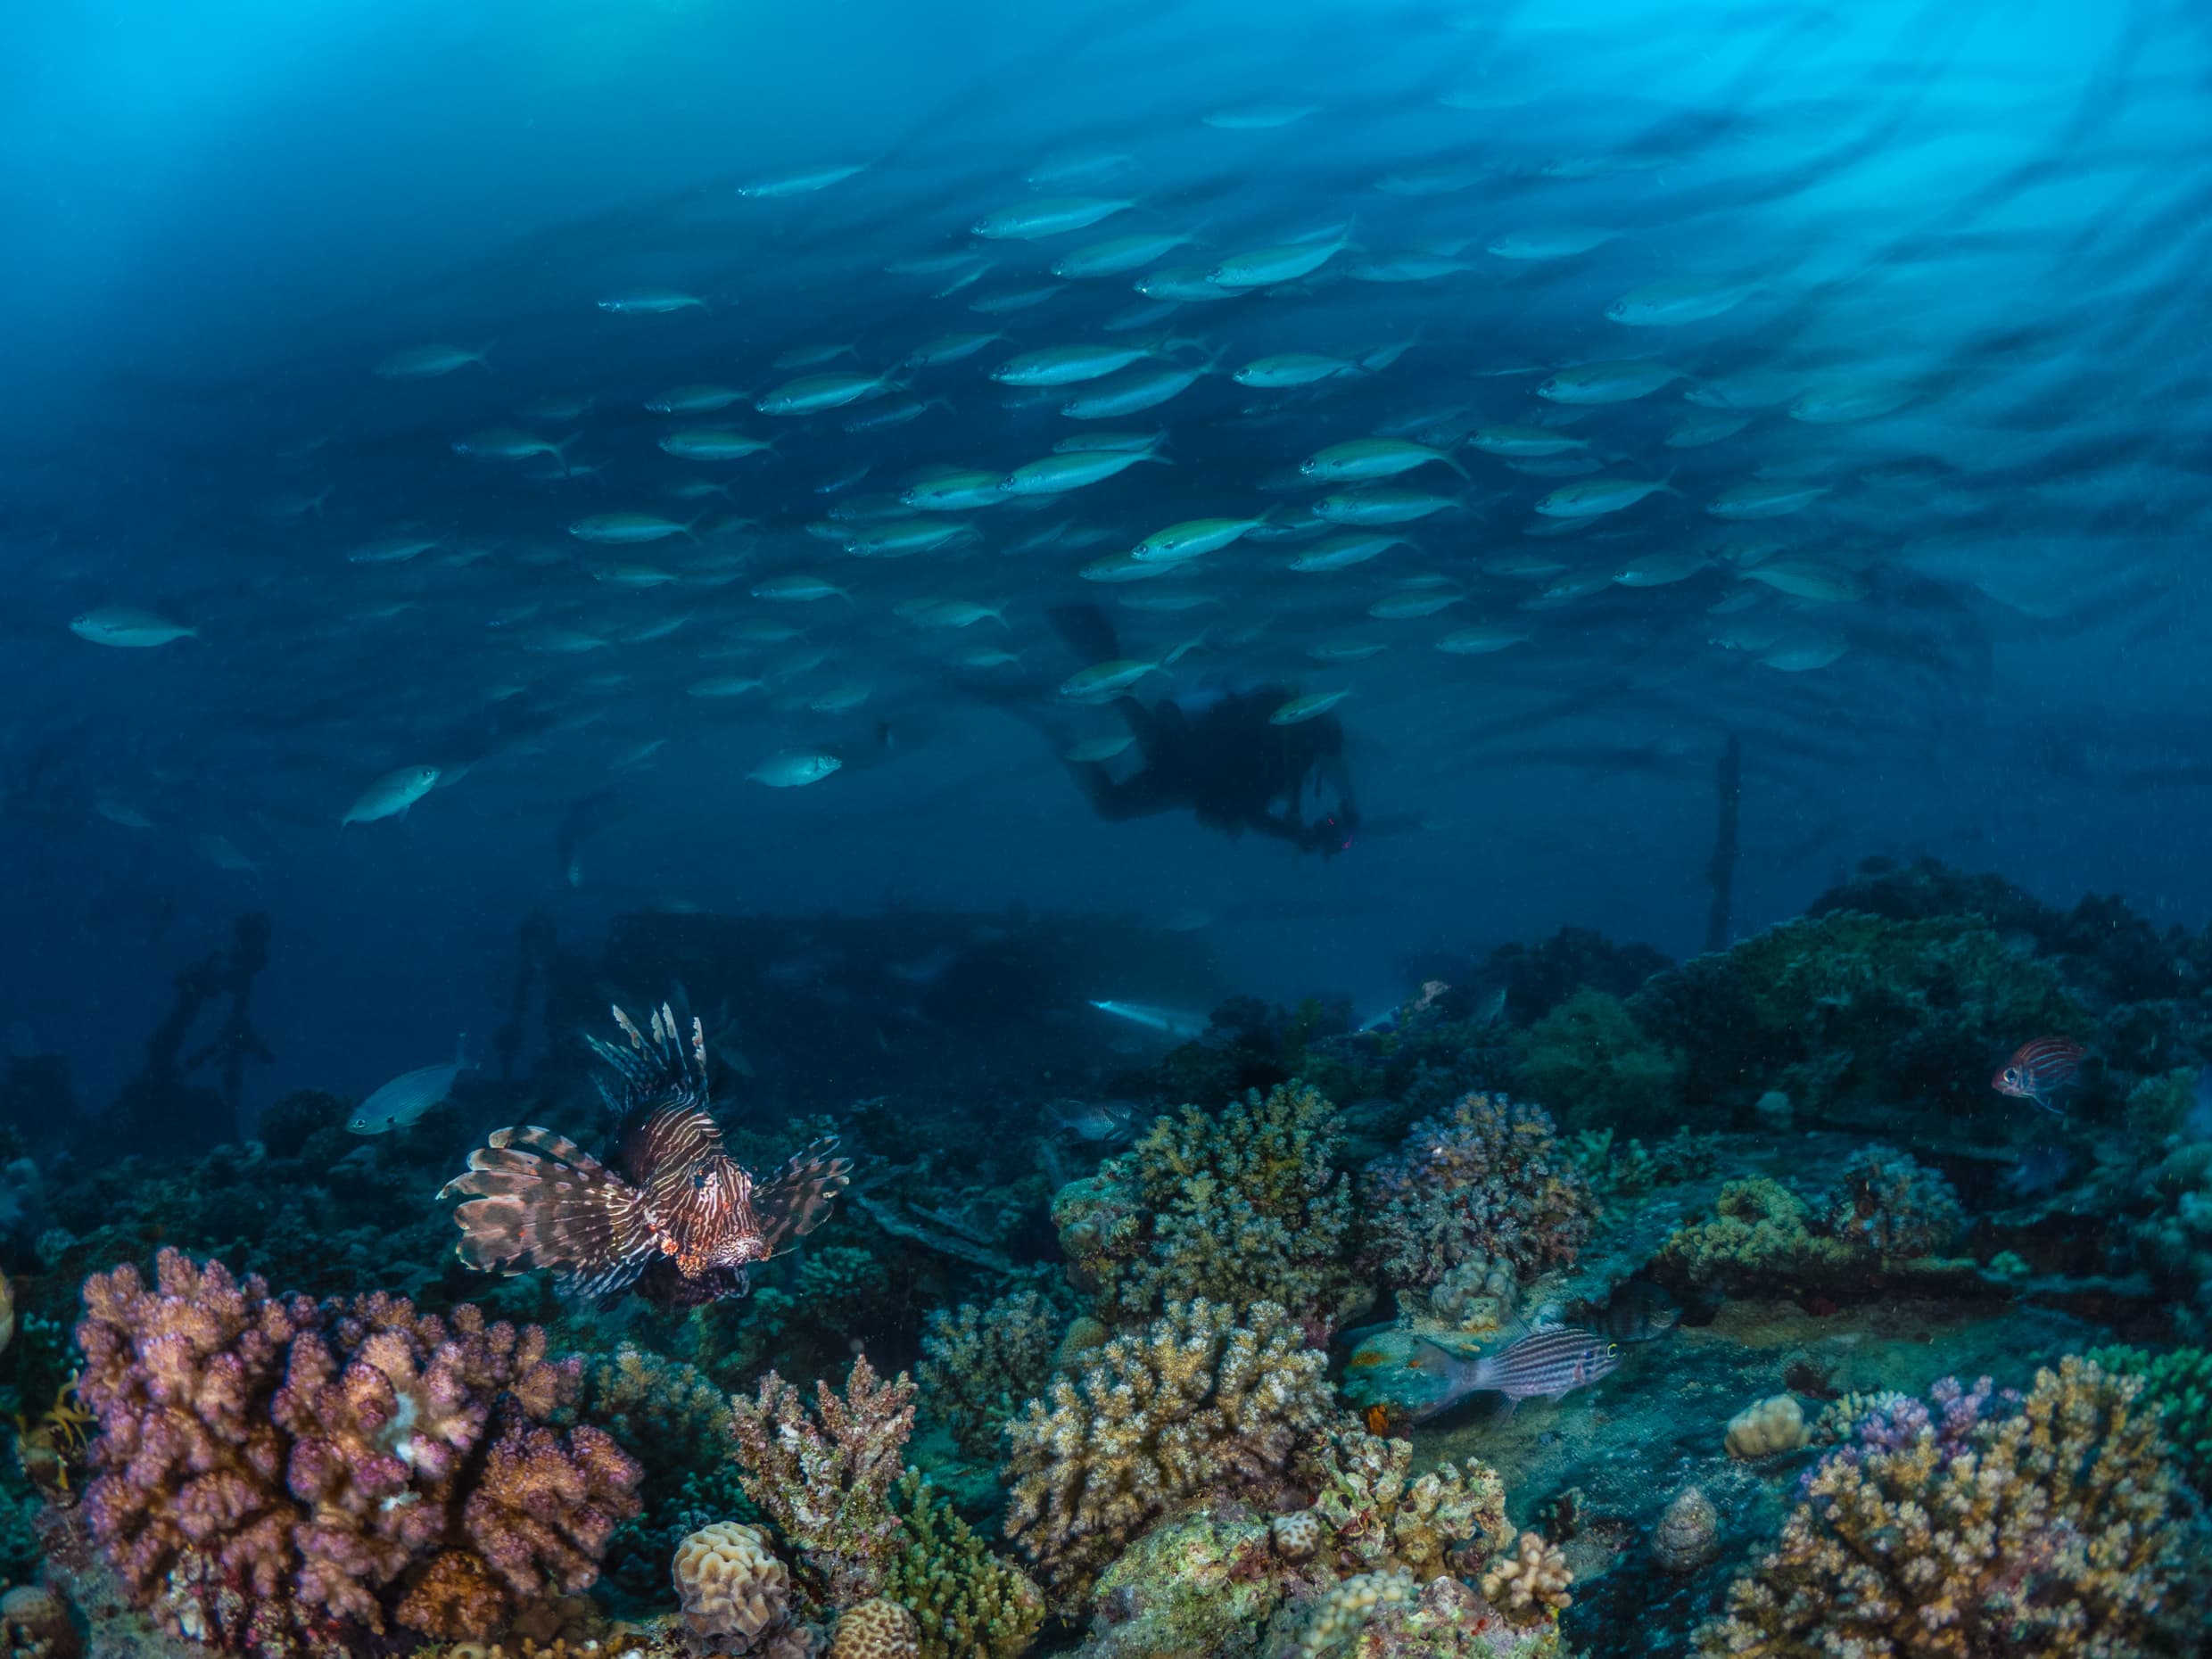
Pans are great at conveying a sense of dynamism and speed. They work much better when your subject is a fast-moving creature, eg sharks, but also small fish like anthias can yield excellent results.
As with spins, a slow shutter speed will create the motion blur and the strobes will freeze the movement. I prefer to shoot into the blue as a clean background will show much better the movement of the subject and I don’t need to worry about avoiding light from your strobes reaching the background.
You do need to think about the flash sync timing and settings for this technique. If you can select front or rear curtain on your camera, I tend to prefer rear curtain when I’m not moving the camera and the subject is swimming across the frame, or if I’m shooting macro. If you use a front curtain, the strobes fire at the beginning of the exposure and freeze the subject, but the subject will carry on moving forward. The end result will look like the fish is moving backwards. A rear curtain sync will make the strobes fire at the end of the exposure, creating a trail behind the subject.
If instead you are ‘following’ the subject with the camera, it is a good idea to use front curtain. Doing so, you will be able to stop the movement of your subject exactly where you want it and then create the blur by following the fish with the camera. To get a good movement effect, you need to move the camera fairly quickly.
If the sun is high in the sky and the ambient light is strong, using a slow shutter speed will produce overexposed images. Pans work better when the light levels are low, overcast days early mornings and afternoons are ideal. If you want to attempt pans when the sun is high, using a neutral density filter is handy to control light levels.
Zoom bursts
As the name says, this technique relies on using a zoom lens on your camera. It involves zooming in or out during the exposure – this creates a blur from the centre outwards, as if the subject is moving towards you. When trying zoom burst, starting to move the zoom just before you press the shutter and zoom in or out all the way through the exposure.
Long exposure
There is one last technique I’ve been using lately. The good old-fashioned long exposure.
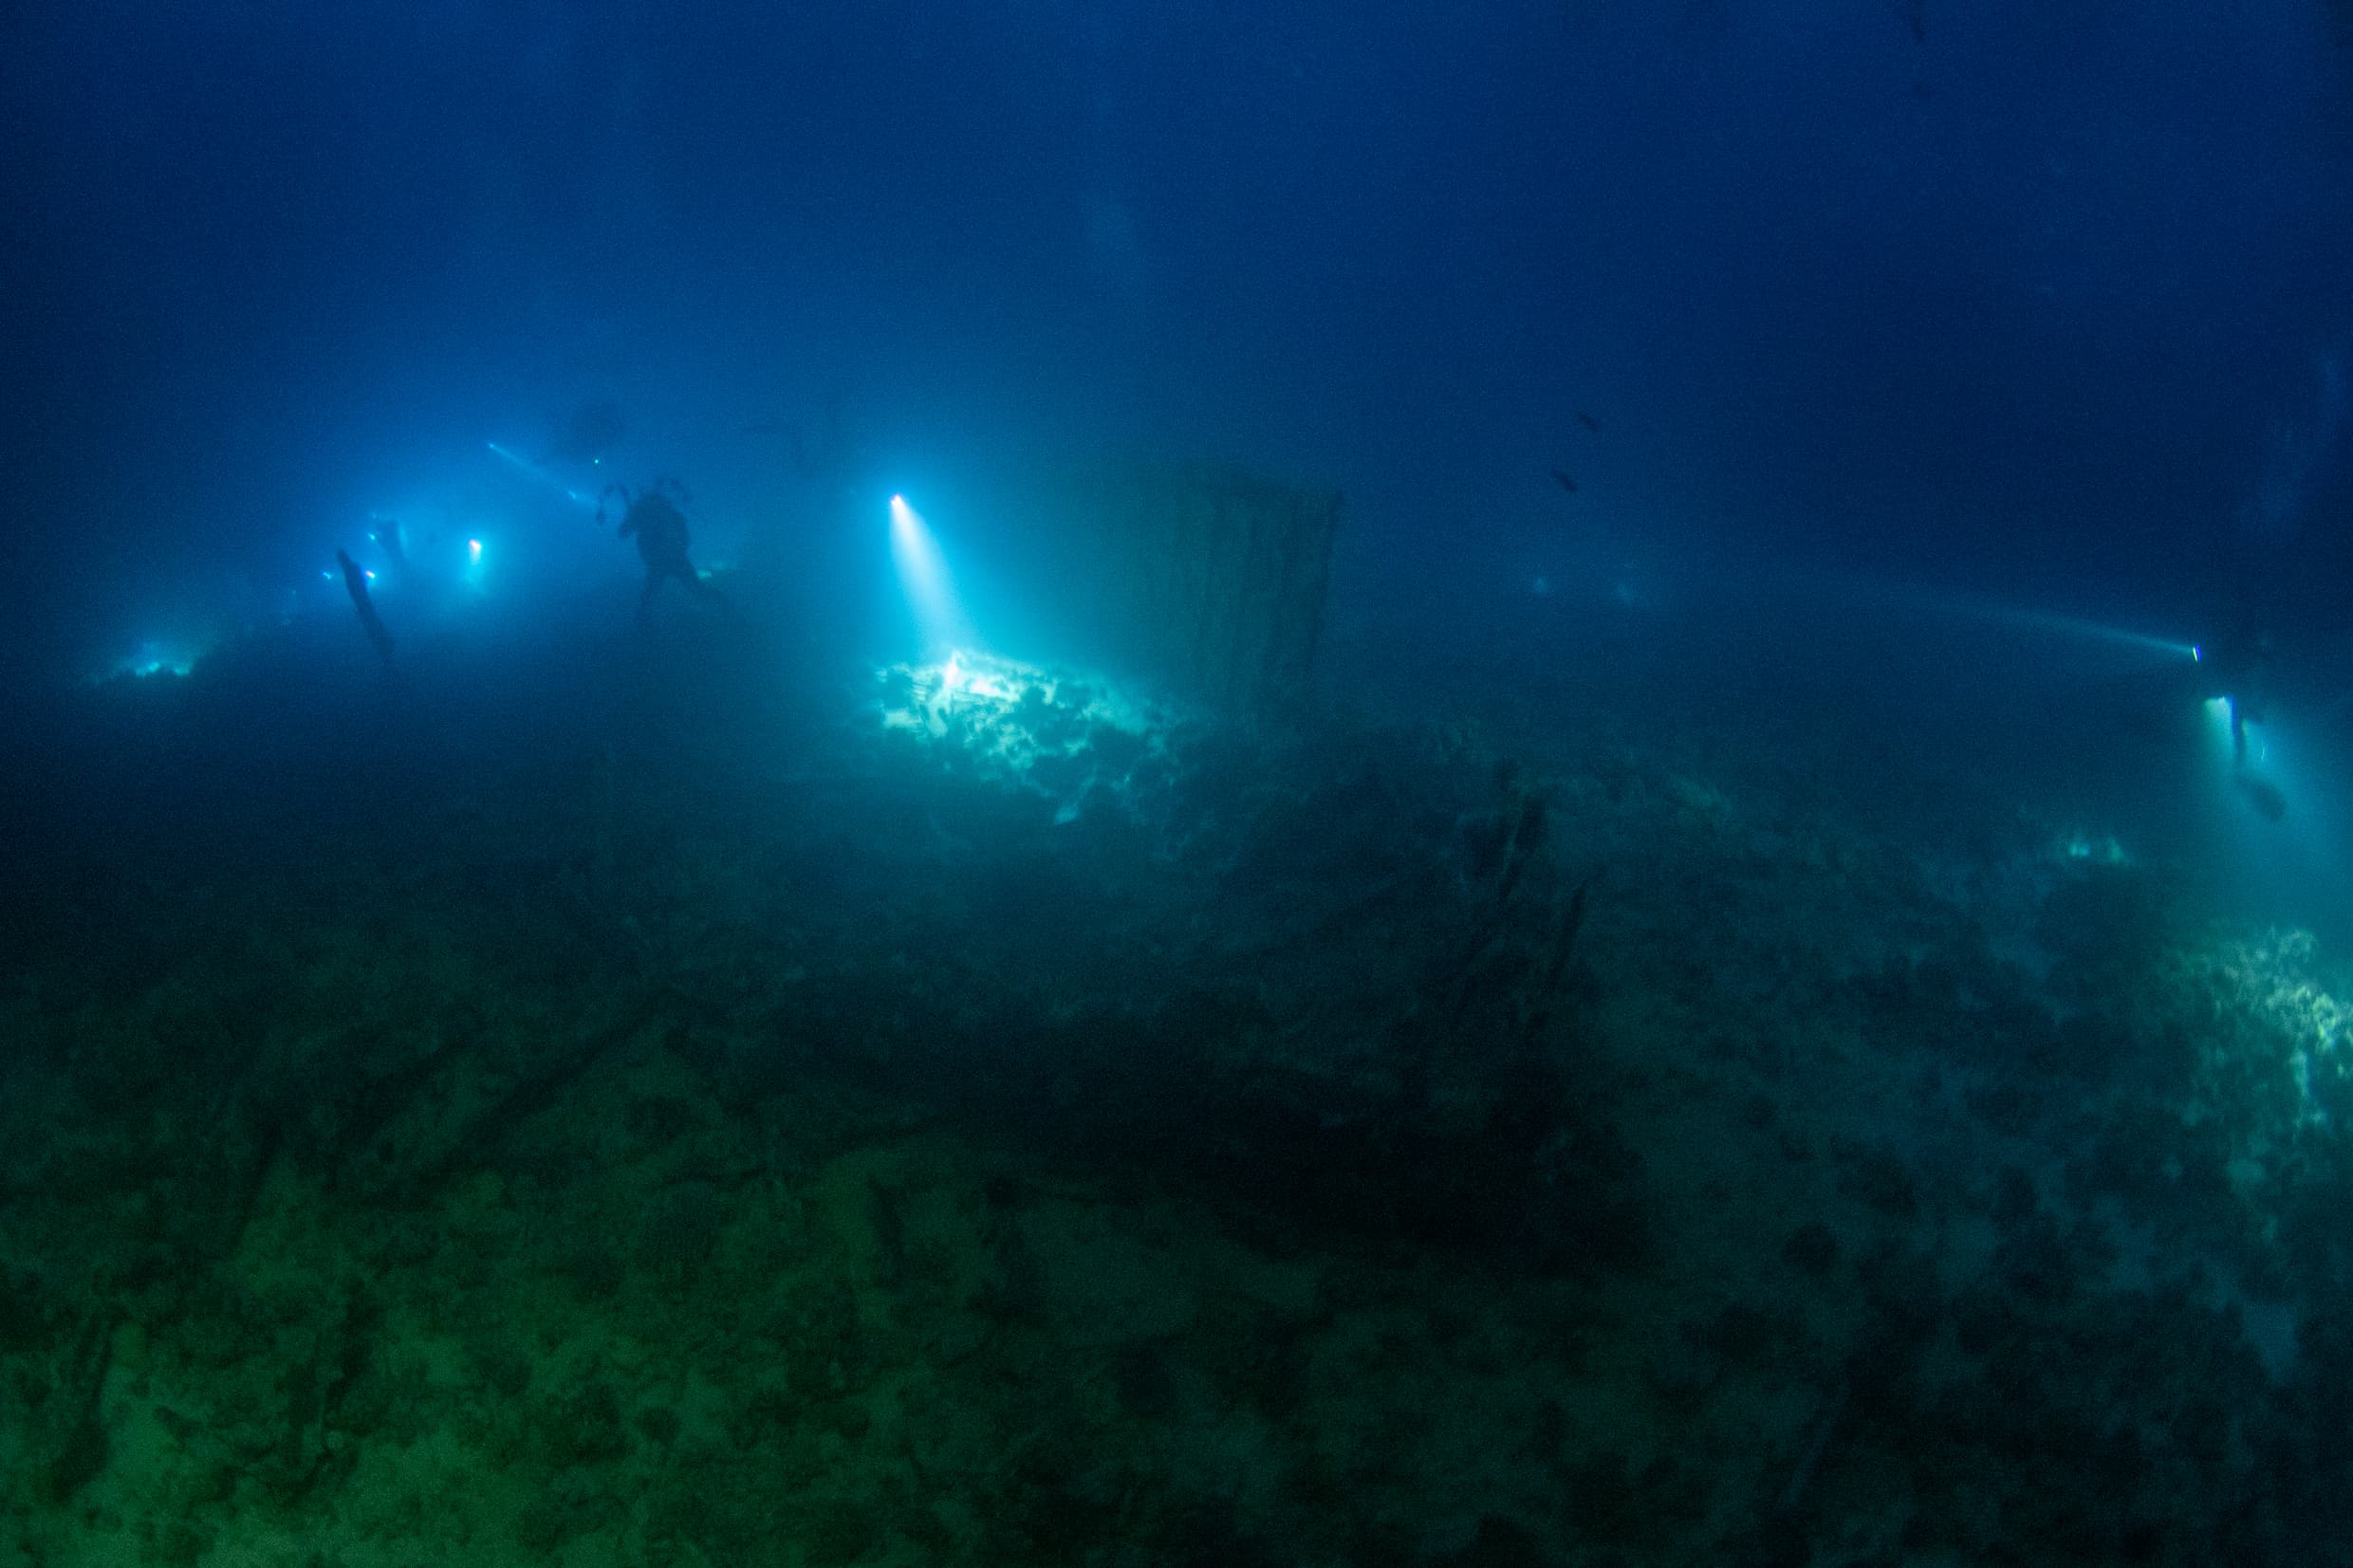
Long exposures work very well during dusk dives or even night dives. I try to jump as the sun goes down, so the ambient light is very low. Pick the dive site carefully, areas with a lot of fish work remarkably well as the schooling fish can create beautiful trails.
On long exposures it is important to keep the camera as still as possible. Some cameras have excellent image stabilizers and are great for these pictures, but otherwise you can rest the camera on a rock or use a tripod. Never under any circumstances rest the camera on the coral.
A strobe or a video light can be used to light a subject or a section of the scene to add a focal point to the image.
At night, if the camera is stable and you use extremely slow shutter speeds, you can swim and use a torch to ‘paint’ a section of the reef, an area of interest or even fish passing by.
Conclusion
All these techniques utilise a very slow shutter speed to convey a scene of movement. When used properly the end result can add variety to your portfolio and hopefully enable you to tell the story of a fast-moving world underwater.
Photographs by Mario Vitalini
Want to Read more about Photography?
