Paul ‘Duxy' Duxfield turns his attentions to the smaller end of the scale, looking at close-up, macro and super macro photography.
Last month, we had a look at one of the mainstays of underwater photography, which was wide-angle shooting. This issue, I would like to look at the other end of the scale and this is close-up photography, and its variants macro and super macro.
First of all, we’ll look at the kit involved and then we’ll look at the differences, the techniques and finally how to inject a bit of style and substance to your shots.
What kit do I need?
Even if you have a fairly modest compact camera, they nearly all have the ability to zoom in and also to access a variety of close-up modes, usually found within the menu as a tulip symbol. If accessed, it will let you get much closer than usual, and to shoot within the range of under a foot or so away.
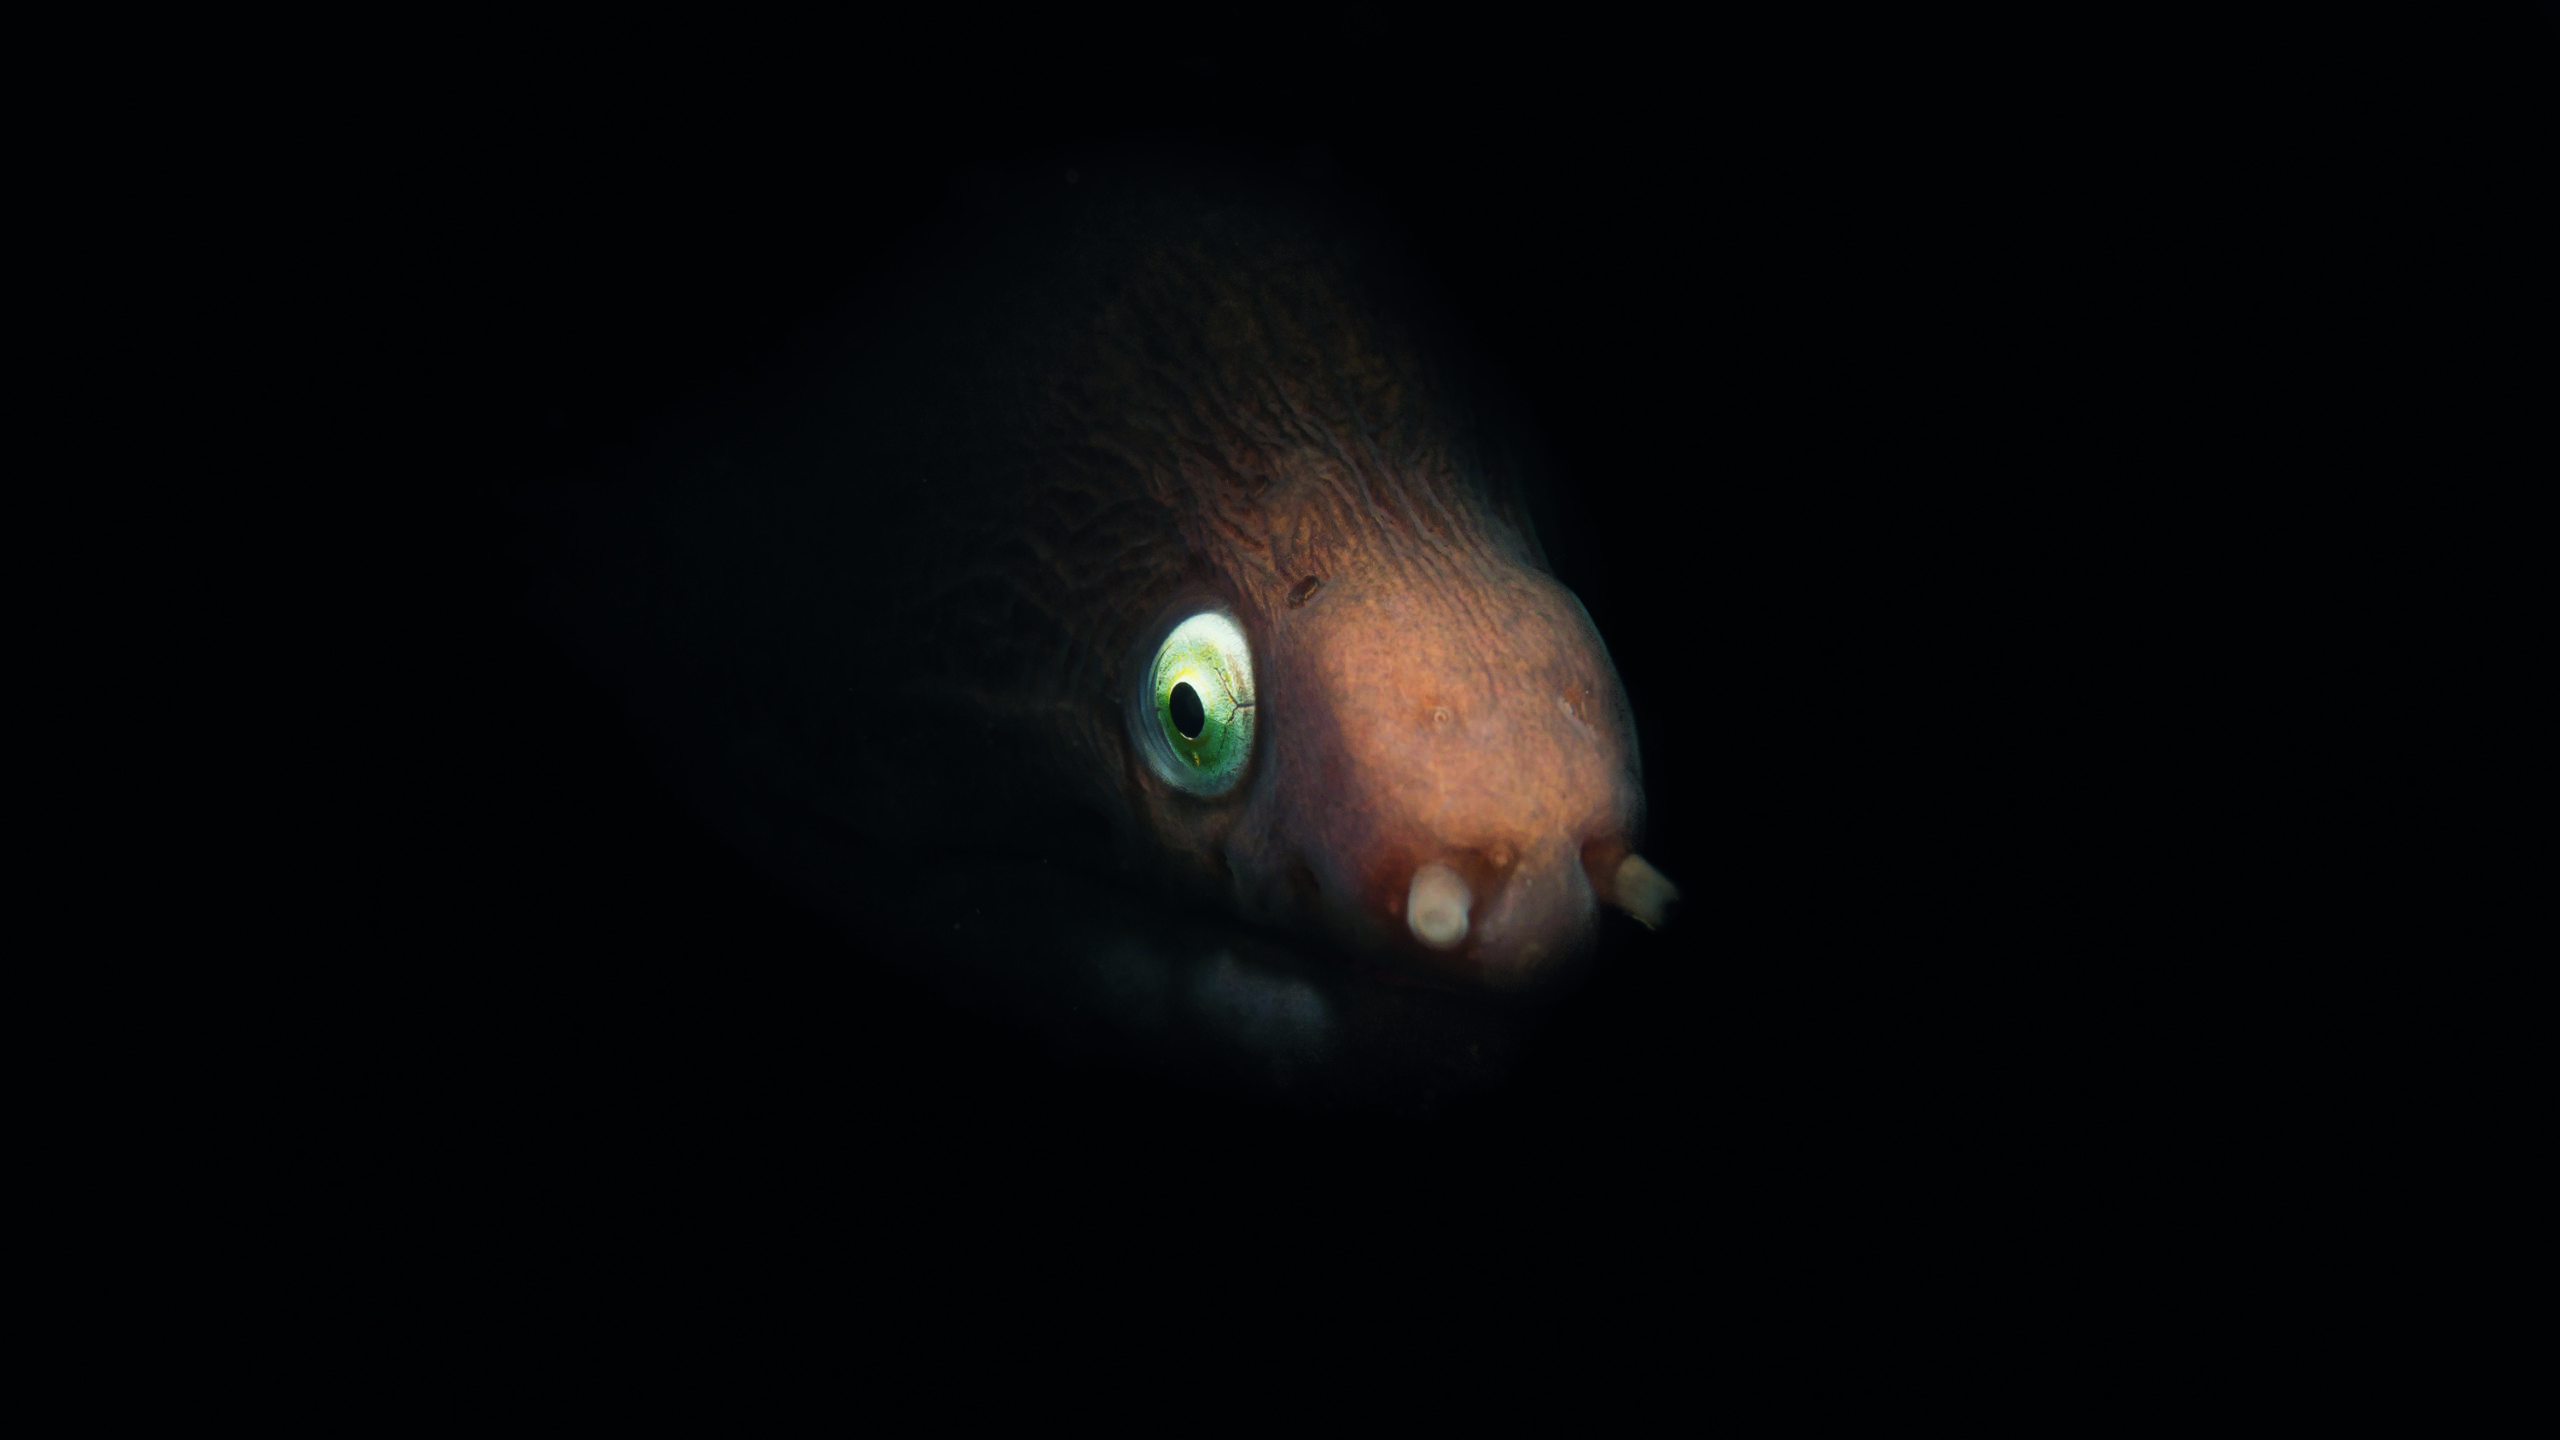
This brings you into the zone of being able to fill the frame with things like a lionfish, a blue spotted ray or even a portrait shot of a giant moray, all subjects that are pretty straightforward to shoot, as long as you go nice and steady, not making twitchy movements, and quite rewarding when you first start taking underwater pictures.
To be honest, even after many years of shooting, I still feel drawn to a craggy-looking moray or a curious lionfish, and they are still great subjects that I love to shoot. That’s the beauty of underwater photography – every shot you take is unique, and you never stop honing your skills.
If in shallow water with plenty of light, there’s no reason you can’t shoot using available light, shooting RAW, or carrying out a custom white balance reading to get your colours correct and banish those blues.
However, once you get a little deeper, or are shooting in more murky conditions, then you’ll really need to use some extra light. This can even just be the little flash on your camera to start with, as below a foot or so, you shouldn’t get too much backscatter, and it’s one less piece of kit to think about when you’re learning to get the dive skills to get closer to the subject. Within time, though, most people will gravitate to using external lighting.
They will often buy a video light thinking that it can be pressed into service for shooting short clips, beware of this though, as even very powerful video lights are actually much less powerful than even the built-in flash on the camera, despite how it may appear.
I’m not saying it can’t be done, in fact I have used them myself in certain circumstances for stills, but you need to be really close – less than a couple of inches to achieve any sort of fast-enough shutter speed to keep yourself steady enough, or resorting to using high ISOs, which will lower your quality.
Often using the built-in flash is better, but even better still is to purchase a strobe, mounted on a tray and arm, that will quickly become indispensable to you as your macro-shooting rig.
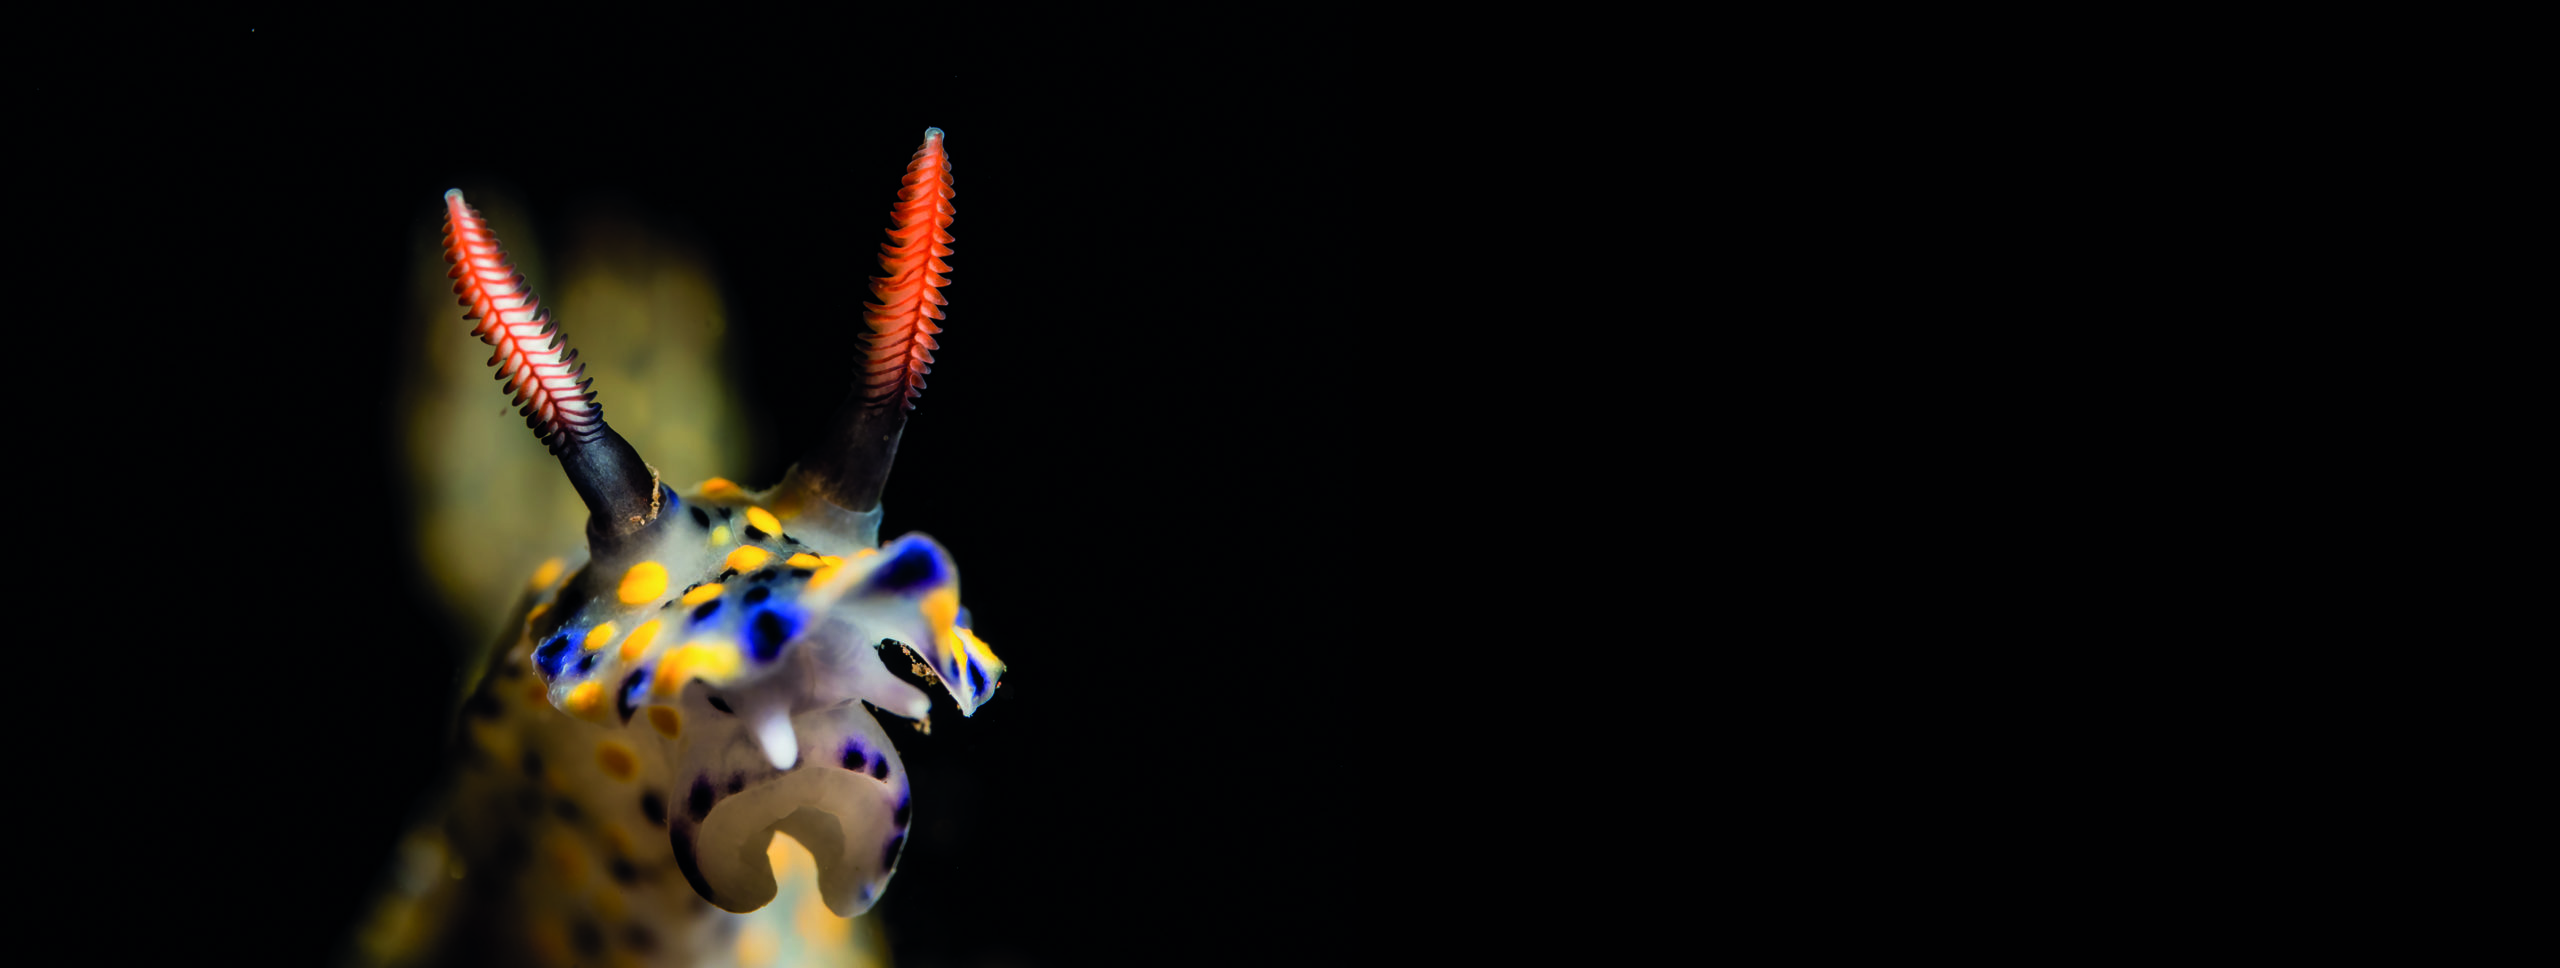
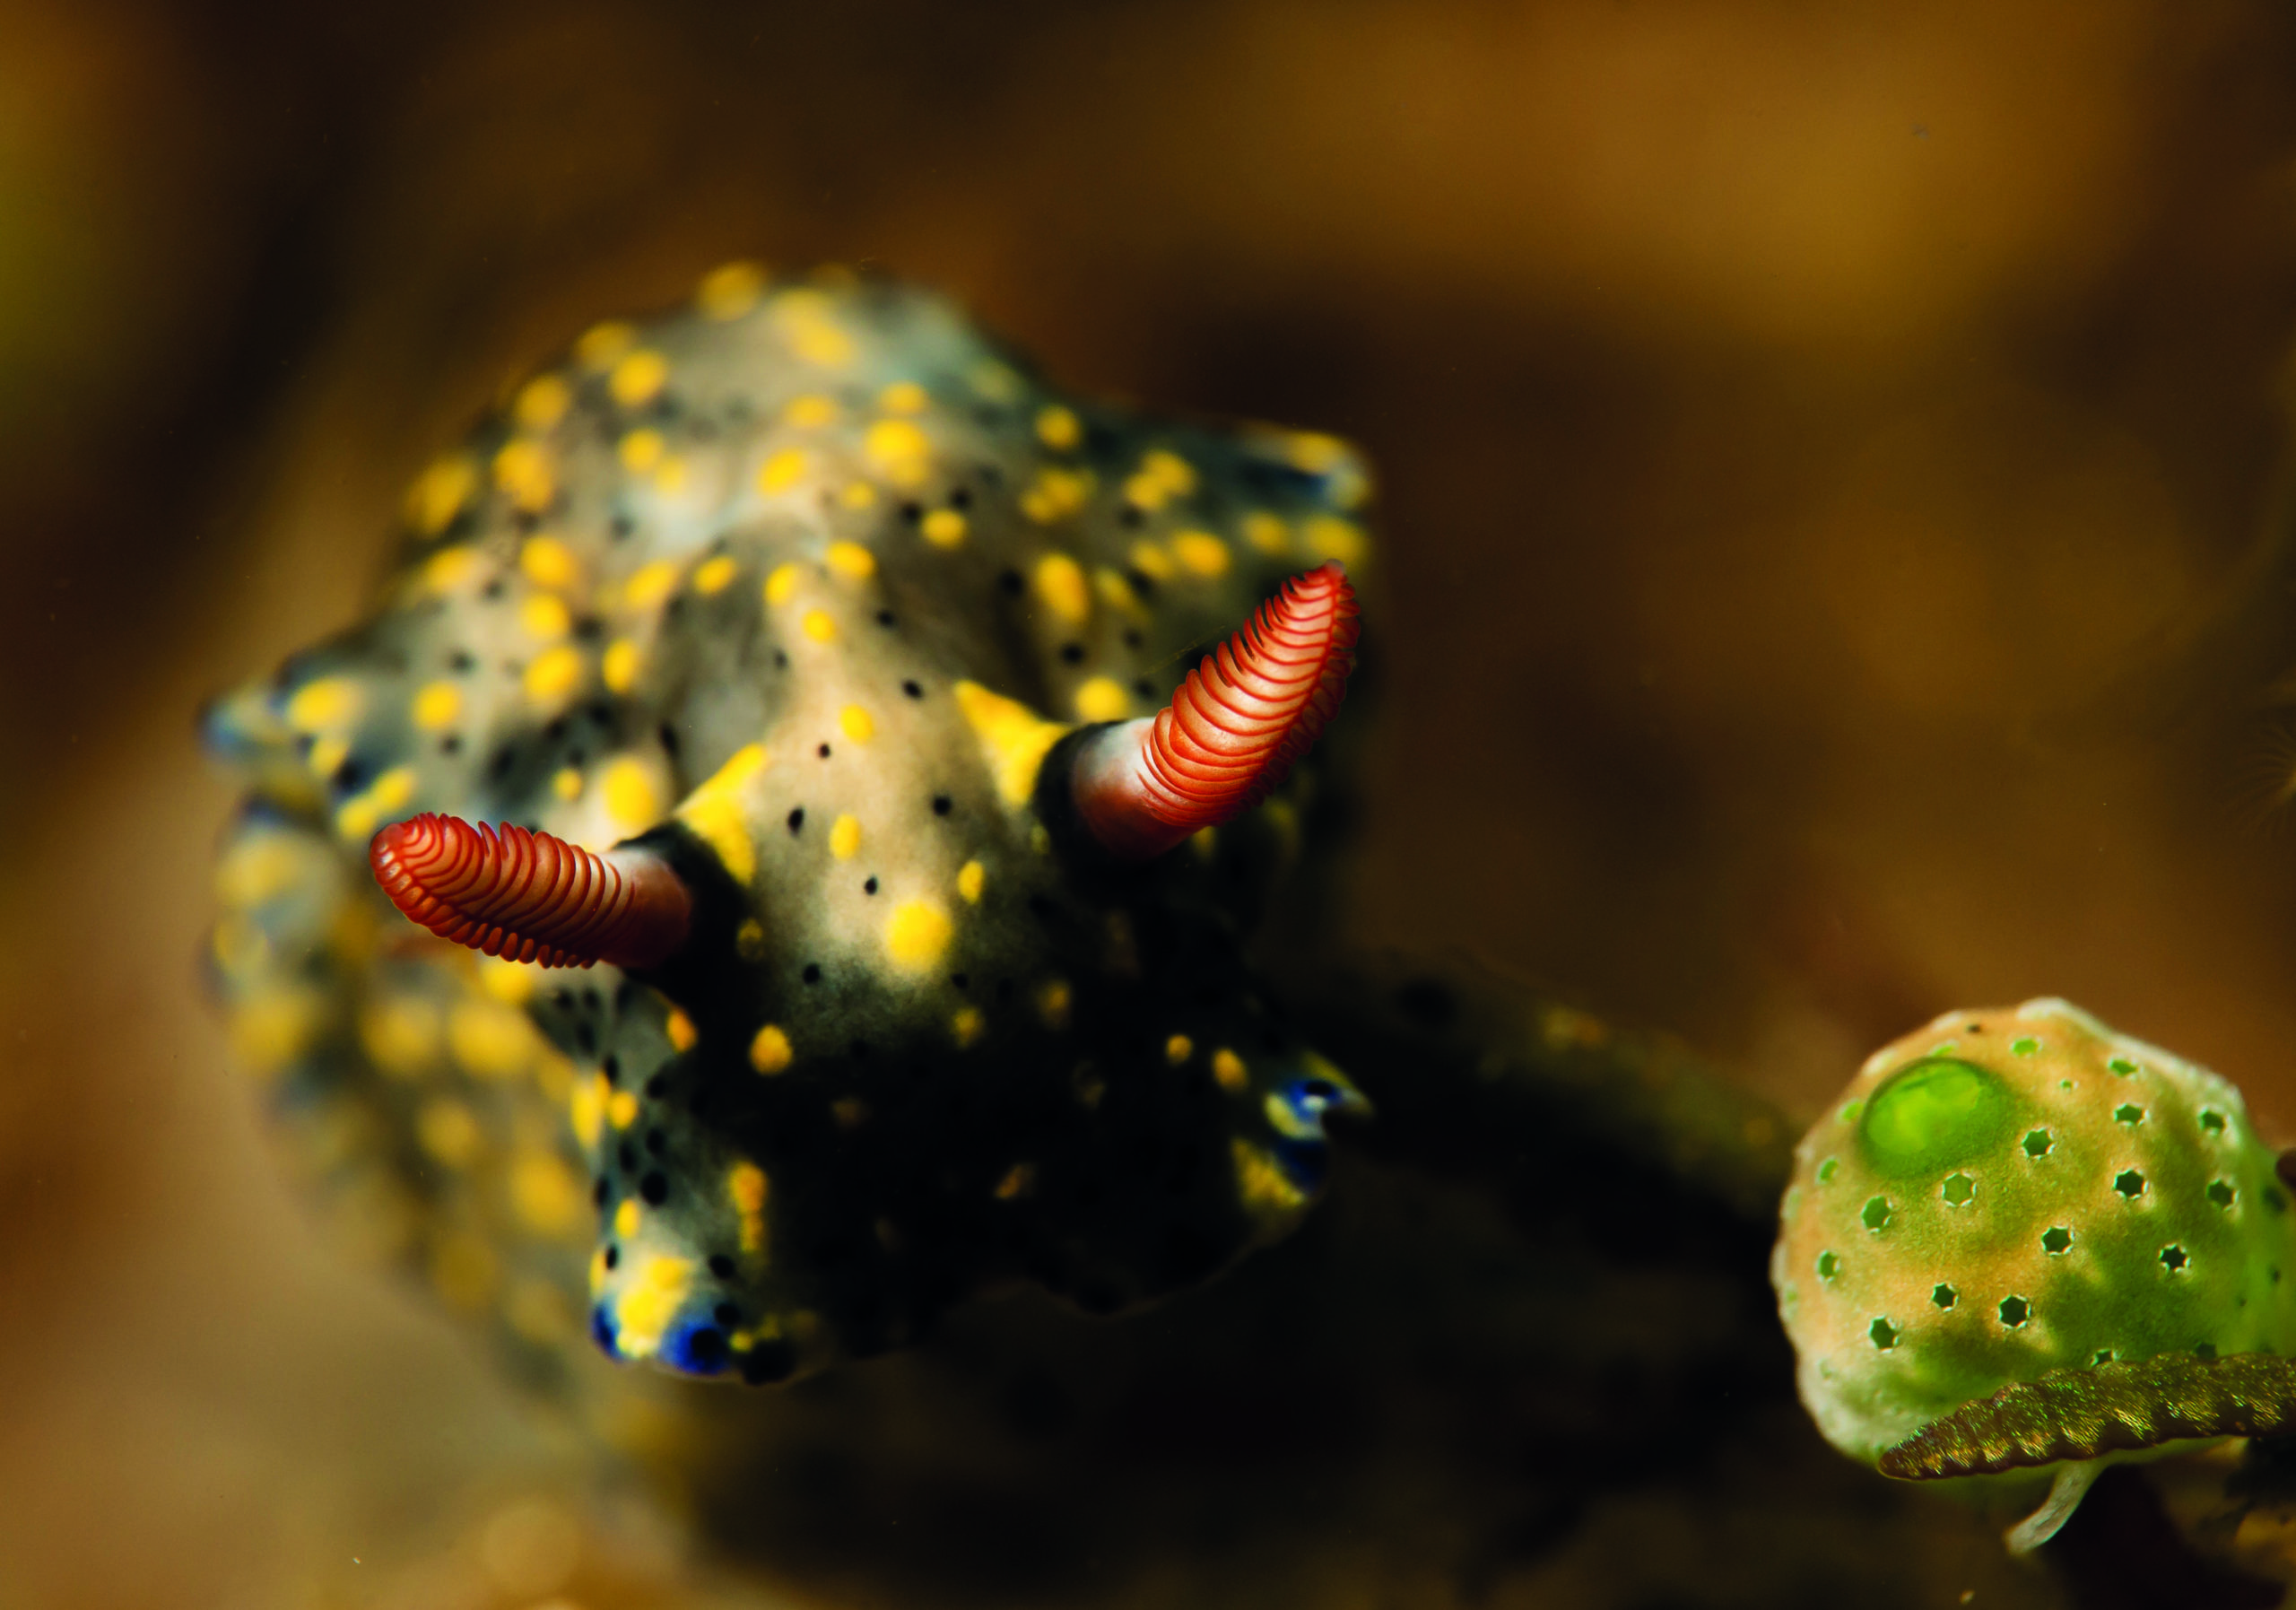
If shooting compact then there are also third-party external lenses attached by way of adapters or screwed into your housing at the front port that will extend the range of close up you can achieve. Now you will be in the realm of capturing shrimps and nudibranchs, and other subjects as tiny as your little fingertip.
This will vary depending on camera used and accessories available, and just like with the wide-angle lenses is an important consideration, and questions to ask when you buy a camera for use underwater.
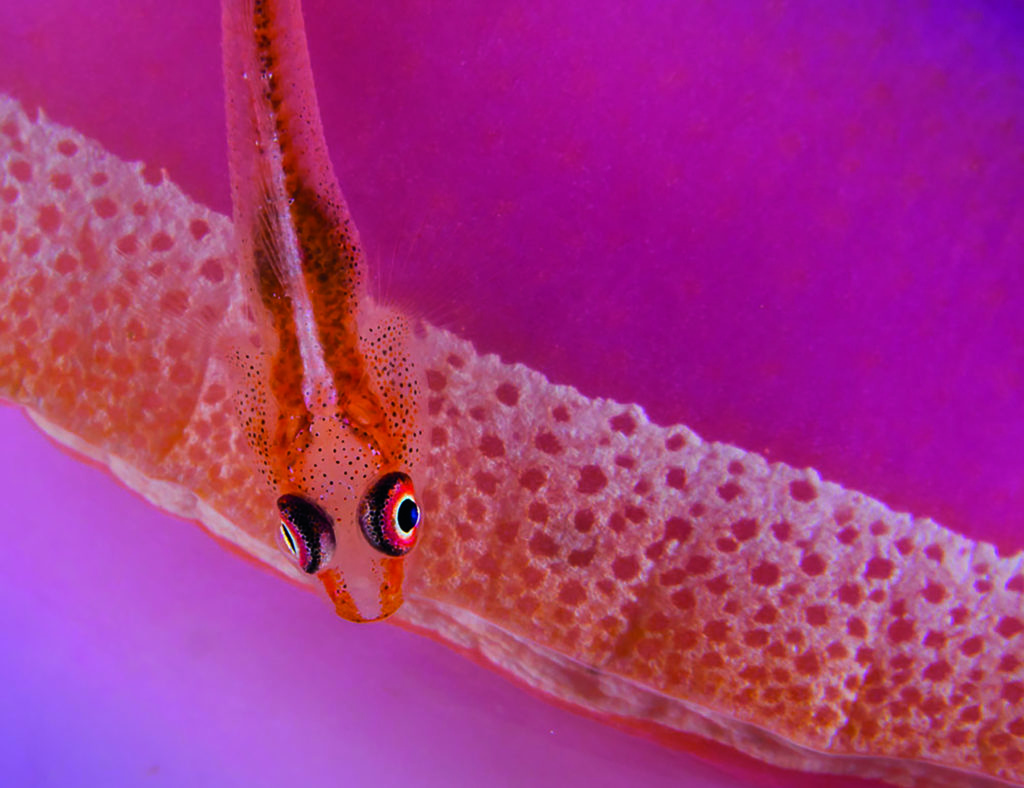
If you’re shooting with a mirrorless camera or a DSLR, then you will have probably made the decision on lenses, as part of the initial buying decision, but the major difference is that in all but a few scenarios you will choose a specific macro lens to attach to your camera before you get in the water, but you can extend the range still further by attaching extra lenses, or diopters as they are more commonly known, to the end of the port, and just like with the compacts, these can be attached and detached underwater. With the main advantage being that you can now really achieve huge levels of magnification, you can shoot things as tiny as the rhinopore of a nudibranch or just the eyes of a shrimp perhaps.
Just a final word about GoPros and similar cameras here. As they are primarily designed as an action camera, they have a very wide field of view, and also don’t have any sort of flash option, so they aren’t the best option for macro photography, however undeterred a lot of folk have achieved good results, by attaching third-party macro lenses, and providing light using video lights, so if this is all you’ve got available, don’t give up.
You may not be able to achieve the same sort of results that those with regular compacts, mirrorless or DSLRs get, but there’s no reason you shouldn’t try. It’s more power to your elbow at the end of the day. And I’ve seen some great macro video from these tiny rigs too.
All Variations On The Same Theme
I often get asked what is the difference between close-up, macro and super macro. As I said earlier, close up is usually what the camera can achieve unaided, and this is normally tested to its limit within six inches or so depending on the model.
The actual definition of true macro used to be if the subject is the same size on the film (remember that) as in real life, which is sometimes seen defined as 1:1. These days though, with such a variance in sensor size, it’s a bit of a moot point.
I usually explain to folk that it’s around the range of recording everything from about six inches to an inch or so away from the camera, but this can vary so much with different cameras and lenses that it’s a very variable concept of where close up starts and macro finishes.
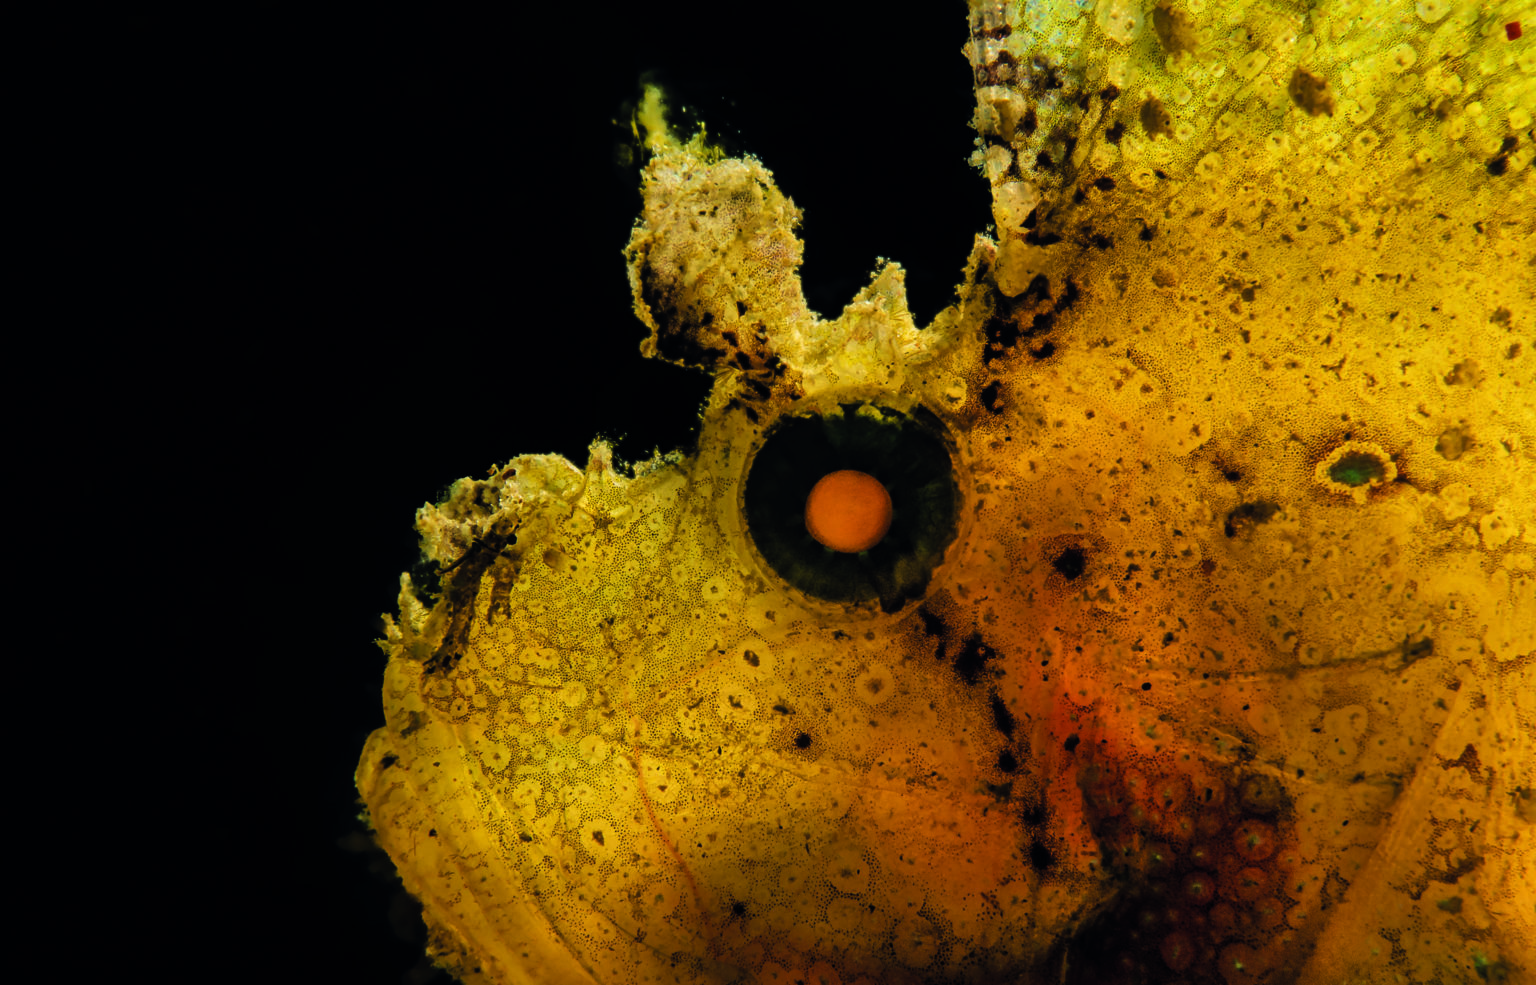
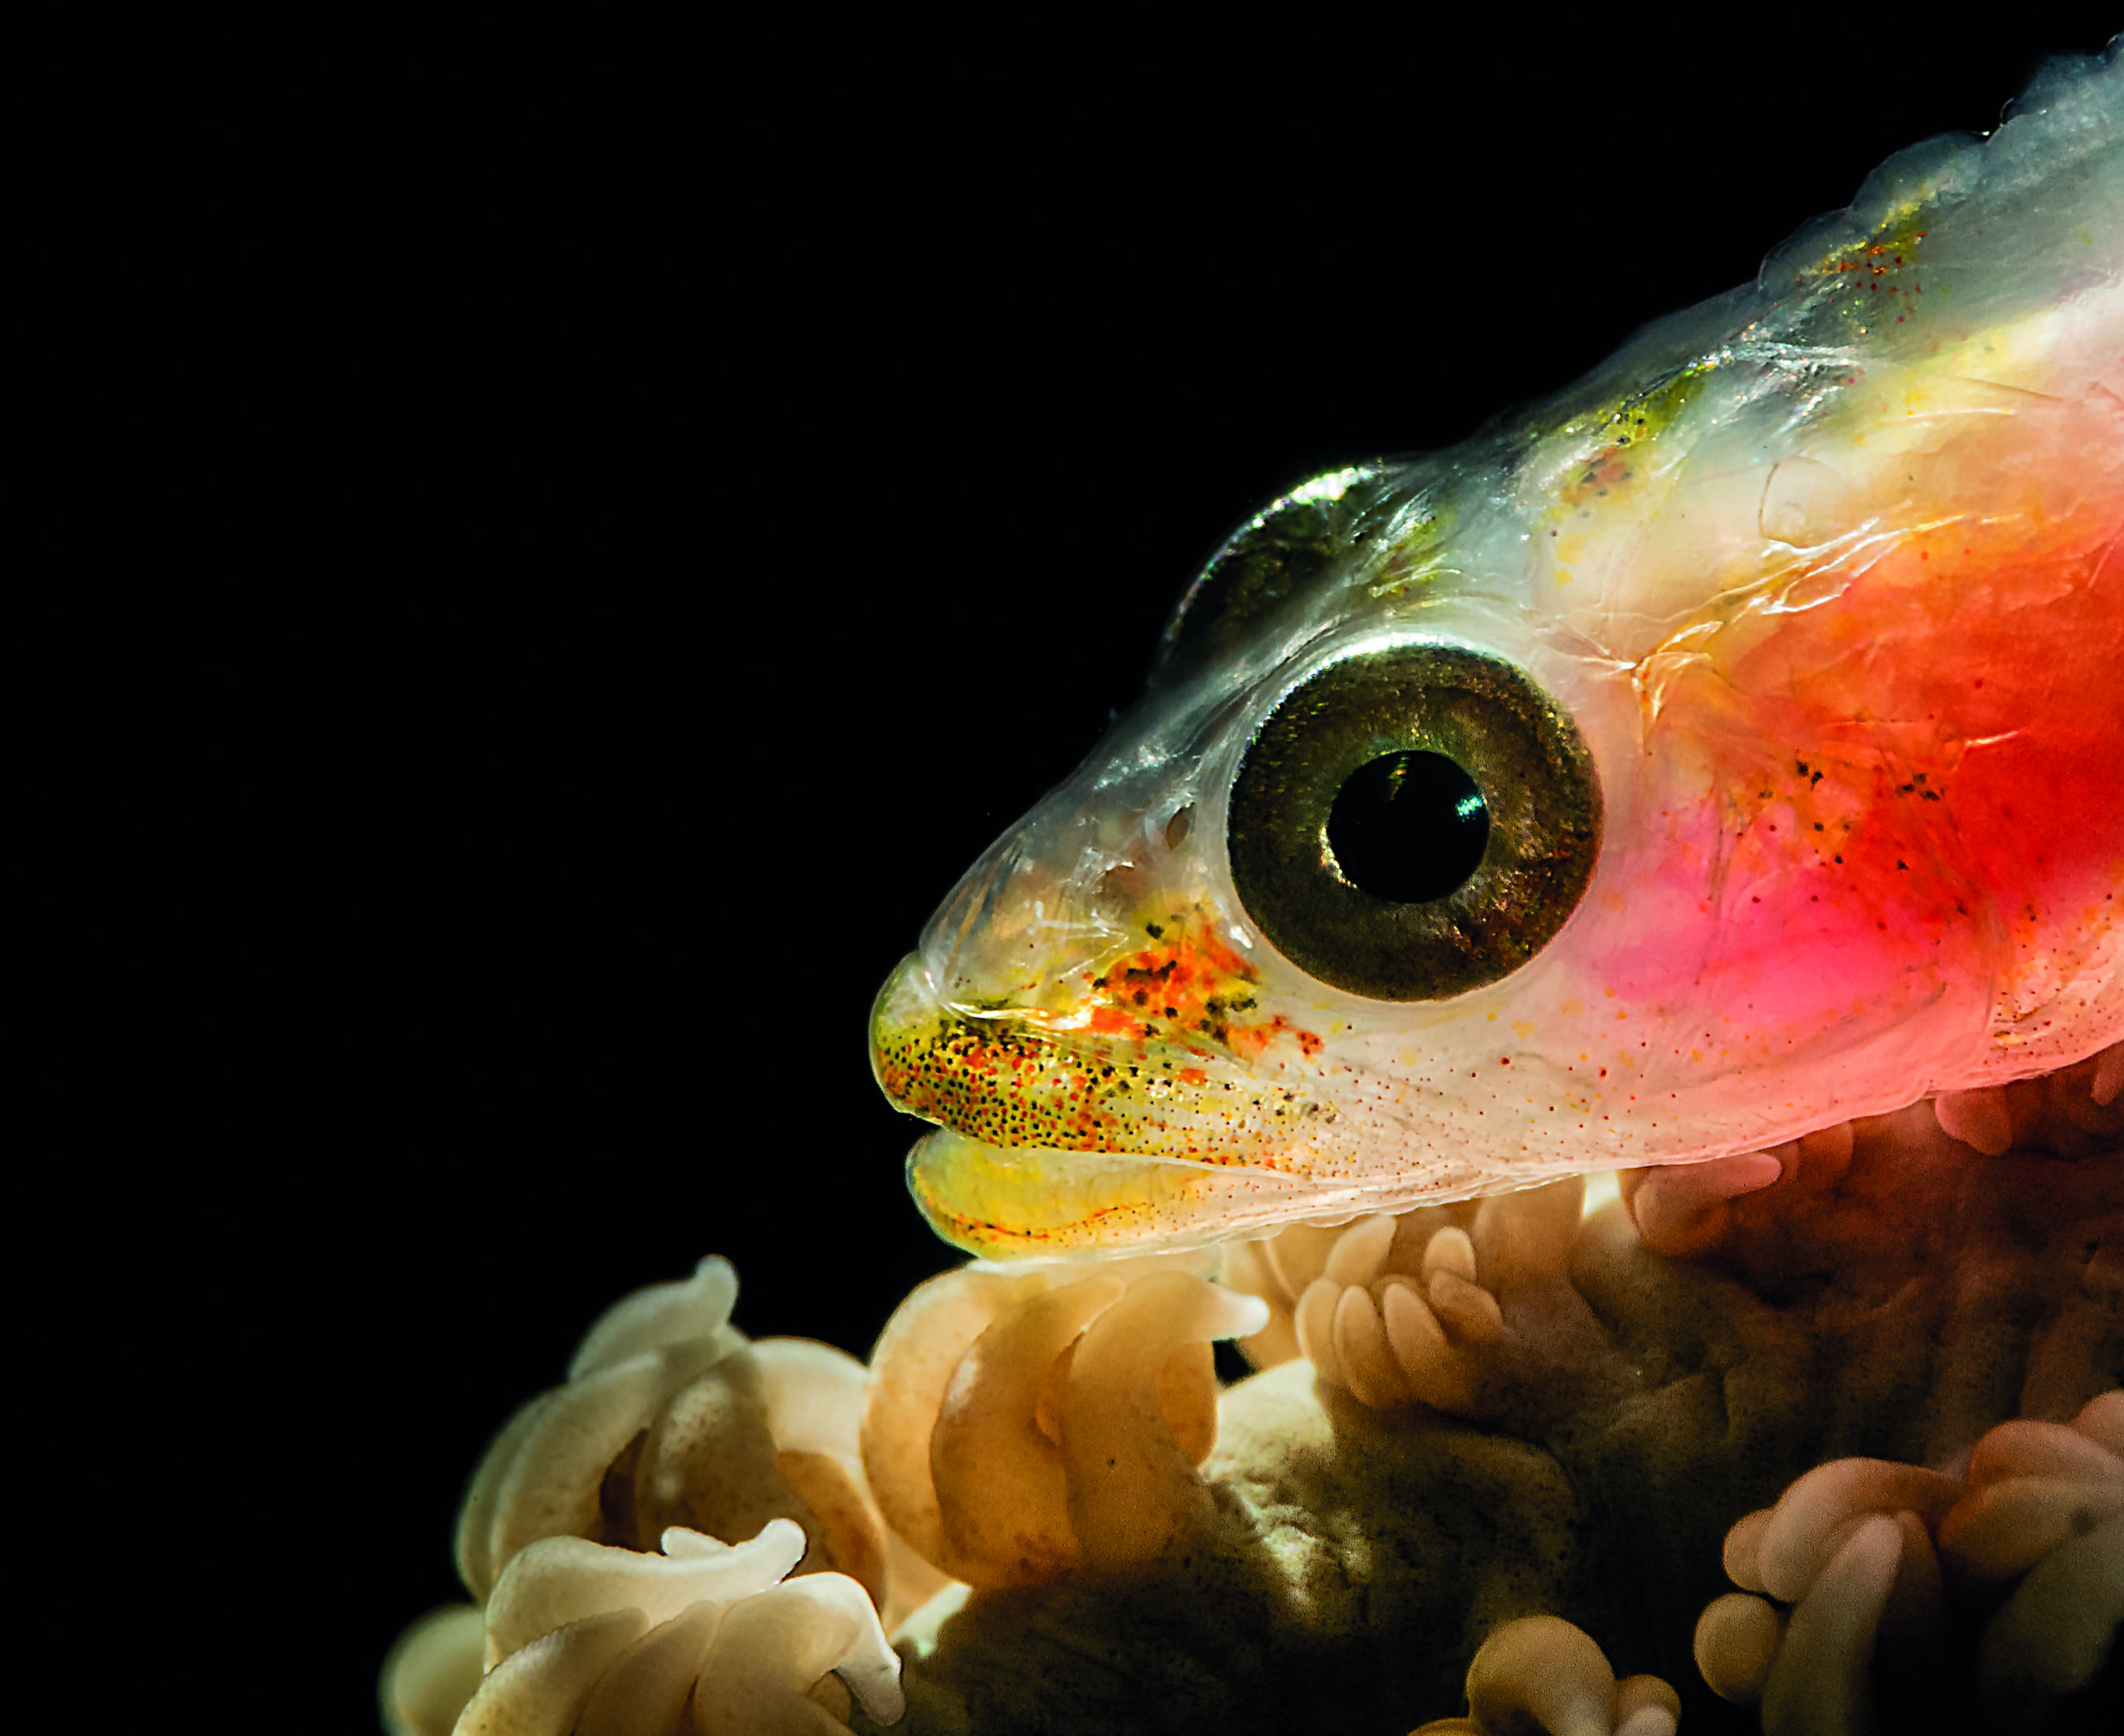
The realm of super macro using differing power diopters is when you end up very close to the subject, with high magnification, shooting really tiny creatures or parts of creatures that may be smaller in size than your fingertips.
Techniques Used
First and foremost the most-useful technique to improve is your diving skill. A personal bugbear of mine is underwater photographers using sloppy diving technique and poor weighting and trim, and then getting close to the subject by simply laying down on the bottom – it gets us all a bad name, and isn’t necessary.
Think twice about embarking on your underwater photography journey prior to you getting your basic dive skills mastered.
The best way to look at this is that it can be a win-win all round.
Your underwater photography will improve, but possibly even more importantly is that your overall dive skills will get a boost by learning to shoot responsibly with finesse and precision only inches away from your subjects.
Last month, there was a great article in the mag about the benefits of proper weighting and trim – it was a really useful read.
By going slowly and carefully find your subject, and decide how you want to shoot it. If there is a queue for a shot of something, what I do is I set up my camera exposure, and flash positioning while I wait for the other shooter to get their pictures. I do this by previsualising the picture, and getting things lined up by using my hand or fingers as a proxy for the shot in hand.
For example, if the subject is the size of my fist, I will simulate the picture using my fist at roughly the same distance and change my settings until I get a correctly exposed shot of my fist, while I wait.
This then means that I have the minimum of tweaking to do when it’s my turn to get in close, as my aperture, shutter speeds and strobe settings will be already pretty close to ideal. If the subject is smaller than my fist, I simply use my fingers or parts of finger to line up my shot and camera settings beforehand.
When starting out in macro photography keep things simple – traditionally this type of photography has meant that it’s pretty normal to choose the smaller apertures available to you. With compacts this is usually around f8 or f11, with mirrorless cameras this may be from f16 to f22, and with full frame and DX sensor DSLRs this may be from f16 to as small as f45.
These tiny apertures will give you the maximum amount of margin for error with your focusing, as when you’re really close, the depth of field (amount in focus) becomes increasingly less or slim, and so you’re chances of getting the eyes in focus are a bit higher.
Personally, though, I like to try and use a broader range of apertures all the way from the widest aperture the lens has, right on through the range, as I feel that it makes me think more, and broadens my creative options, than just keeping the settings the same all the time. It’s good to come out of your comfort zone.
The Next Step
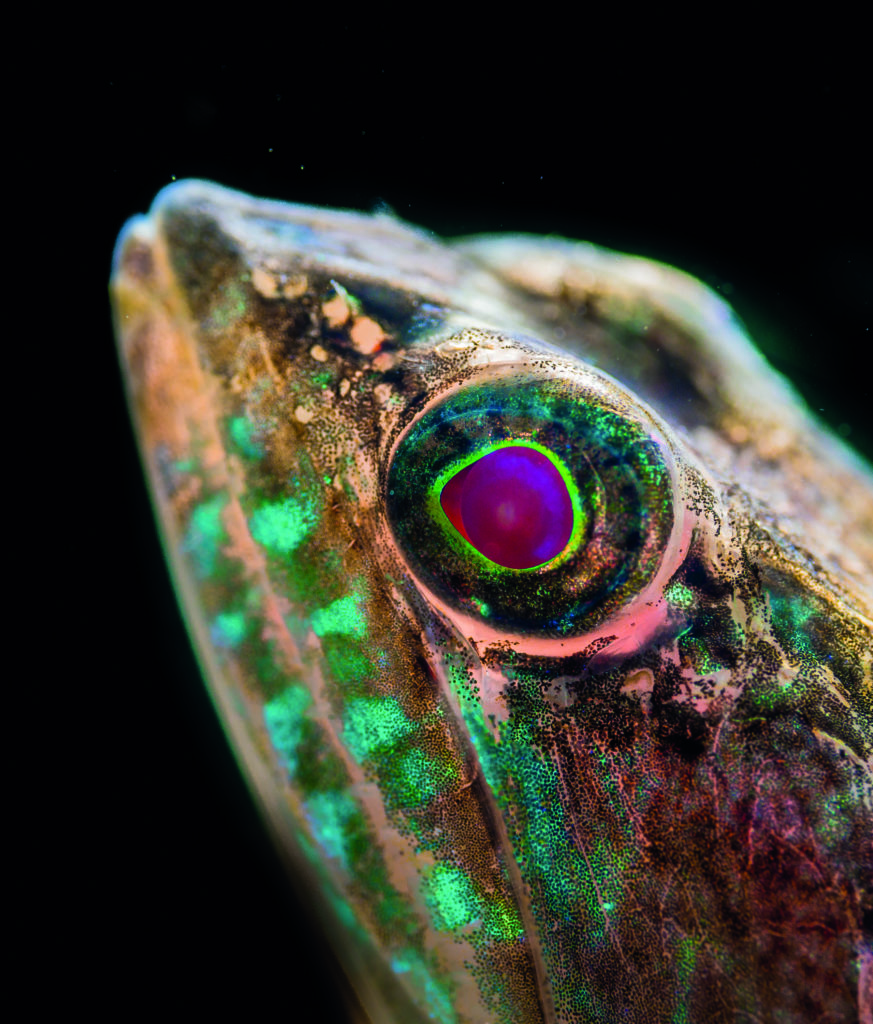
Macro photography can be very rewarding, and just not spooking a lizardfish and capturing it in fine detail as a fish ID shot is often all you might want. I like fish ID shots as much as the next person but, I like to exercise my creative muscles a bit by using different techniques to try and inject a bit more style and substance to the pictures. I don’t always succeed, but half the fun is in the trying.
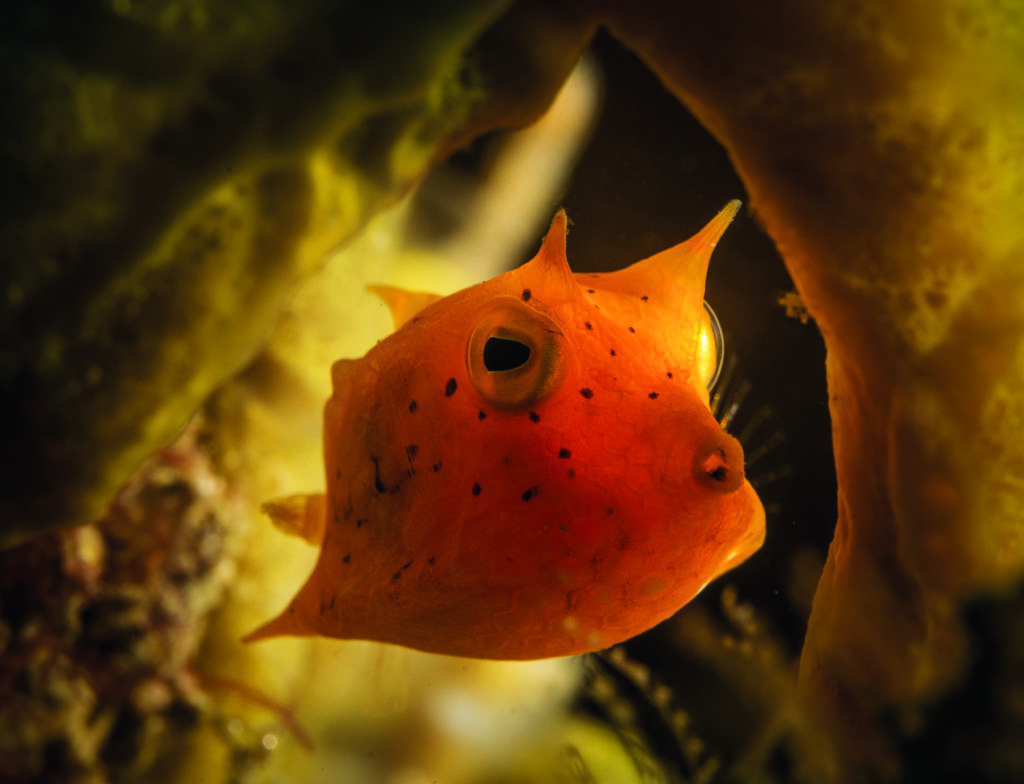
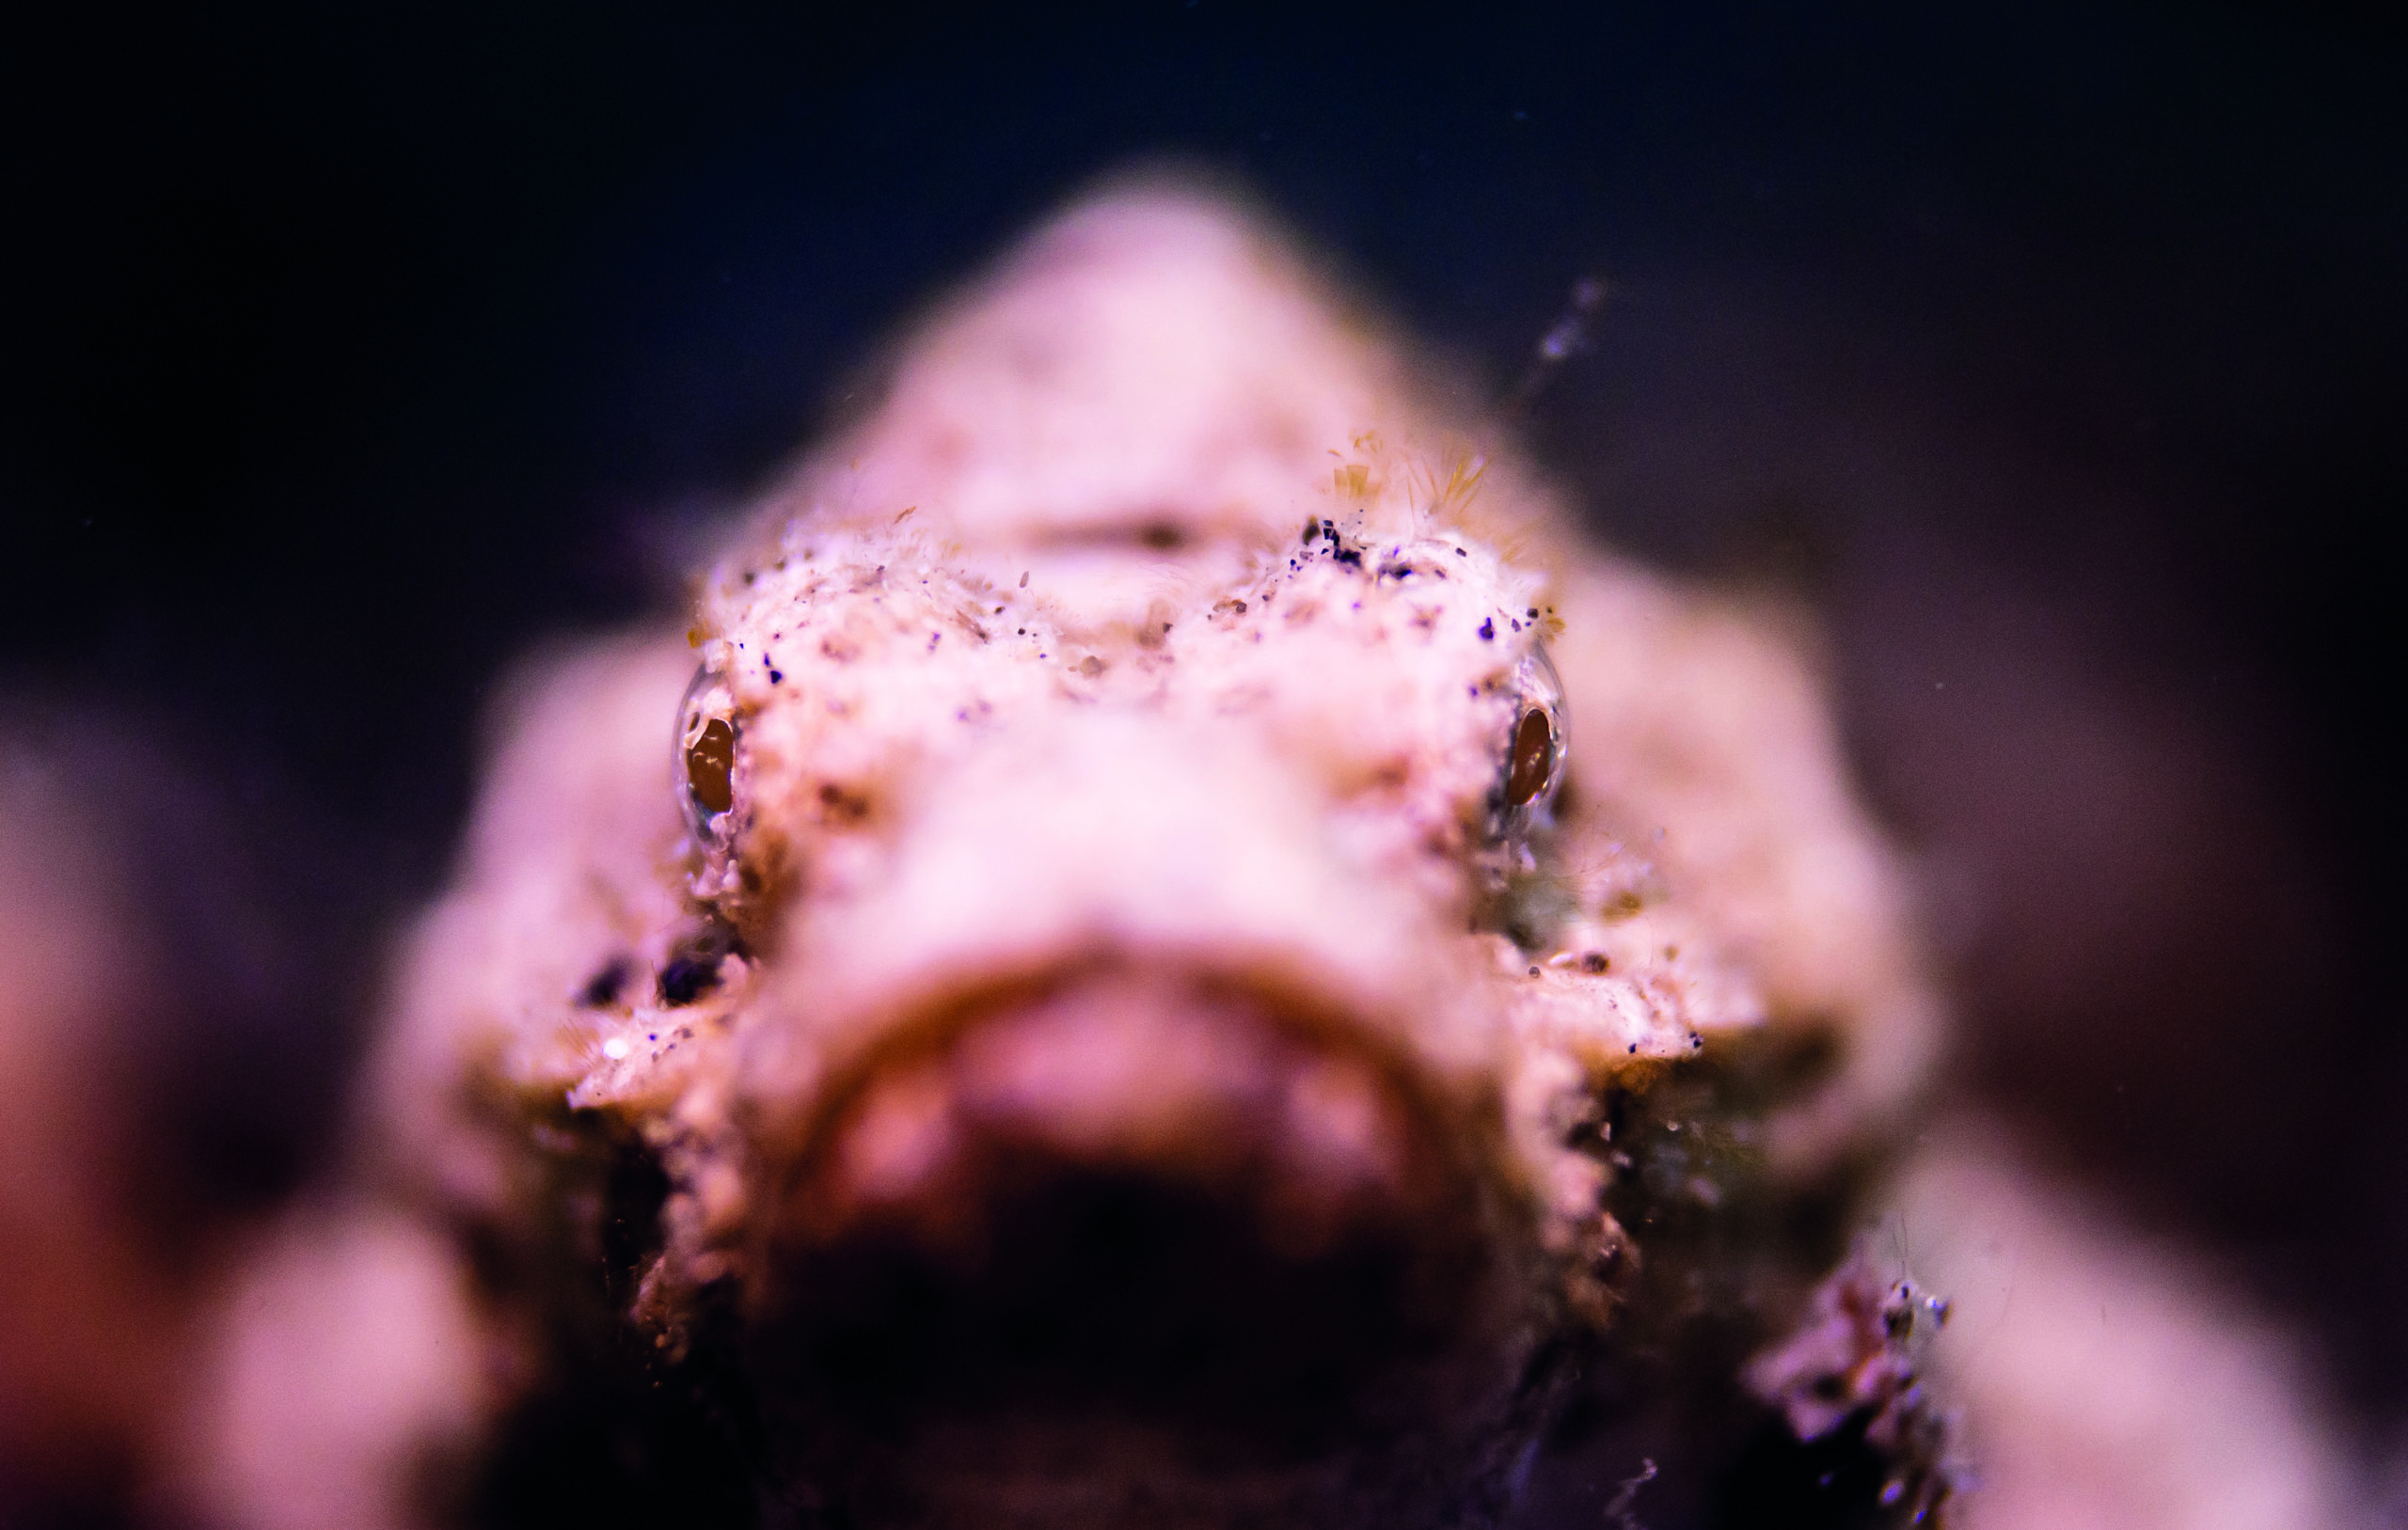
One way is to use wider apertures than the norm. Shallow depth of field macro photography is very much in vogue at the moment. It allows you to inject a dreamy smoothness to the out of focus areas of your pictures, and concentrates your attention on the main point of interest, often the eyes.
It’s also very useful when you find yourself in parts of the world famed for extreme macro photography – I’m talking about the muck diving hotspots, in parts of the Philippines or Indonesia, where the main issue is often that your subject, while beautiful, may well be living on an awful messy dingy background.
Shallow depth of field can be a godsend in these areas as you can play down the negative aspects of the backgrounds by accentuating the positives of the creature itself.
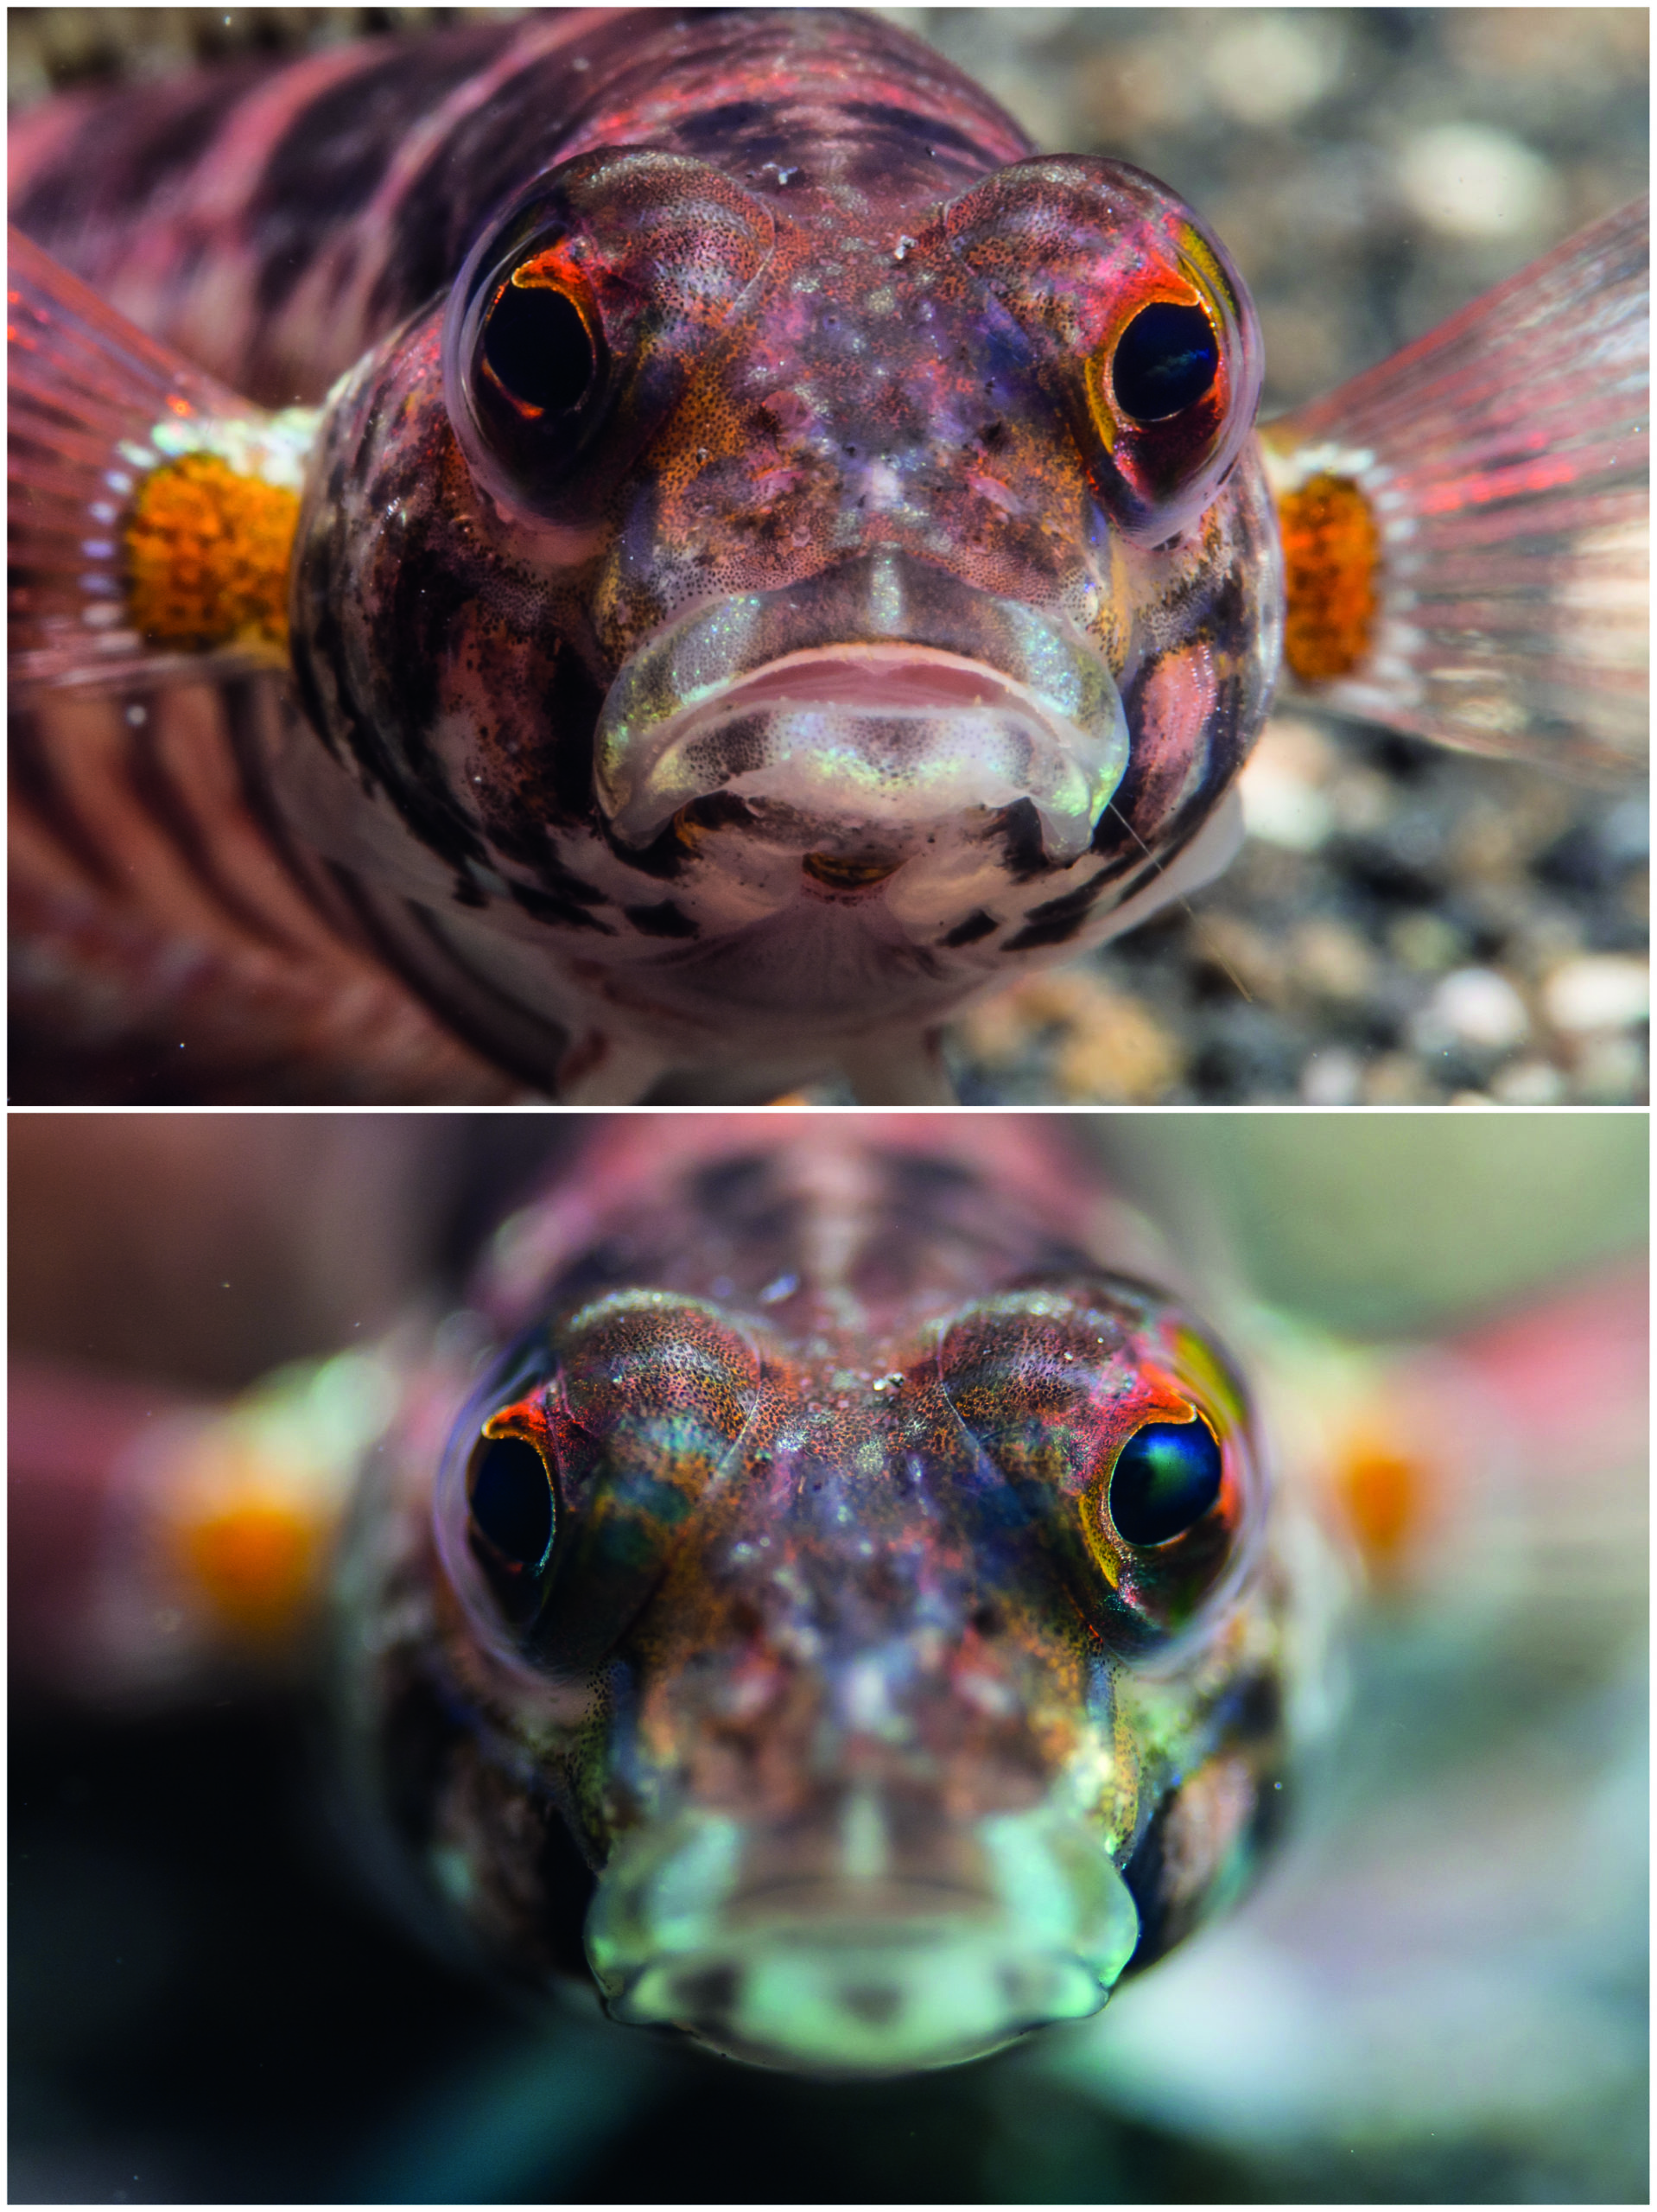
Another way this can be achieved is to use clever lighting techniques, the most well-known is ‘snooting’. This is just reducing the spread of your strobes light by using a whole host of third-party accessories to shape the light into a variable narrow beam, which is another great way to just highlight your critter’s strong points while darkening and hiding the background dramatically.
There are many snoots available for most of the popular brands of strobe, but you can even make your own from an old plastic bottle sawn in half and the narrow end sprayed black, if you just want to try before you buy something more tailor made.
Don’t become an addict!
Macro photography is very rewarding, and is often the type of underwater photography that attracts the most converts. It’s rewarding because it very quickly allows you to get great results with just basic skills, and thus you find that you’ll get great feedback from your friends, and what’s not to like about a hugely magnified shot of a nudibranch, or a tiny crustacean, printed up and framed on your wall. But don’t let it stop you branching out into other areas of underwater photography, although there’s much worse things you could be addicted to I suppose…
Duxy Escorted Trips
A great way to learn how to use new kit and develop your skills is on a dedicated trip. My escorted trips are for all and if you have a GoPro or compact, I can improve your skills and realise your full potential in an easy-going, relaxed environment. If you’re a more-experienced shooter, my itineraries and locations are carefully picked to be very photographically productive.
Duxy will be leading a Red Sea liveaboard in 2023 – book now.
Biography
Since returning from Egypt working as a guide in the early noughties, Duxy has been at the forefront of underwater photography technology and how it has changed the way we all now take underwater photographs.
Working as sales manager for the two leading underwater photography
retailers, and more lately as the photography travel specialist for a multi-award-winning dive travel agent, his light-hearted take on the iving world and underwater photography has resulted in him being a regular speaker at the Dive Shows and at clubs up and down the country, sharing his knowledge and experience with all levels and abilities of underwater photographer.
He likes nothing better than to get a beginner started on the route to rewarding pictures, and approaches the subject with an inclusive, rather than exclusive, manner. He now has more than 40 escorted trips under his belt and is continuing to develop new ways to pass on the knowledge and share the love. He can be found on Instagram and Twitter as @takeiteasyduxy and Facebook as Take iT Easy.
Photographs by Paul ‘Duxy’ Duxfield
